The Ultimate Cabinet Hardware Placement Guide
Guide The Ultimate Cabinet Hardware Placement Guide Installing cabinet hardware can feel intimidating. Regardless of whether you are a DIYer or a professional woodworker, you
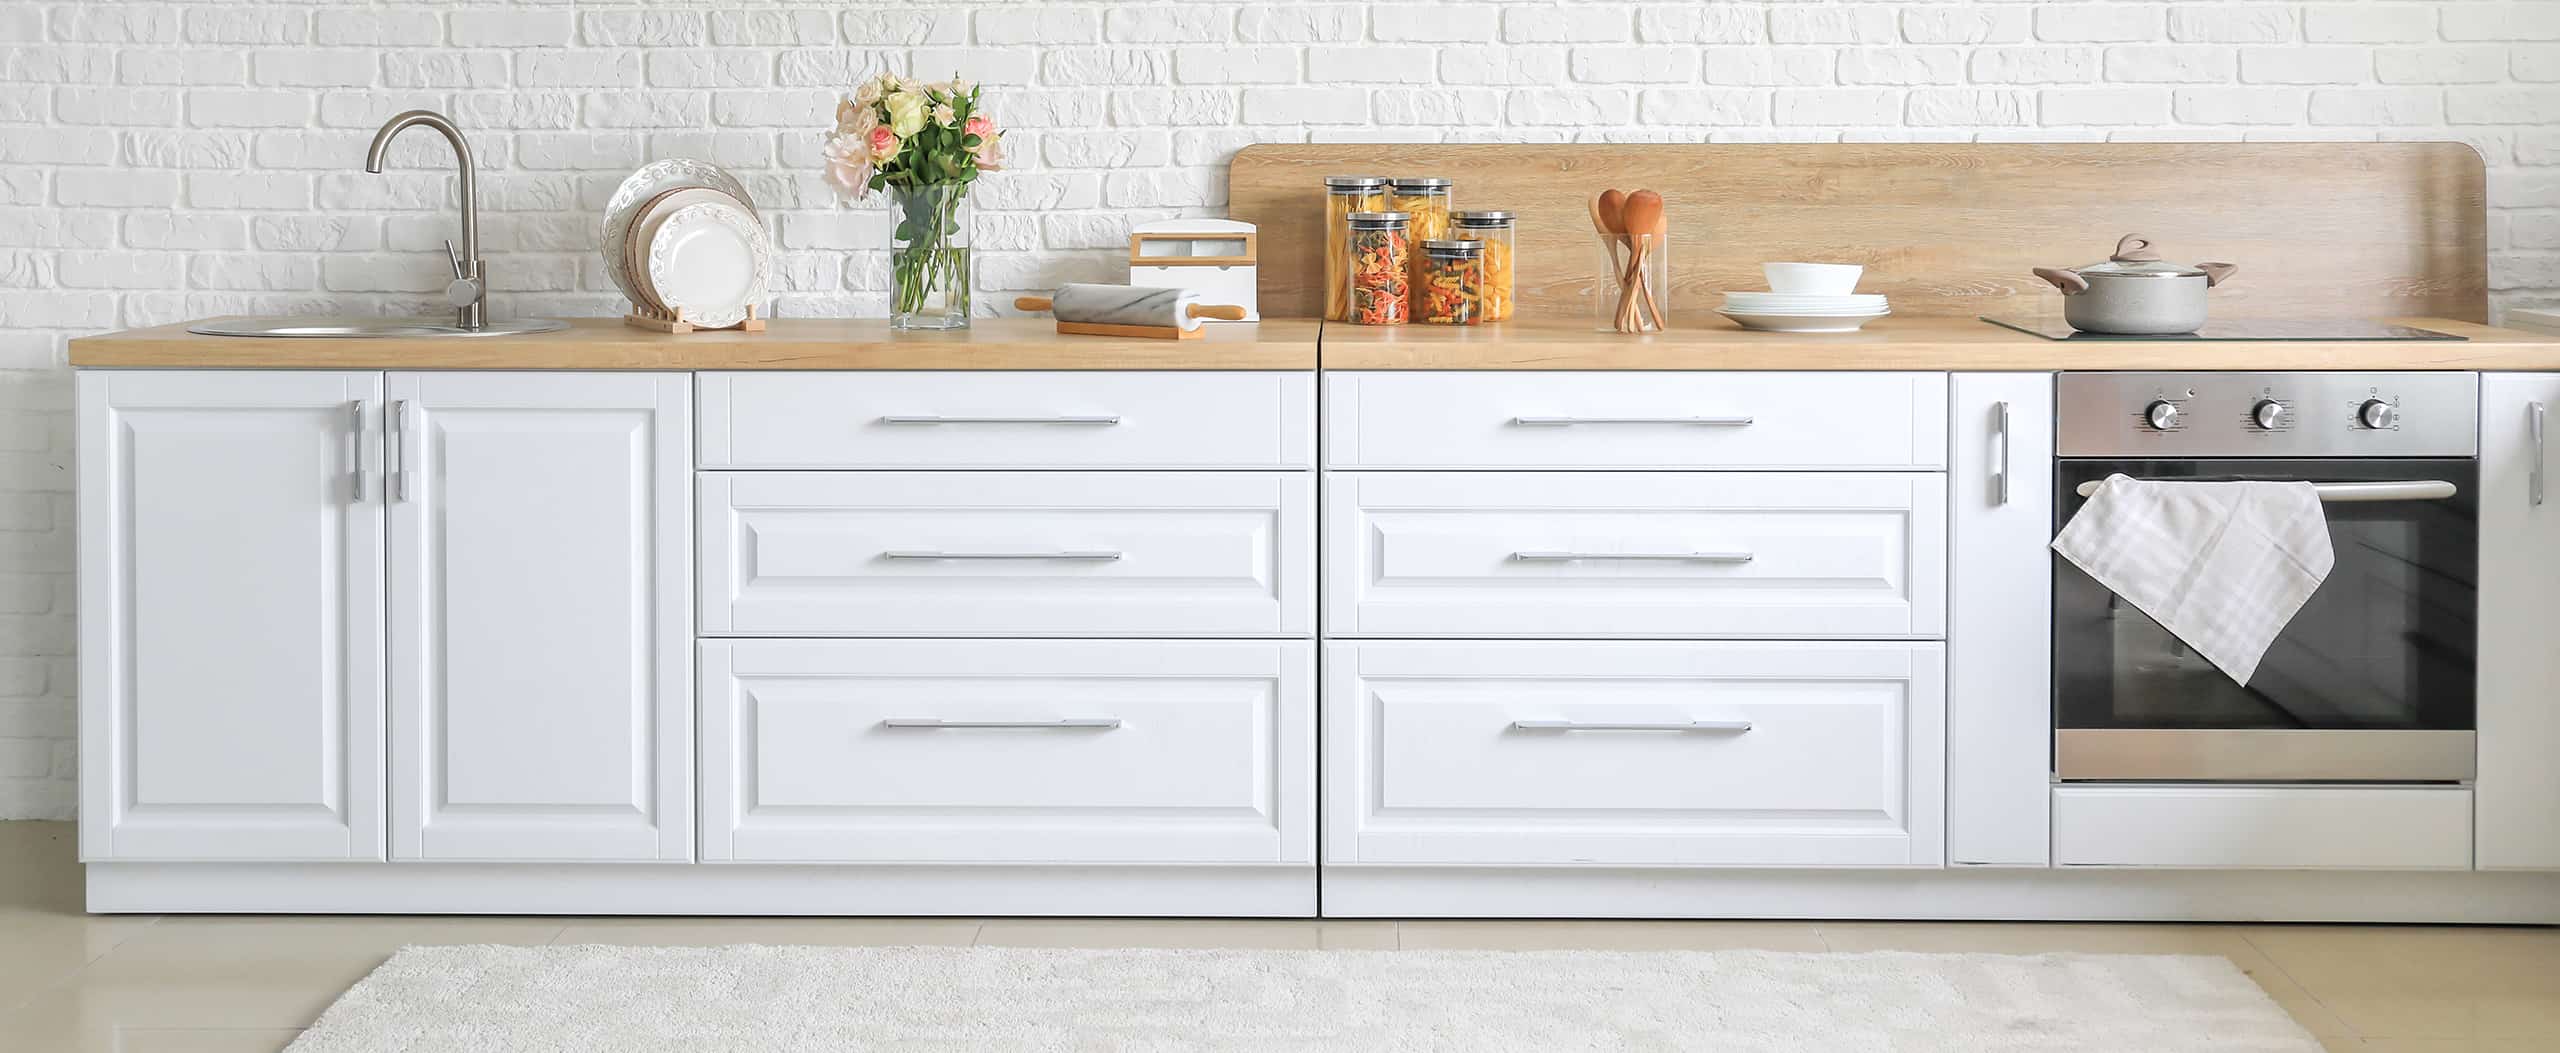
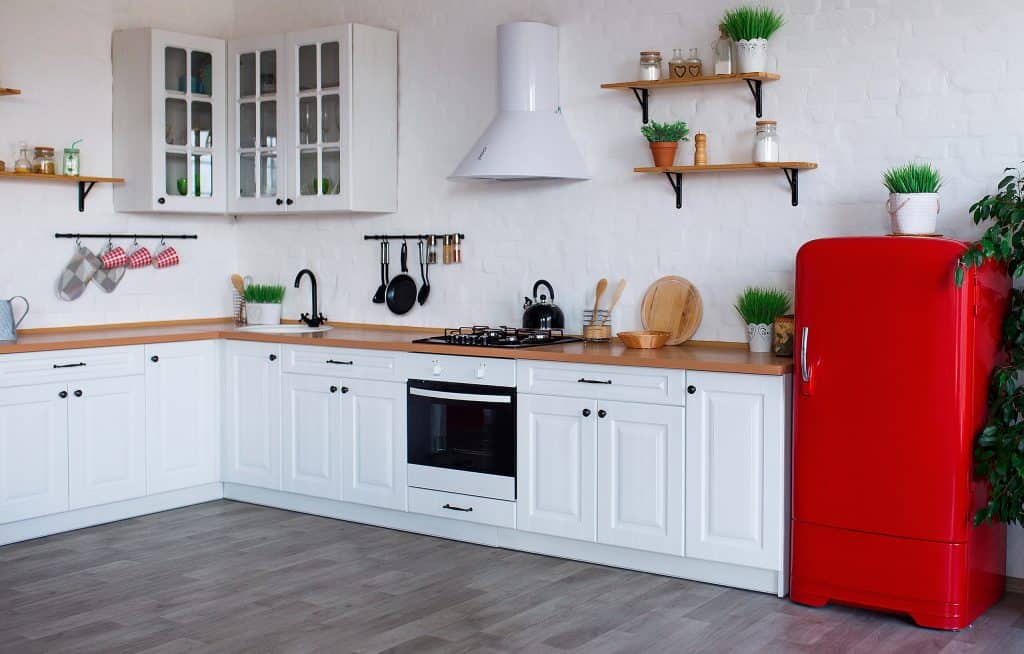
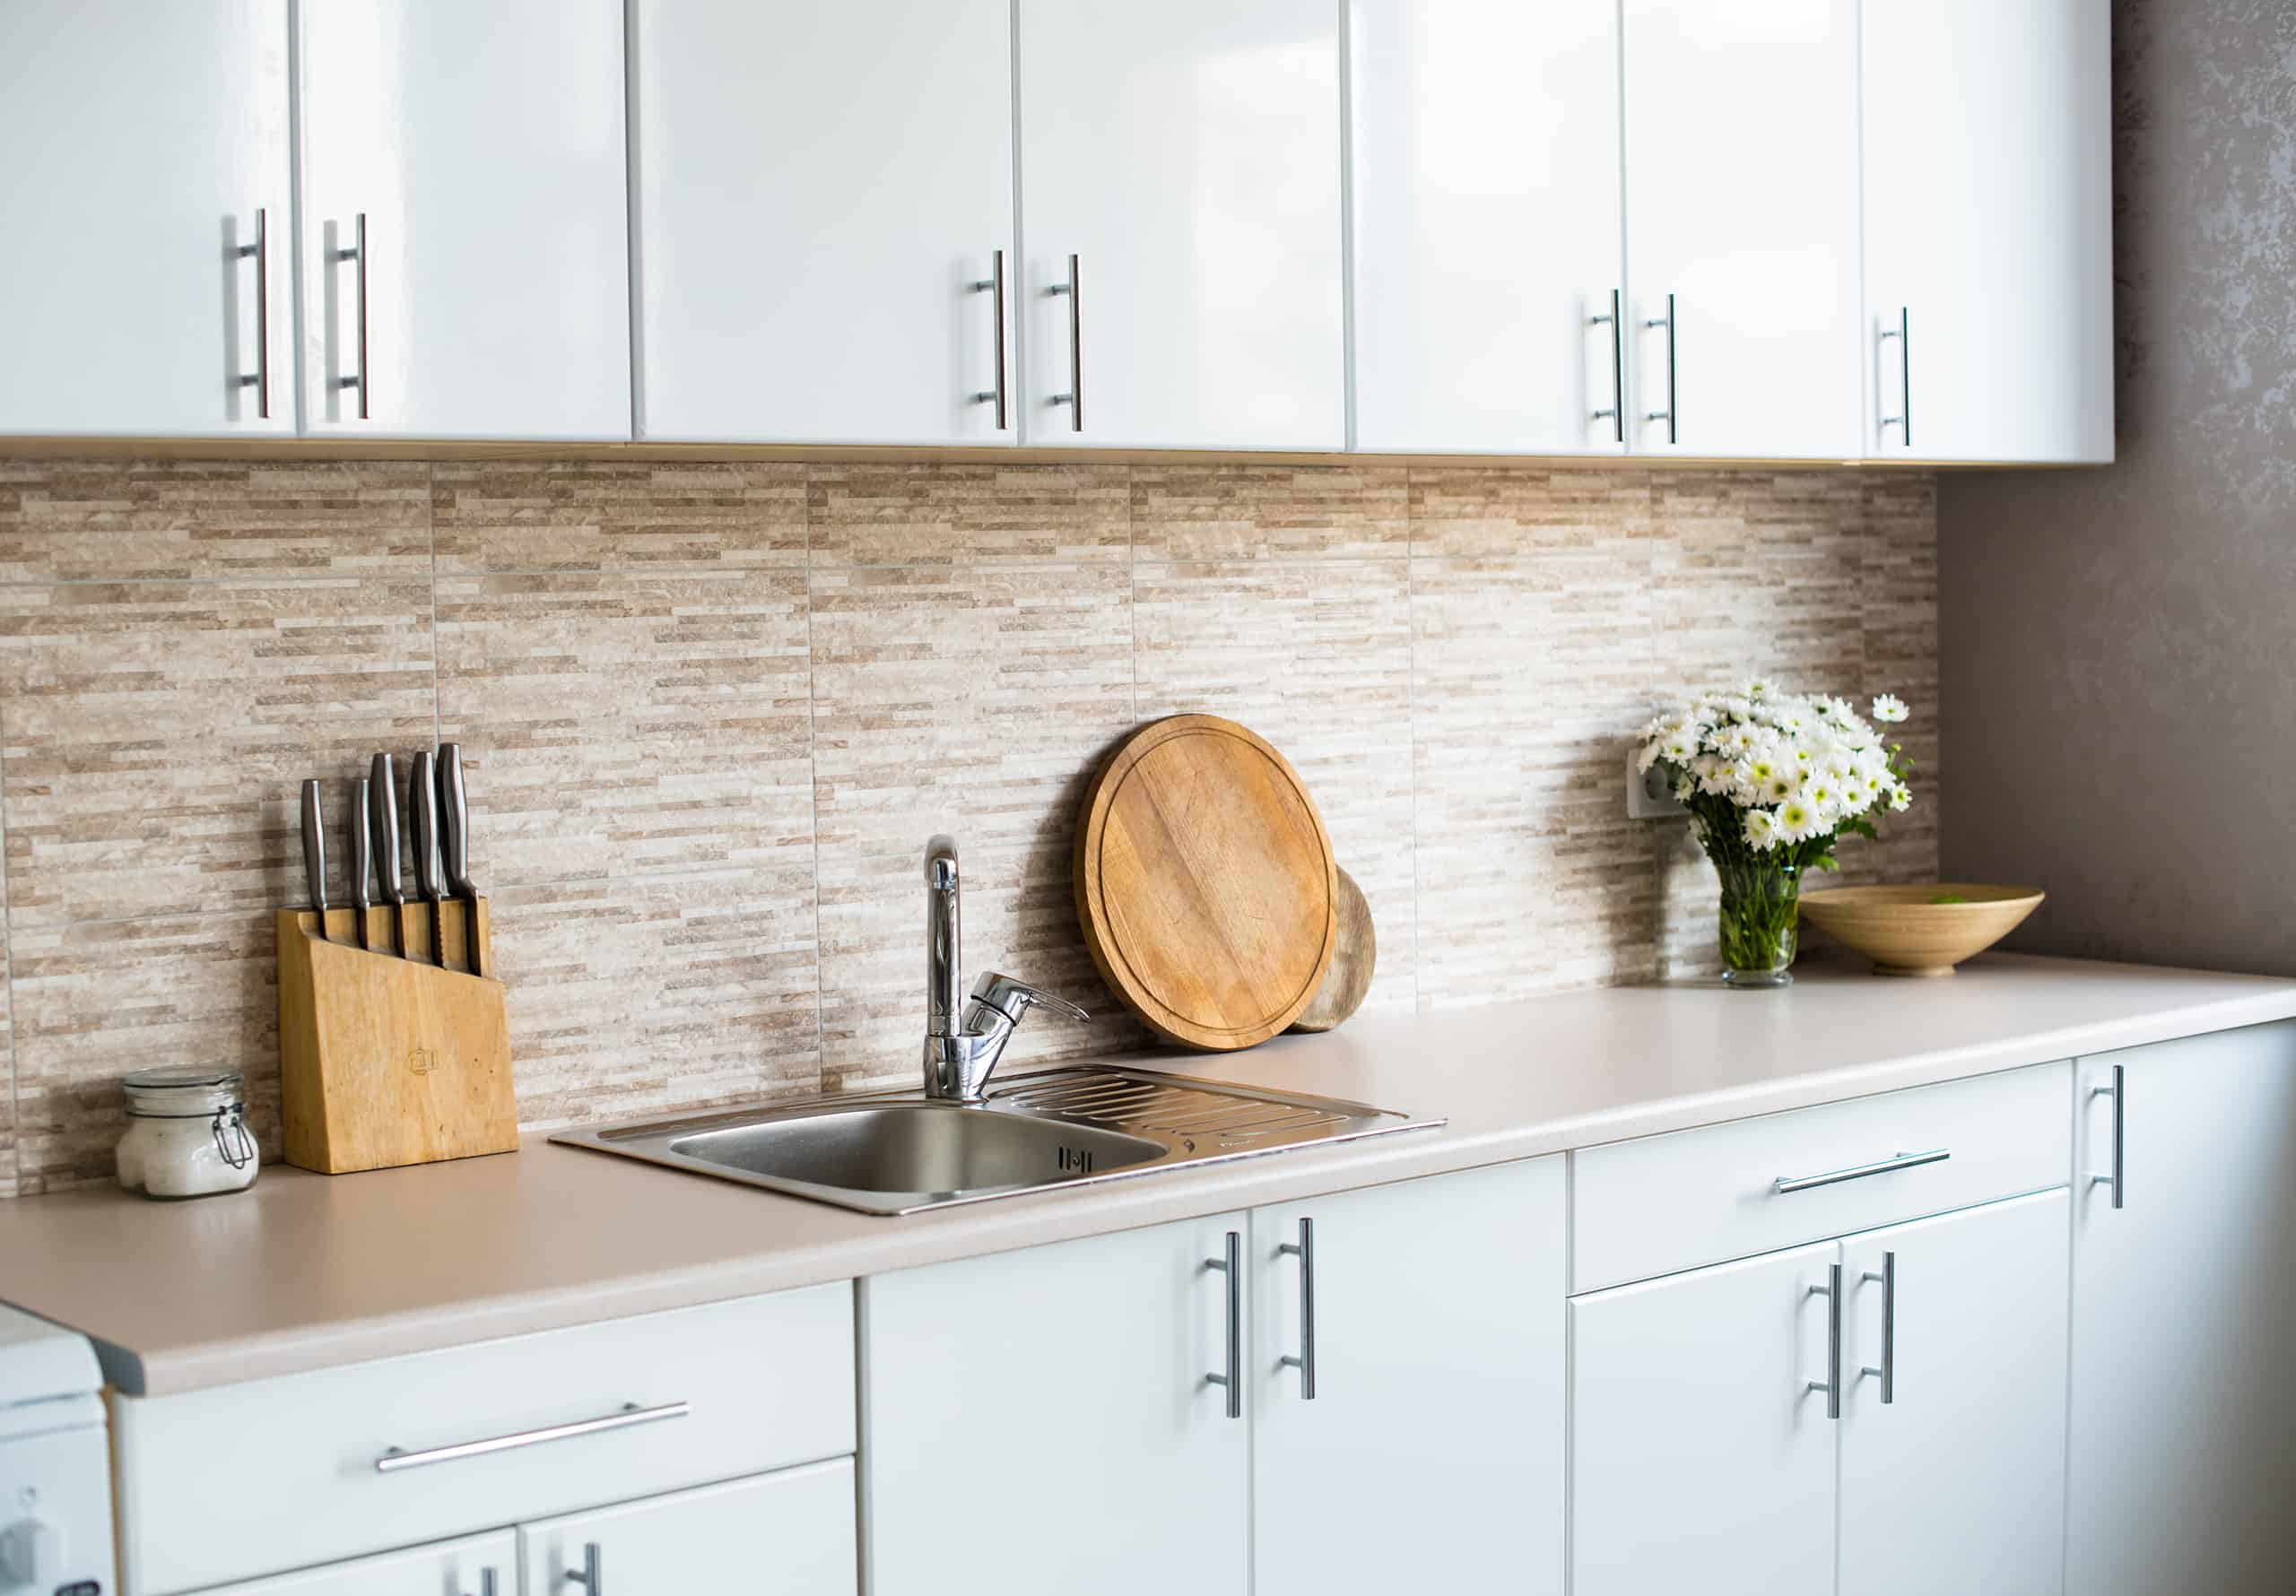
You are finishing up your beautiful kitchen remodel. The cabinets are installed and they look perfect in your space, matching the vision you had for your new kitchen. Having spent a great deal of time and money, you are anxious to get the cabinet hardware installed to finish up the remodel. But you don’t want to ruin the look of your new cabinets by installing the hardware incorrectly! The placement and installation of cabinet handles are two critical components to ensuring your investment in both time and money aren’t ruined.
Though many possibilities exist for hardware placement, we’ll go over several “rules” to follow that will make your decision about hardware placement much easier. There are also various methods for installing cabinet hardware, so we’ll go over the industry best practices so you can install your hardware to get professional results.
So where exactly should you place the cabinet hardware on the cabinets to look and function the best? And what is the best method for installing cabinet hardware? Follow our guide below!
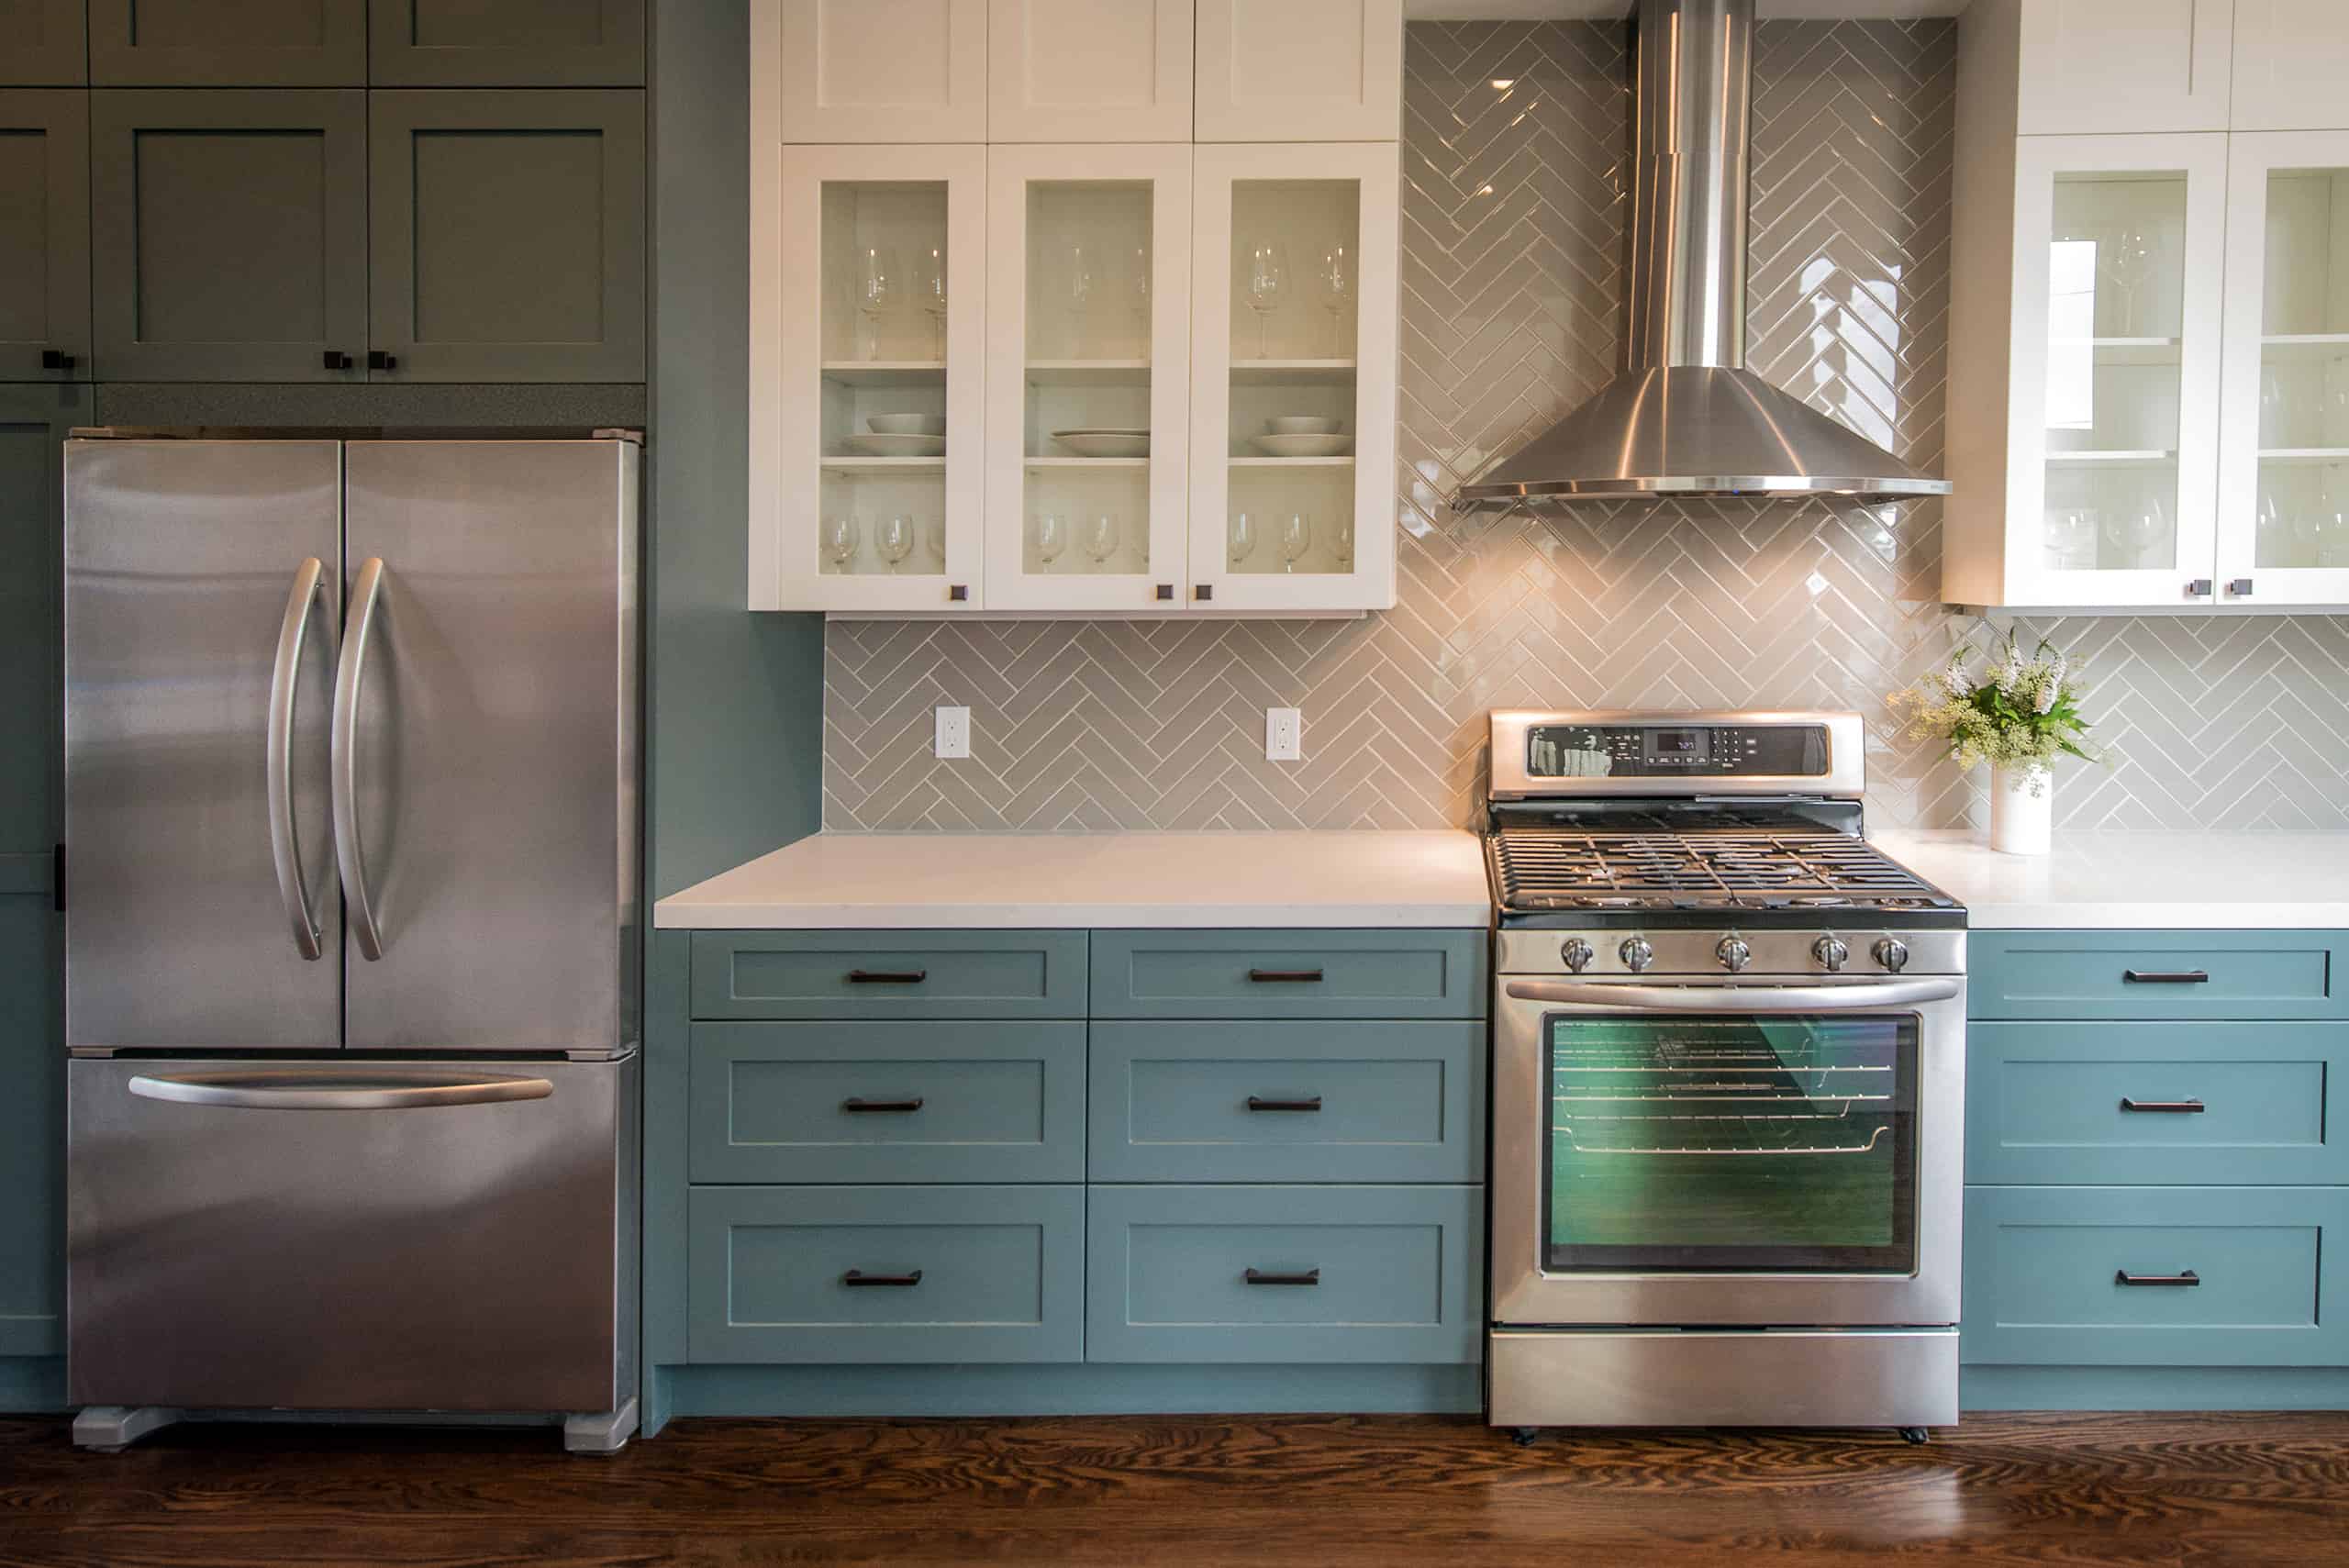
The placement of your cabinet hardware will vary depending on the type of hardware. The size of the hardware can also affect its placement. Large hardware will need a different placement than smaller hardware. The placement can also be different for drawers and doors. There are some general rules to follow. Below we have outlined the placement for cabinet drawers and cabinet doors.
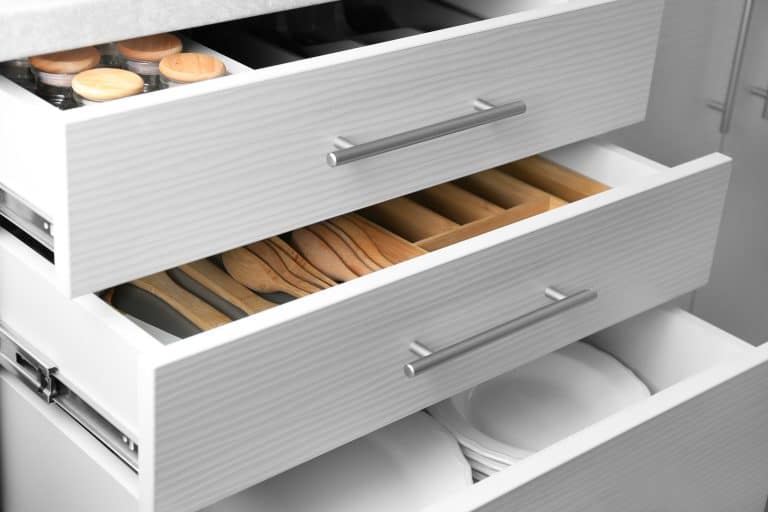

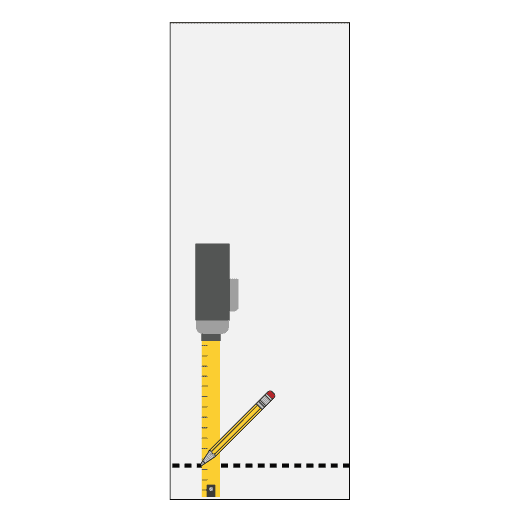
On drawers, install the pulls horizontally. The placement of the cabinet hardware from top to bottom can vary. It could also vary depending on the size of the drawer front. In general, drawer pulls are going to follow some common placements, just make sure that the placement of the drawer pull doesn’t interfere with the functionality of the drawer. Common placements for drawer pulls are as follows:
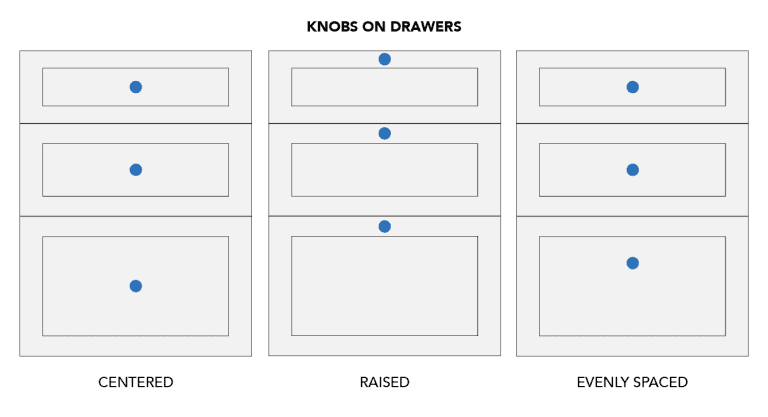
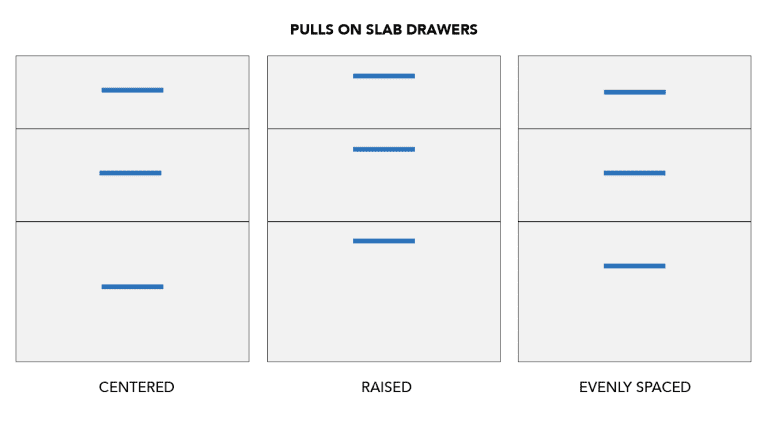
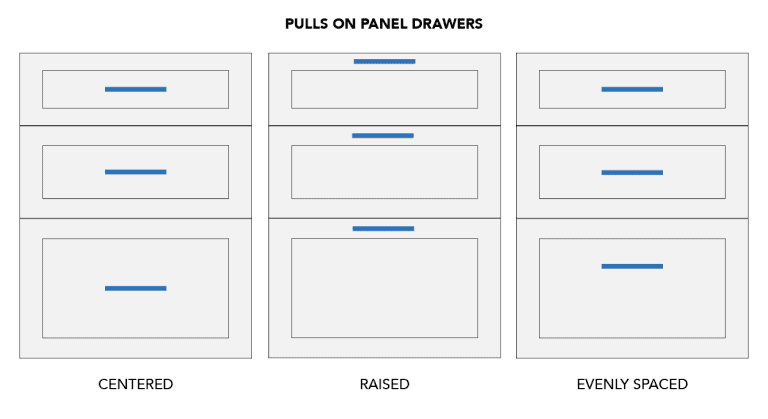
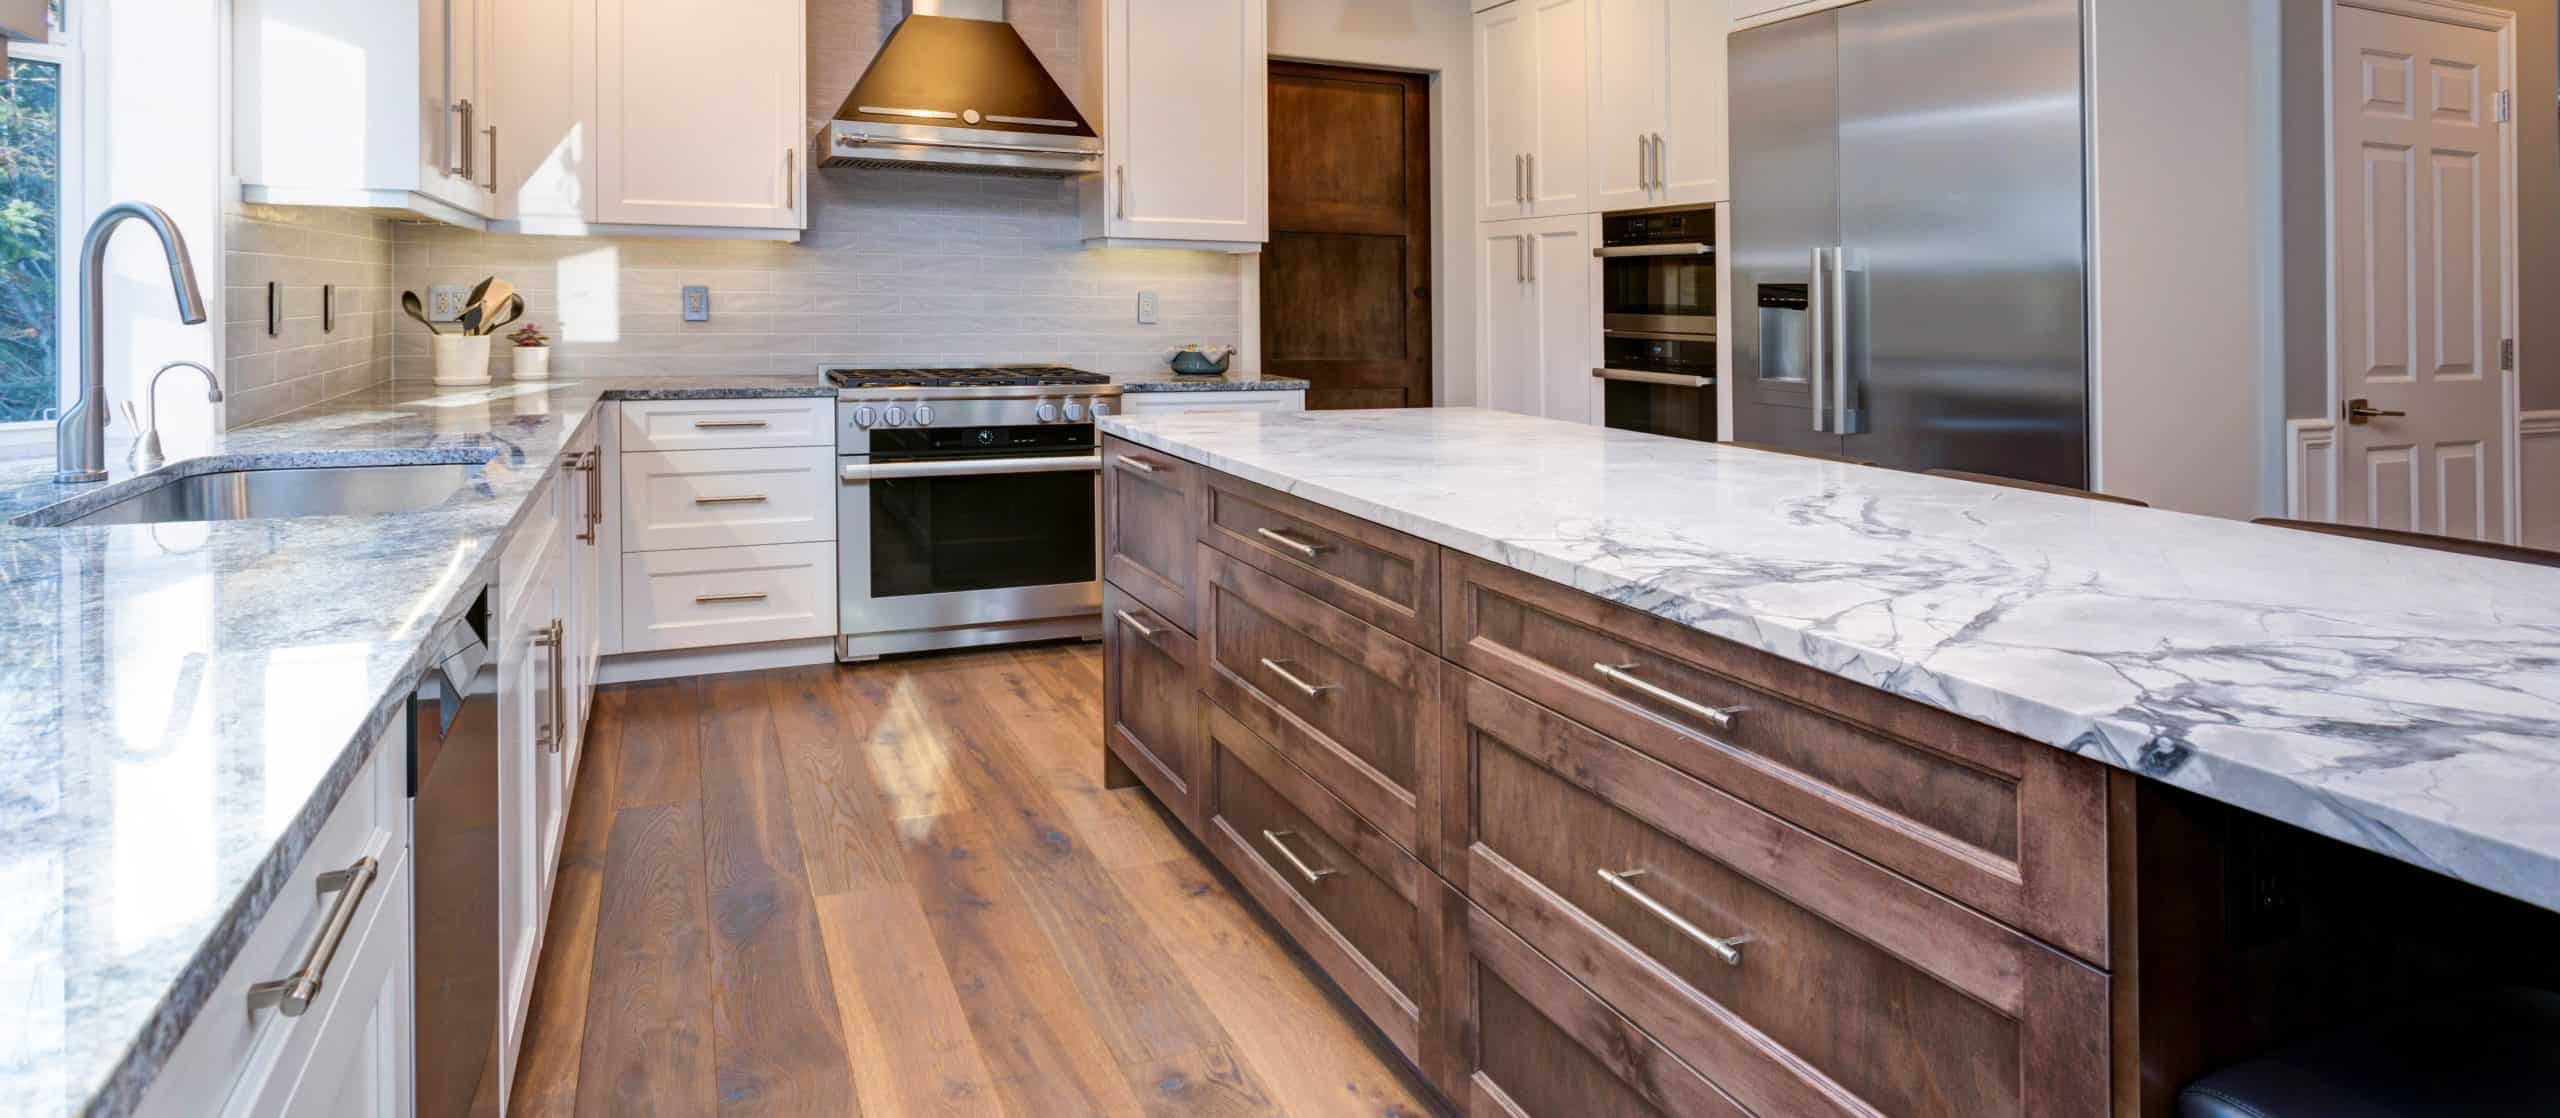
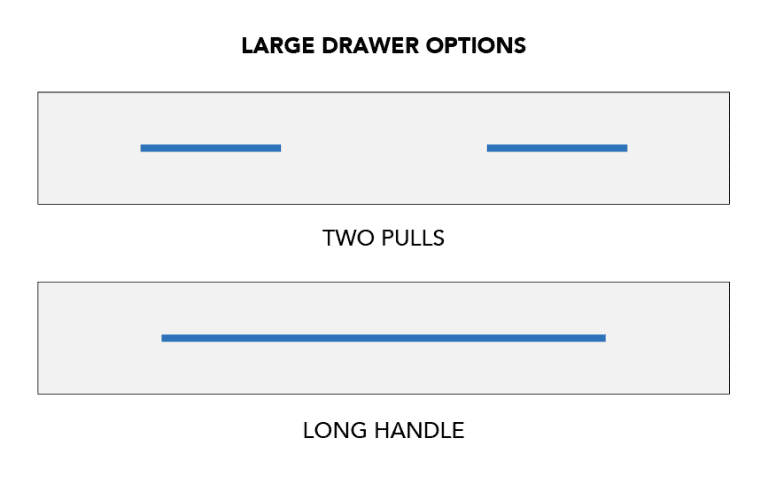
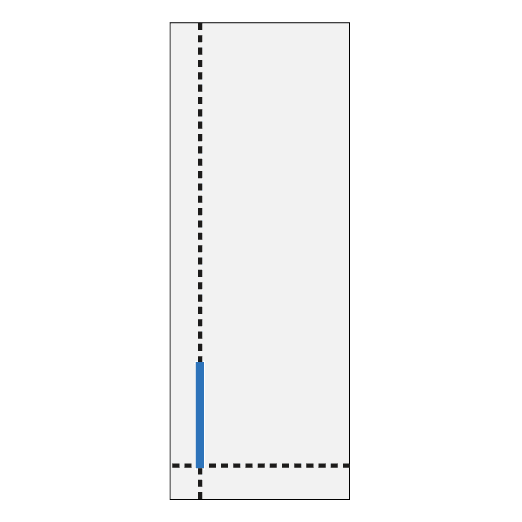
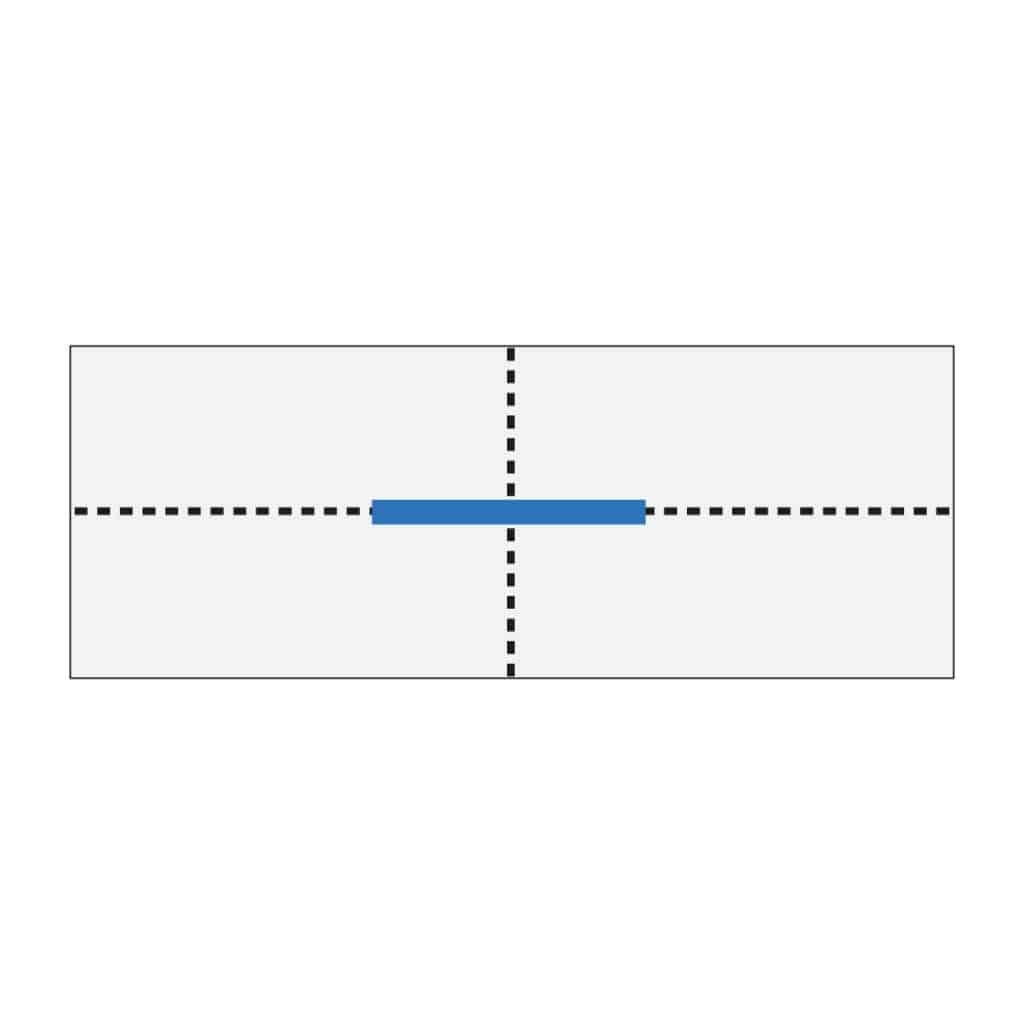
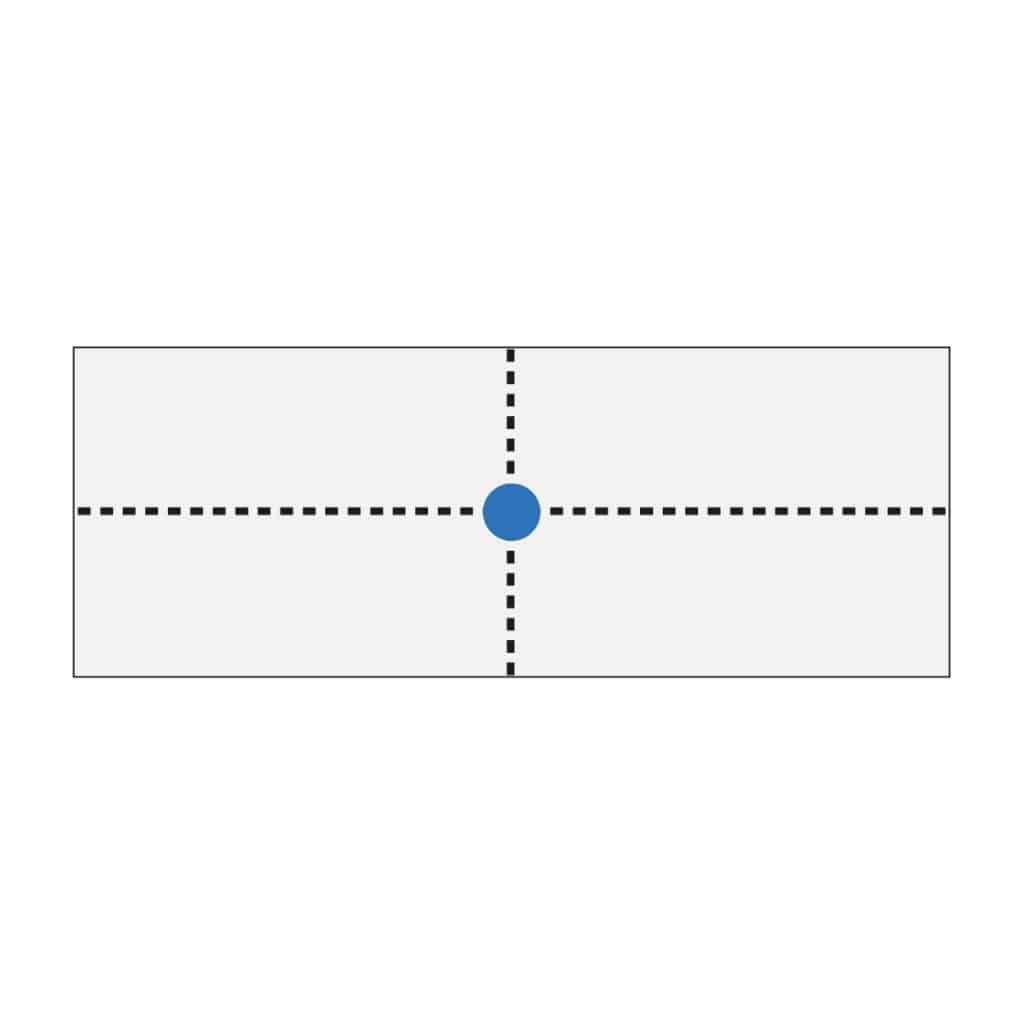
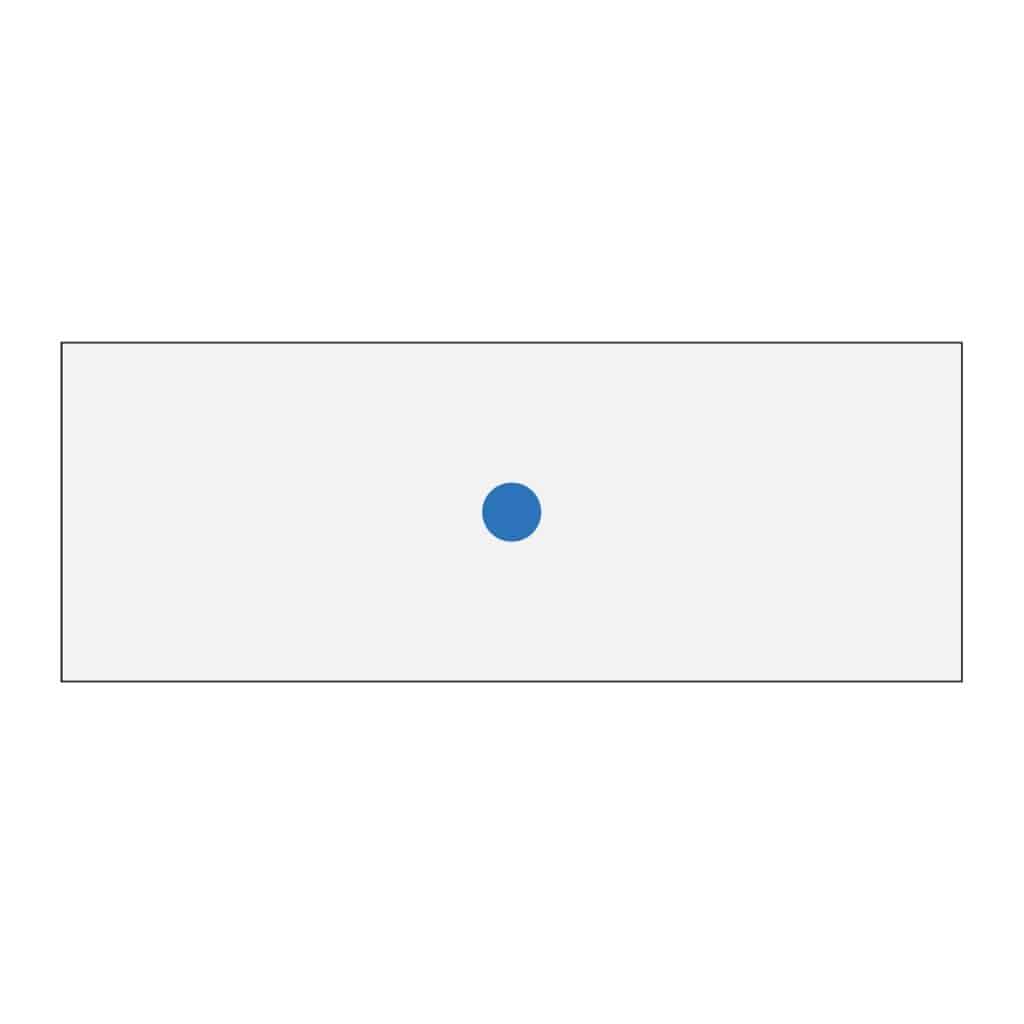
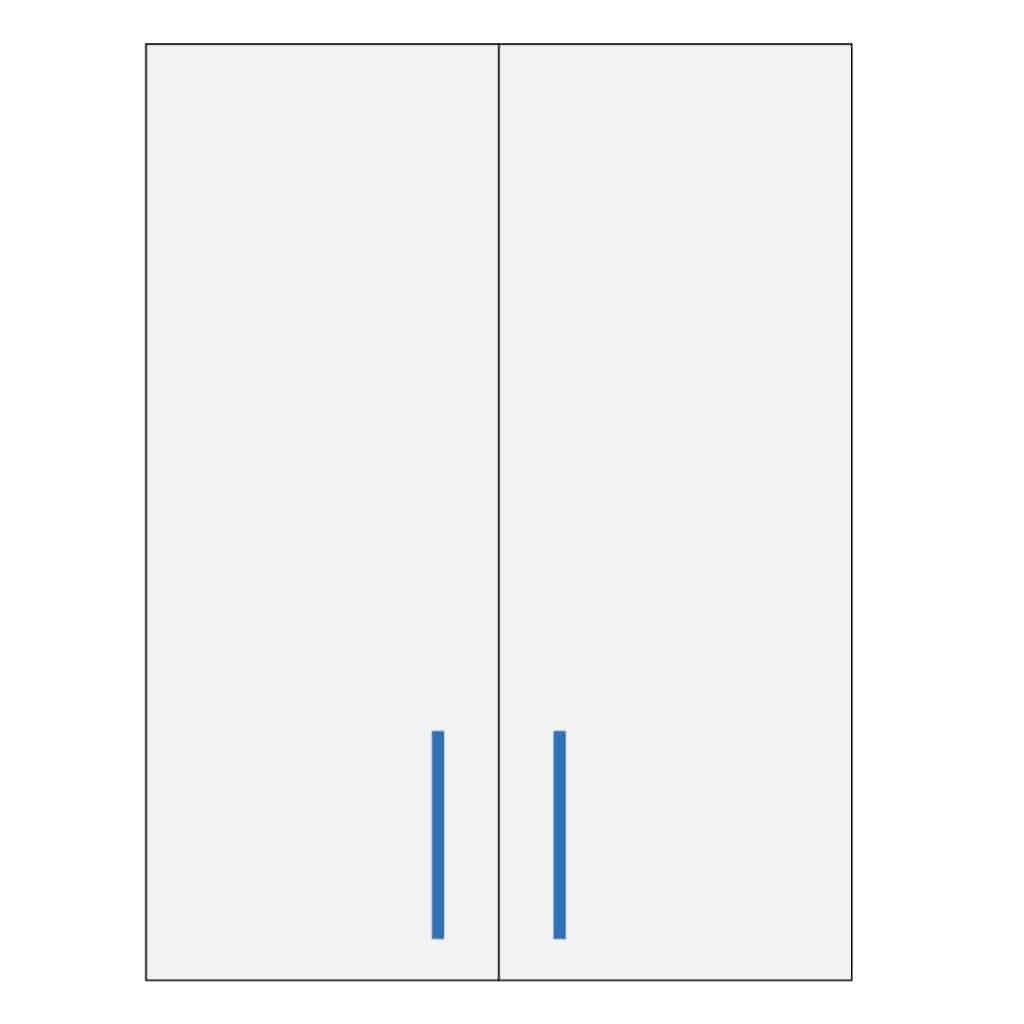
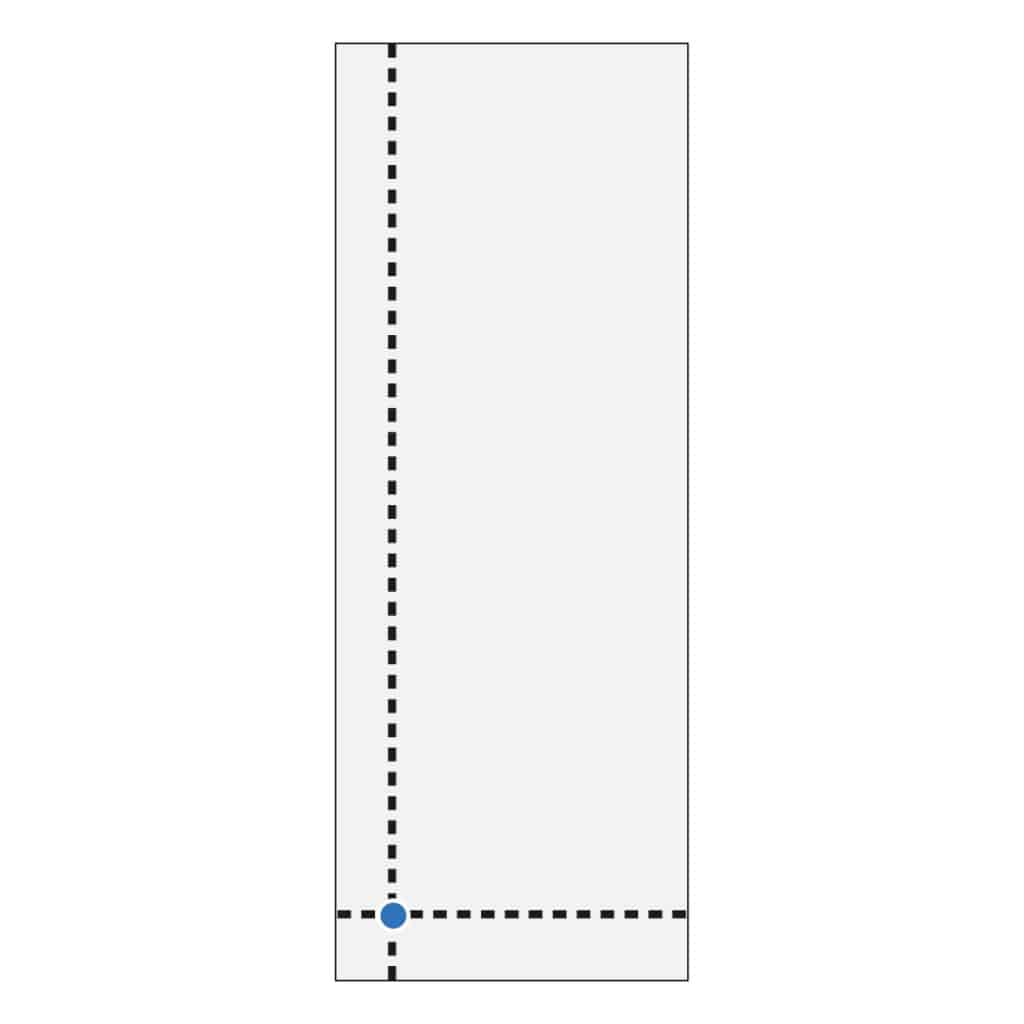
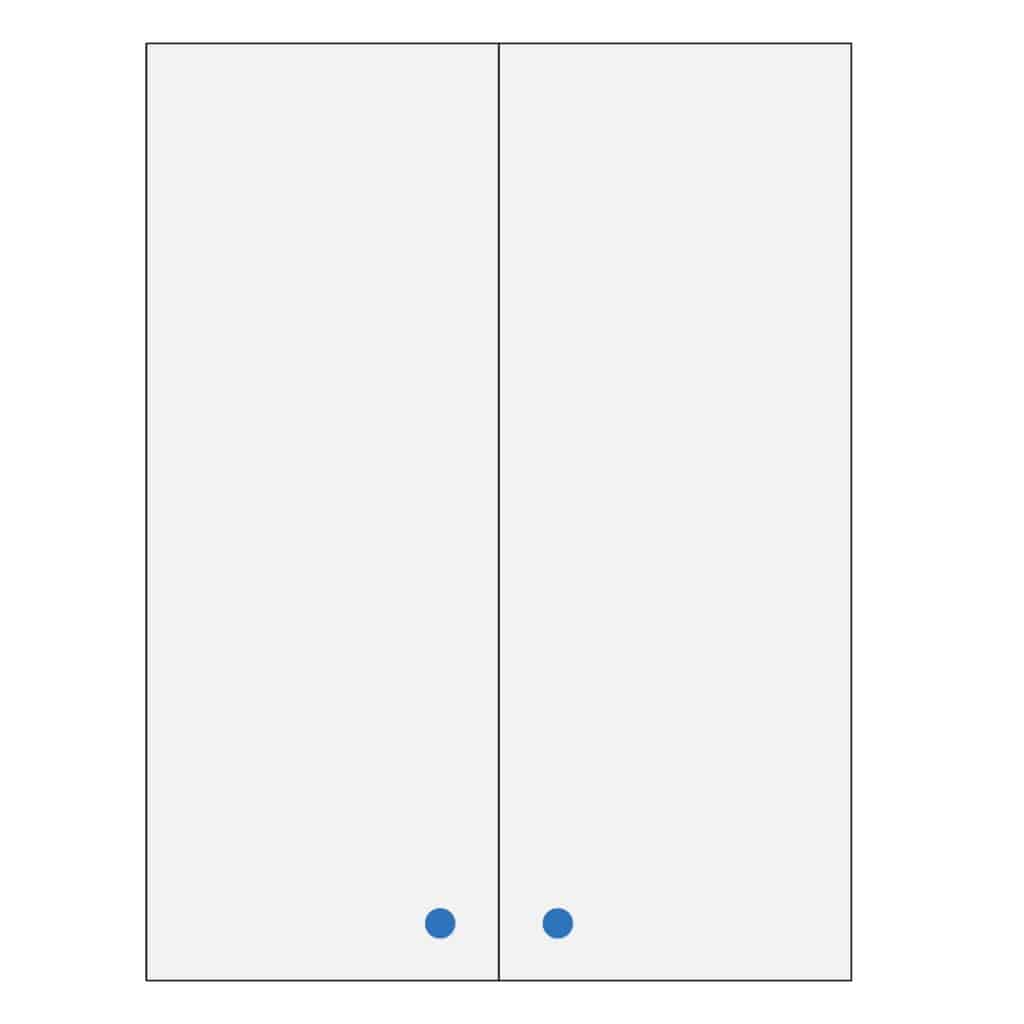
The placement of cabinet hardware is generally centered from left to right on the drawer front on cabinet drawers. The exception to this is where the drawer width is 24 inches or greater. In this case, you would have the option to use two drawer knobs or pulls that would be spaced evenly across the width of the drawer front. To find the best placement, simply hold up both pulls and mark where they are most aesthetically pleasing to you. There is no exact science to measuring this placement, as it varies based on pull size and drawer width. You could also use an oversized pull that would cover ½ to ⅔ the width of the drawer. The larger pull covers more area of the drawer front and makes it easier to pull open.
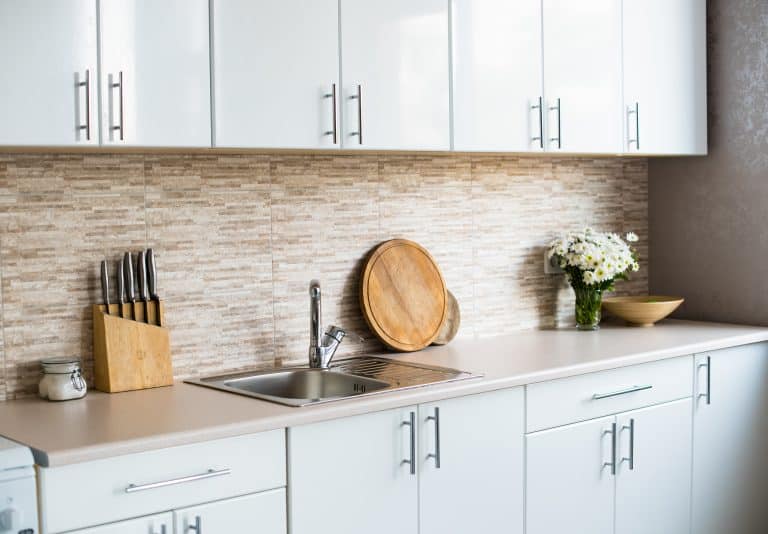
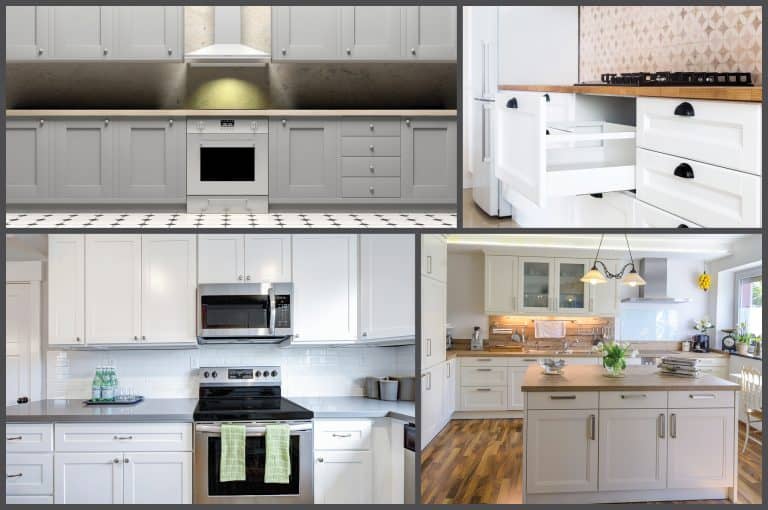
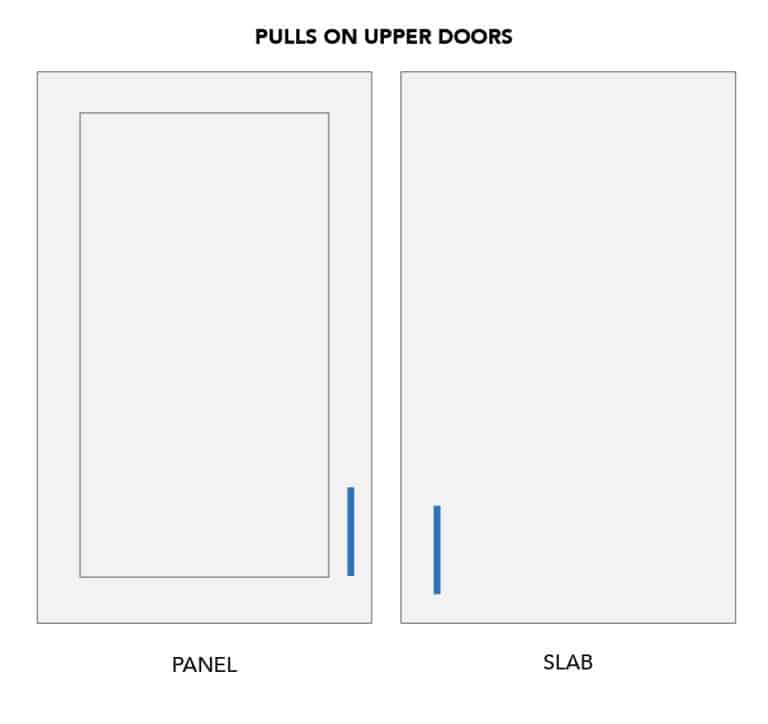
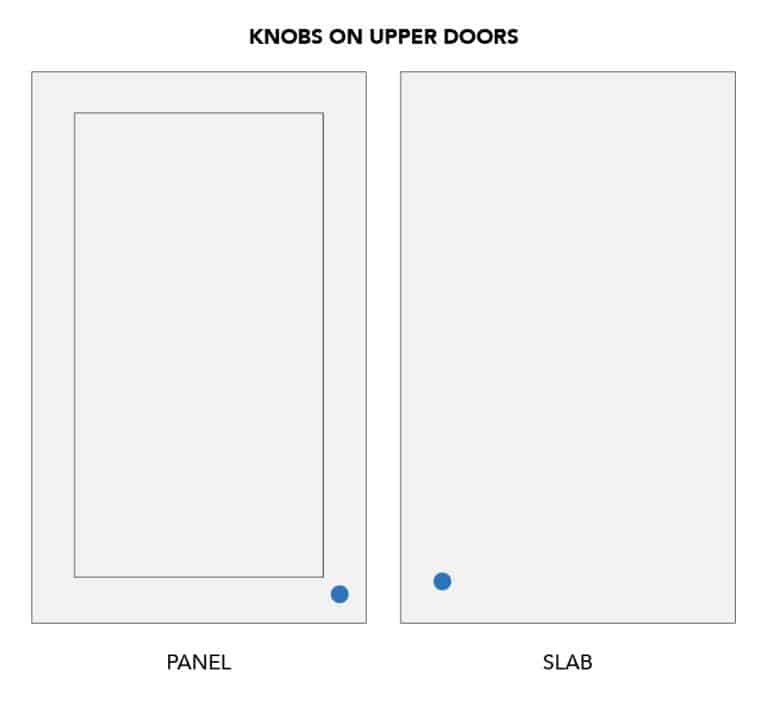
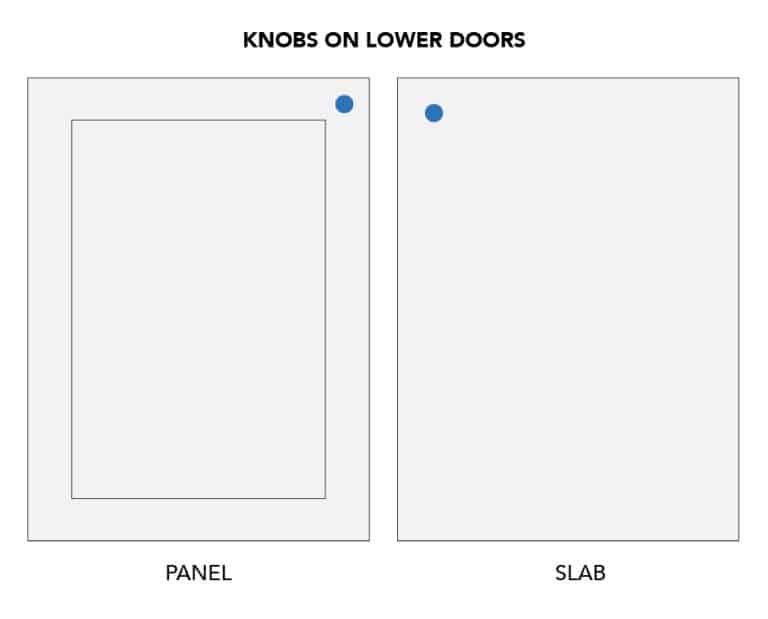
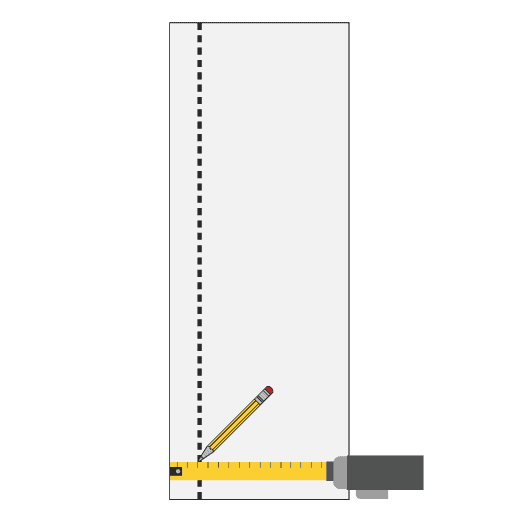
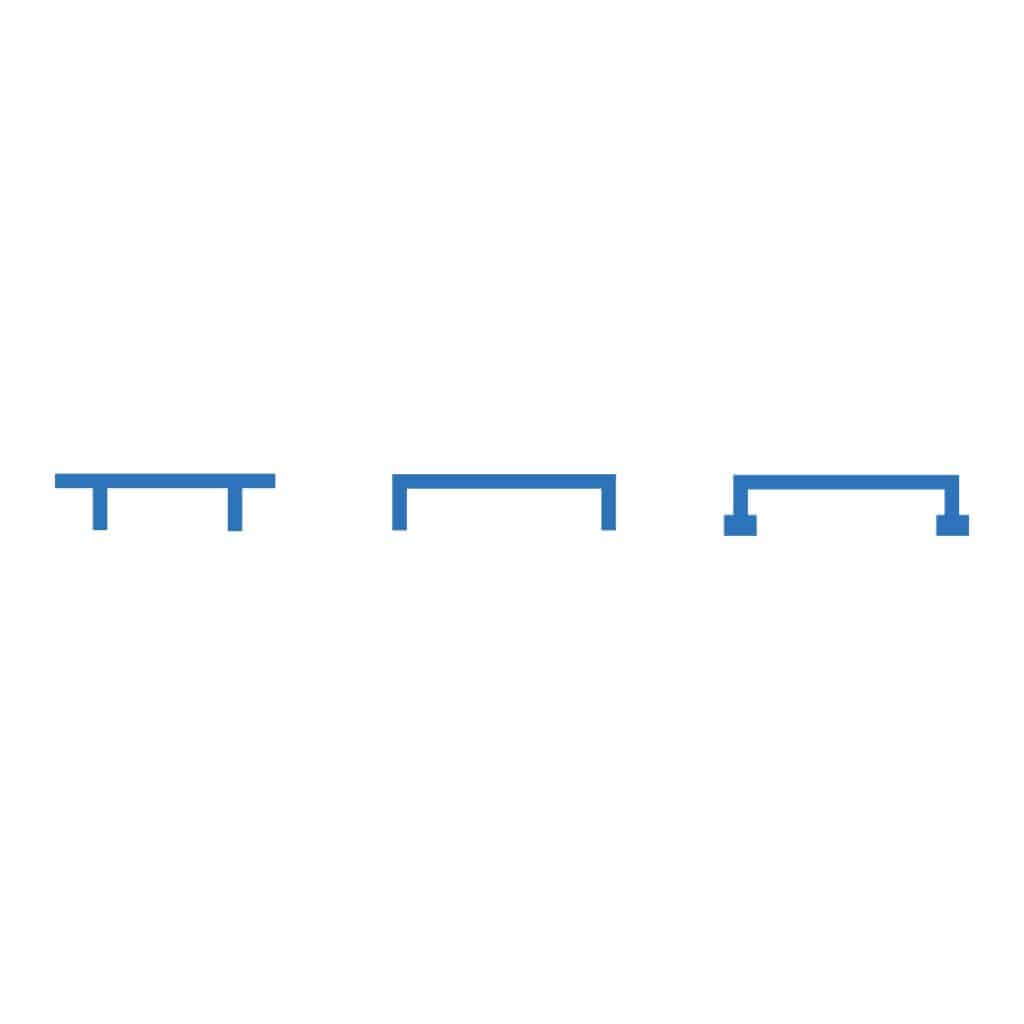
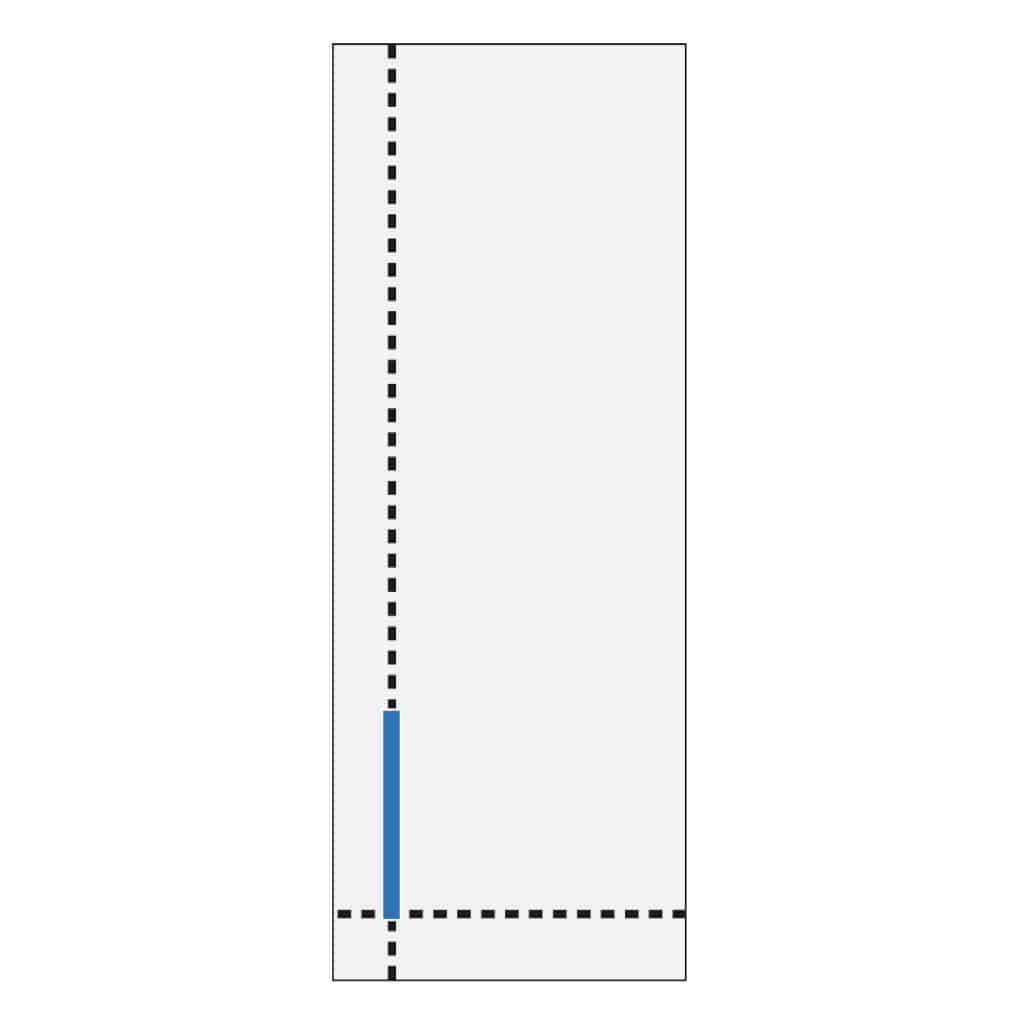
Cabinet hardware placement on doors also varies depending on personal preference and taste. But, there is a lot less room for interpretation. The door hardware needs to be functional, so ensure that the hardware placement doesn’t affect the functionality of the cabinet doors.. Below are the general rules for installing cabinet door hardware.
You have your cabinet hardware. You have figured out the best placement of the hardware. How do you install the hardware?
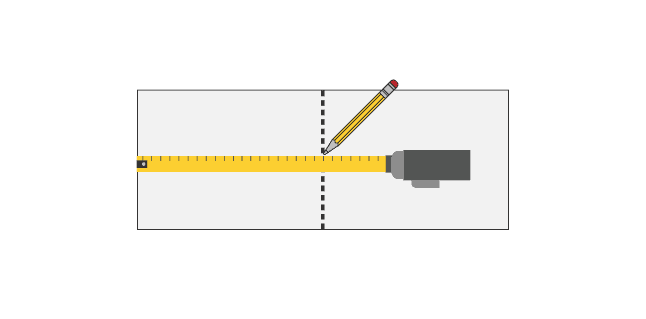
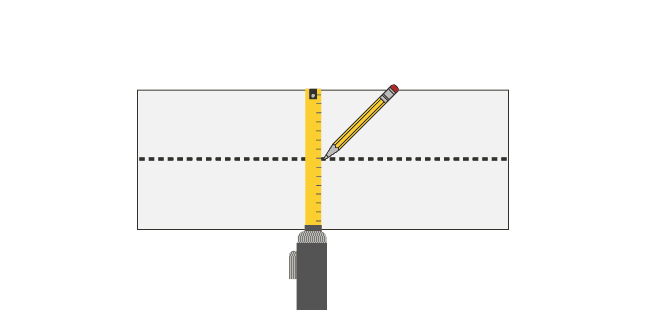
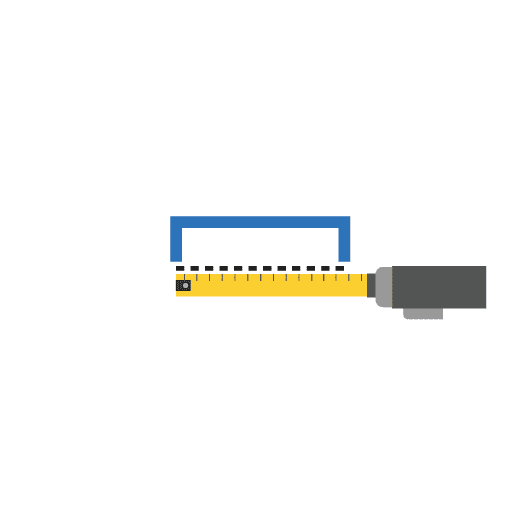
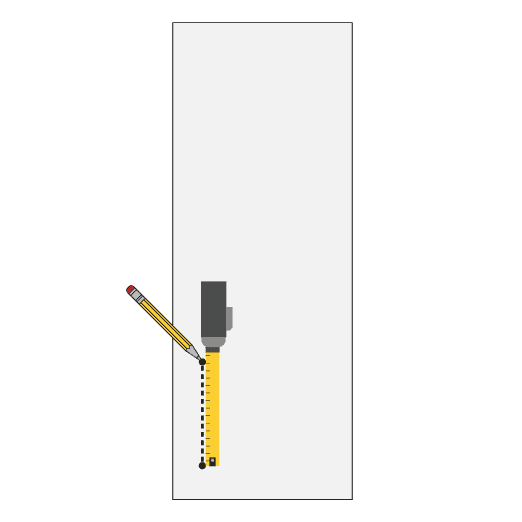
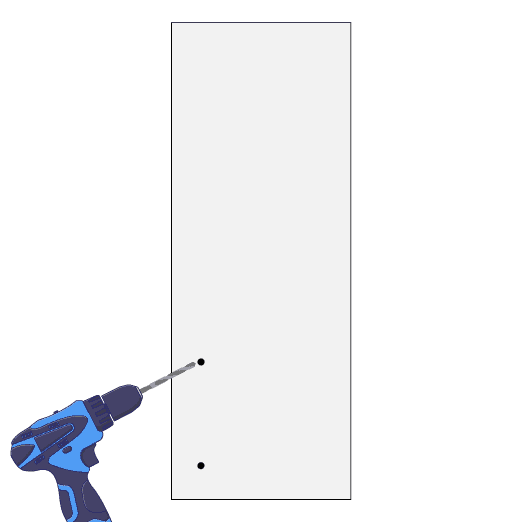
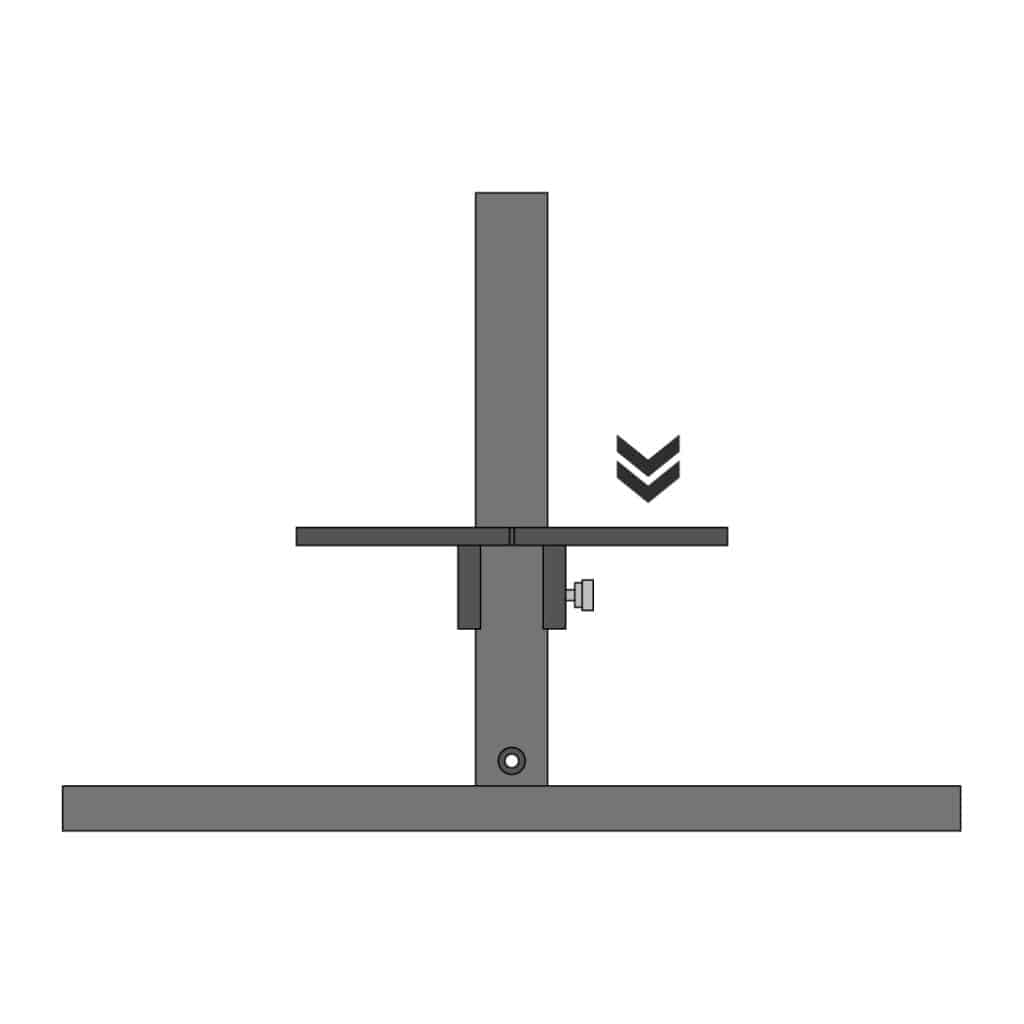
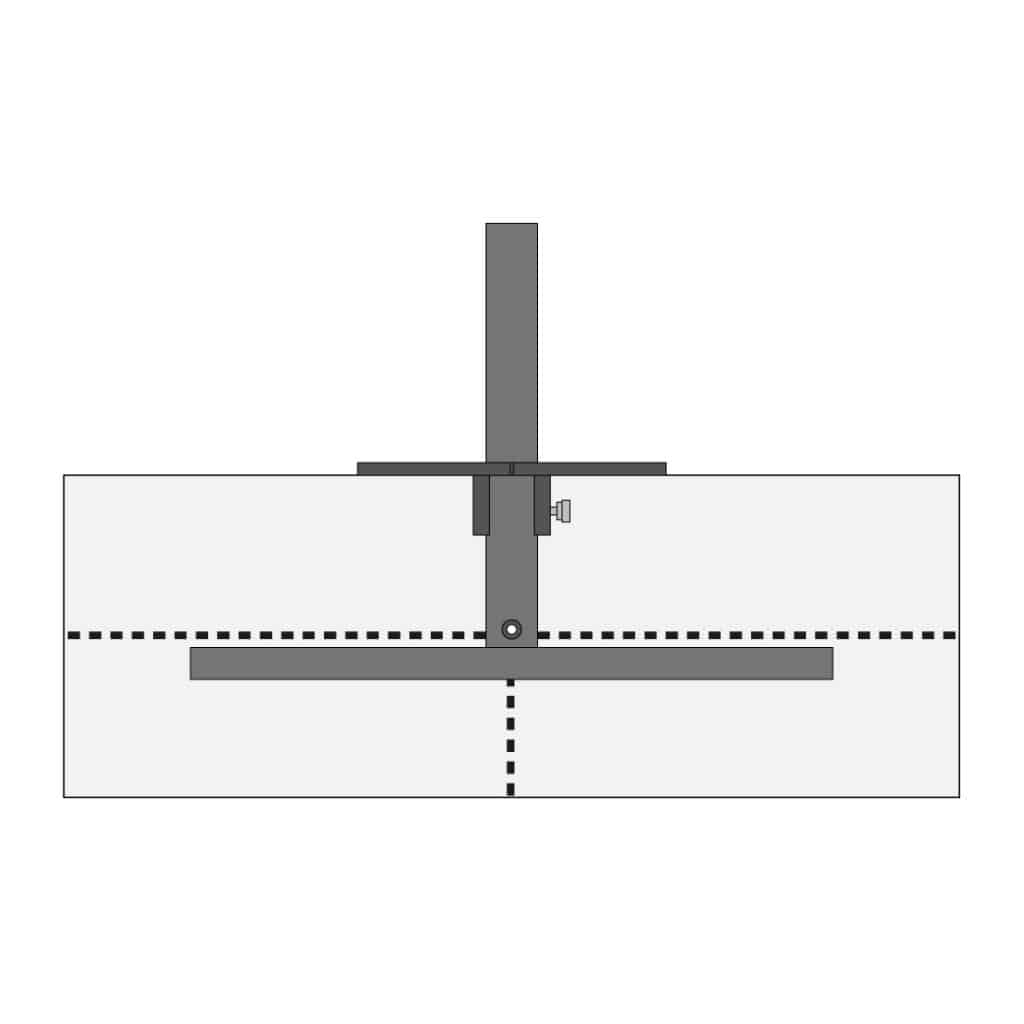
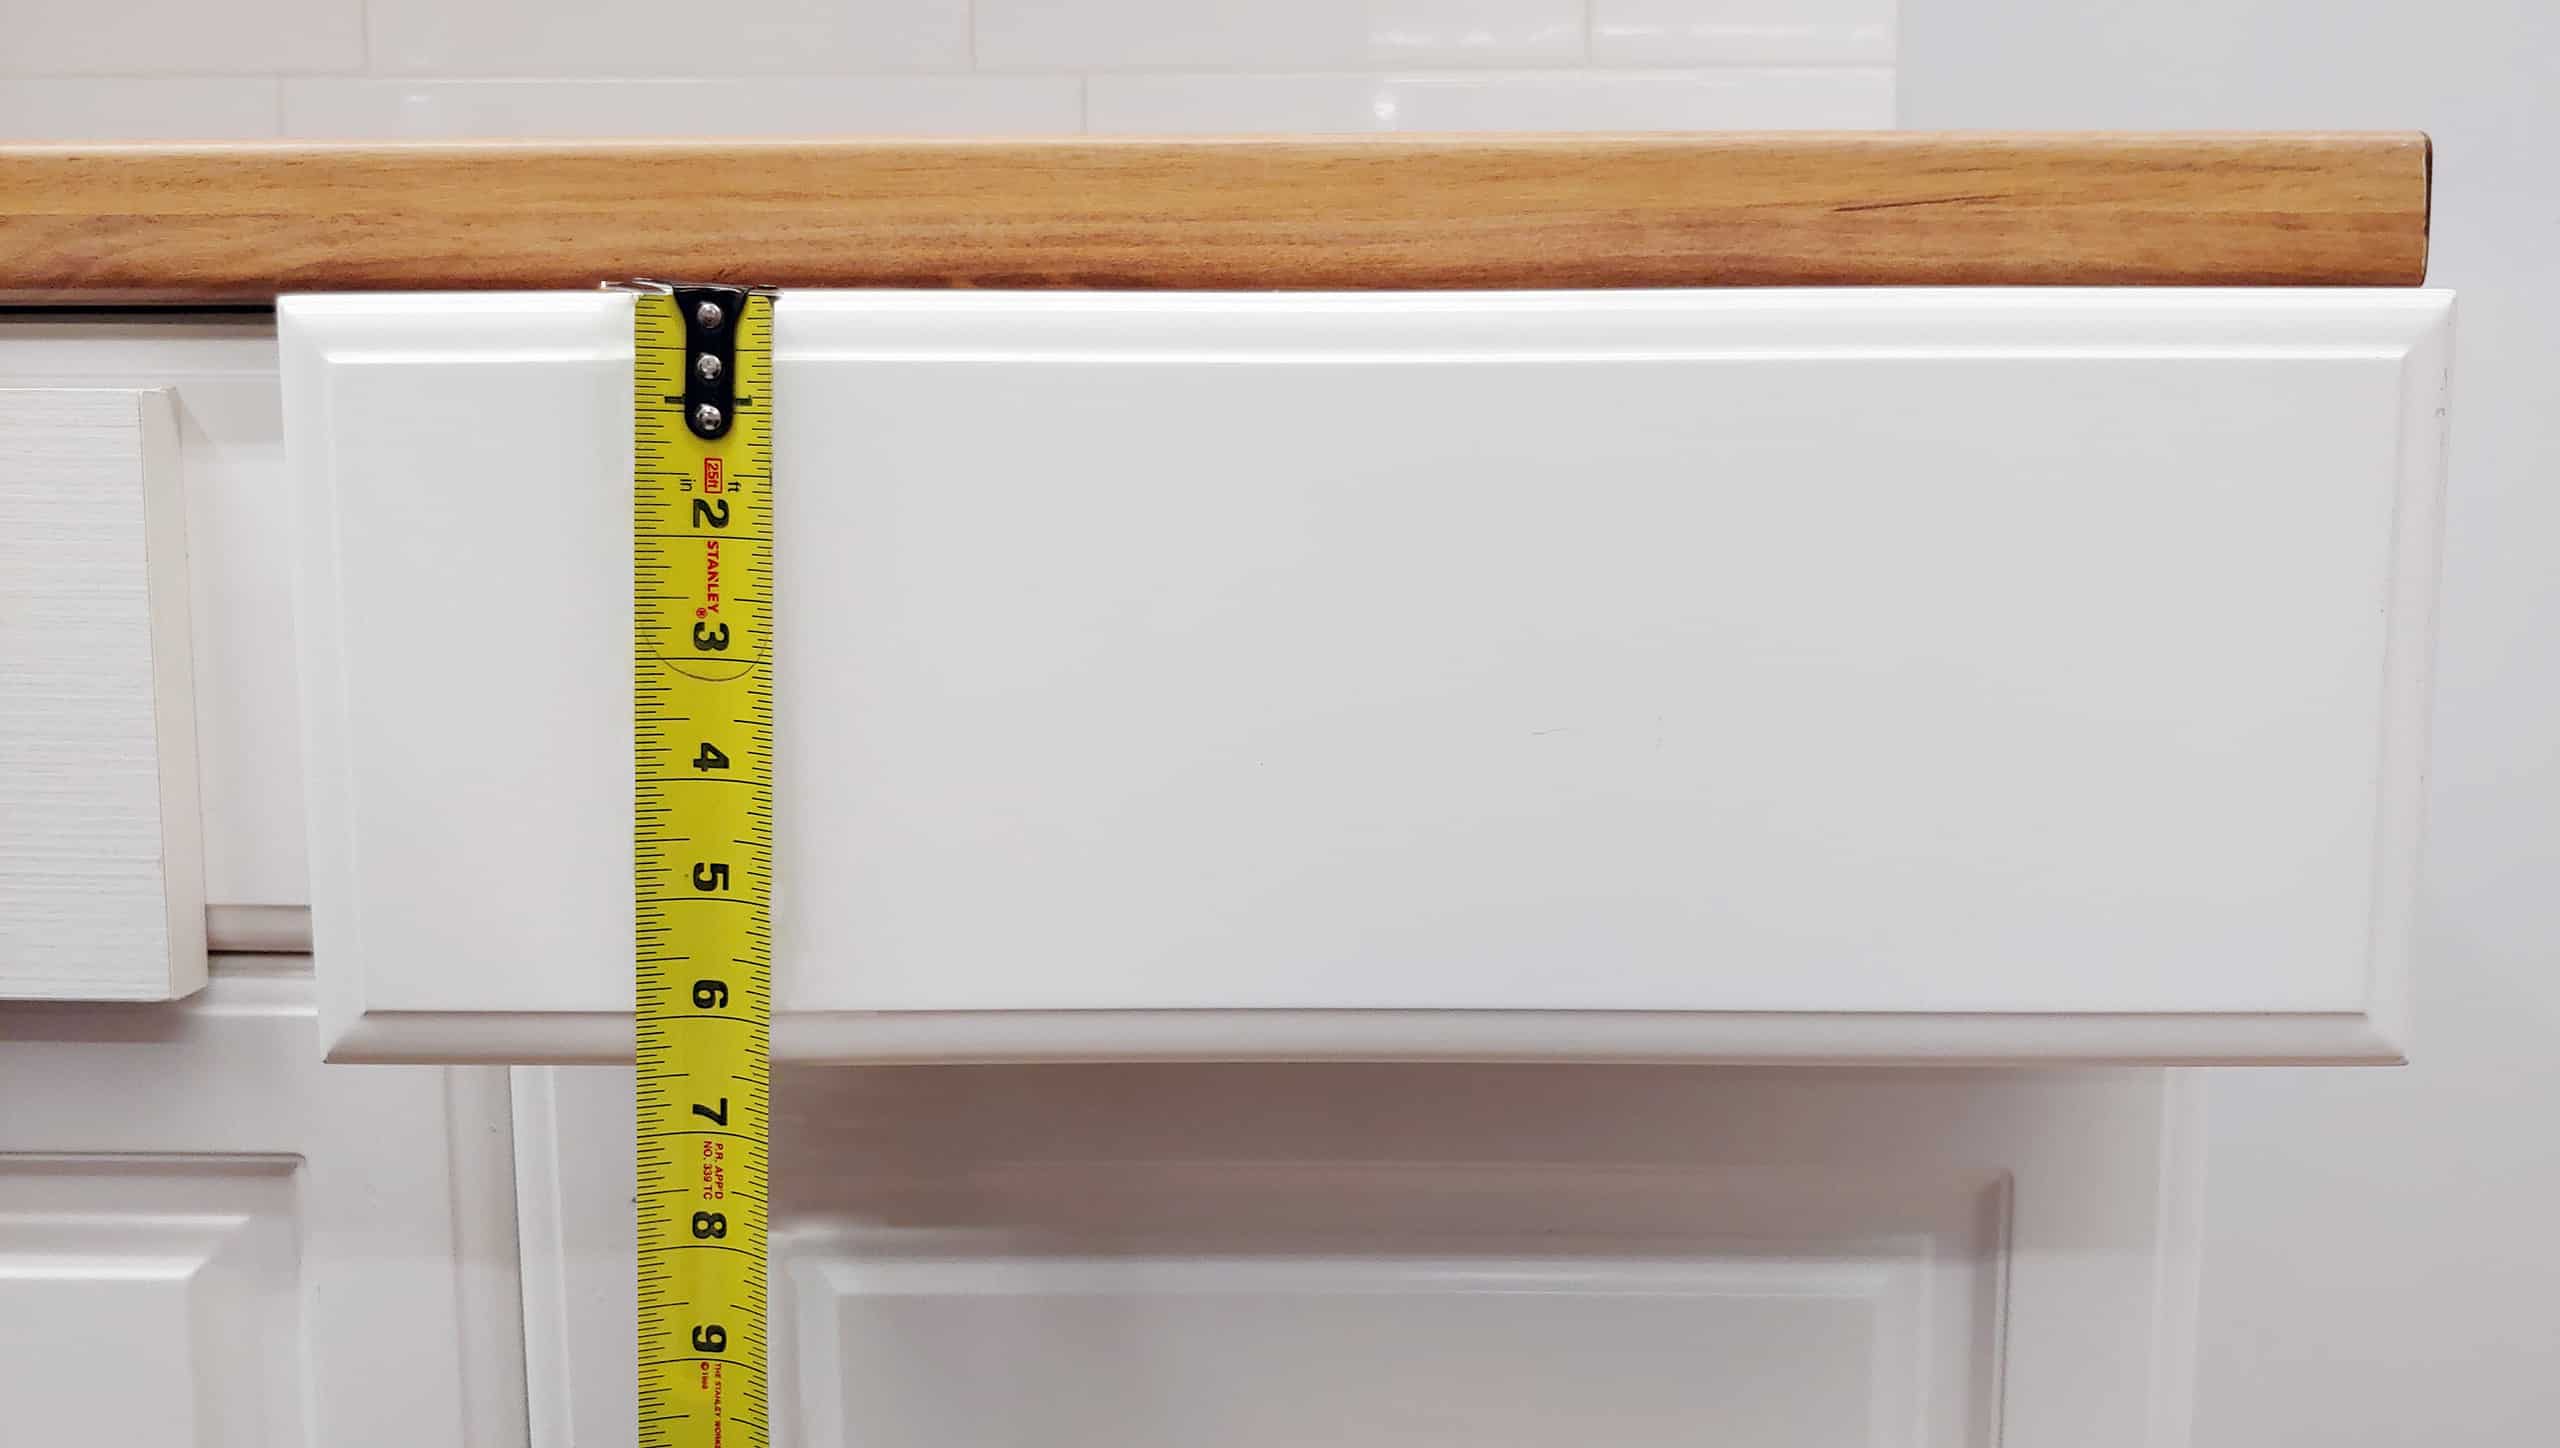
The most basic method is to measure and mark the holes for your hardware onto every door and drawer completely by hand. Though this method is the cheapest, requiring no additional tools, it is extremely tedious and prone to expensive errors. Even one mistake is a costly one when it comes to kitchen cabinets.


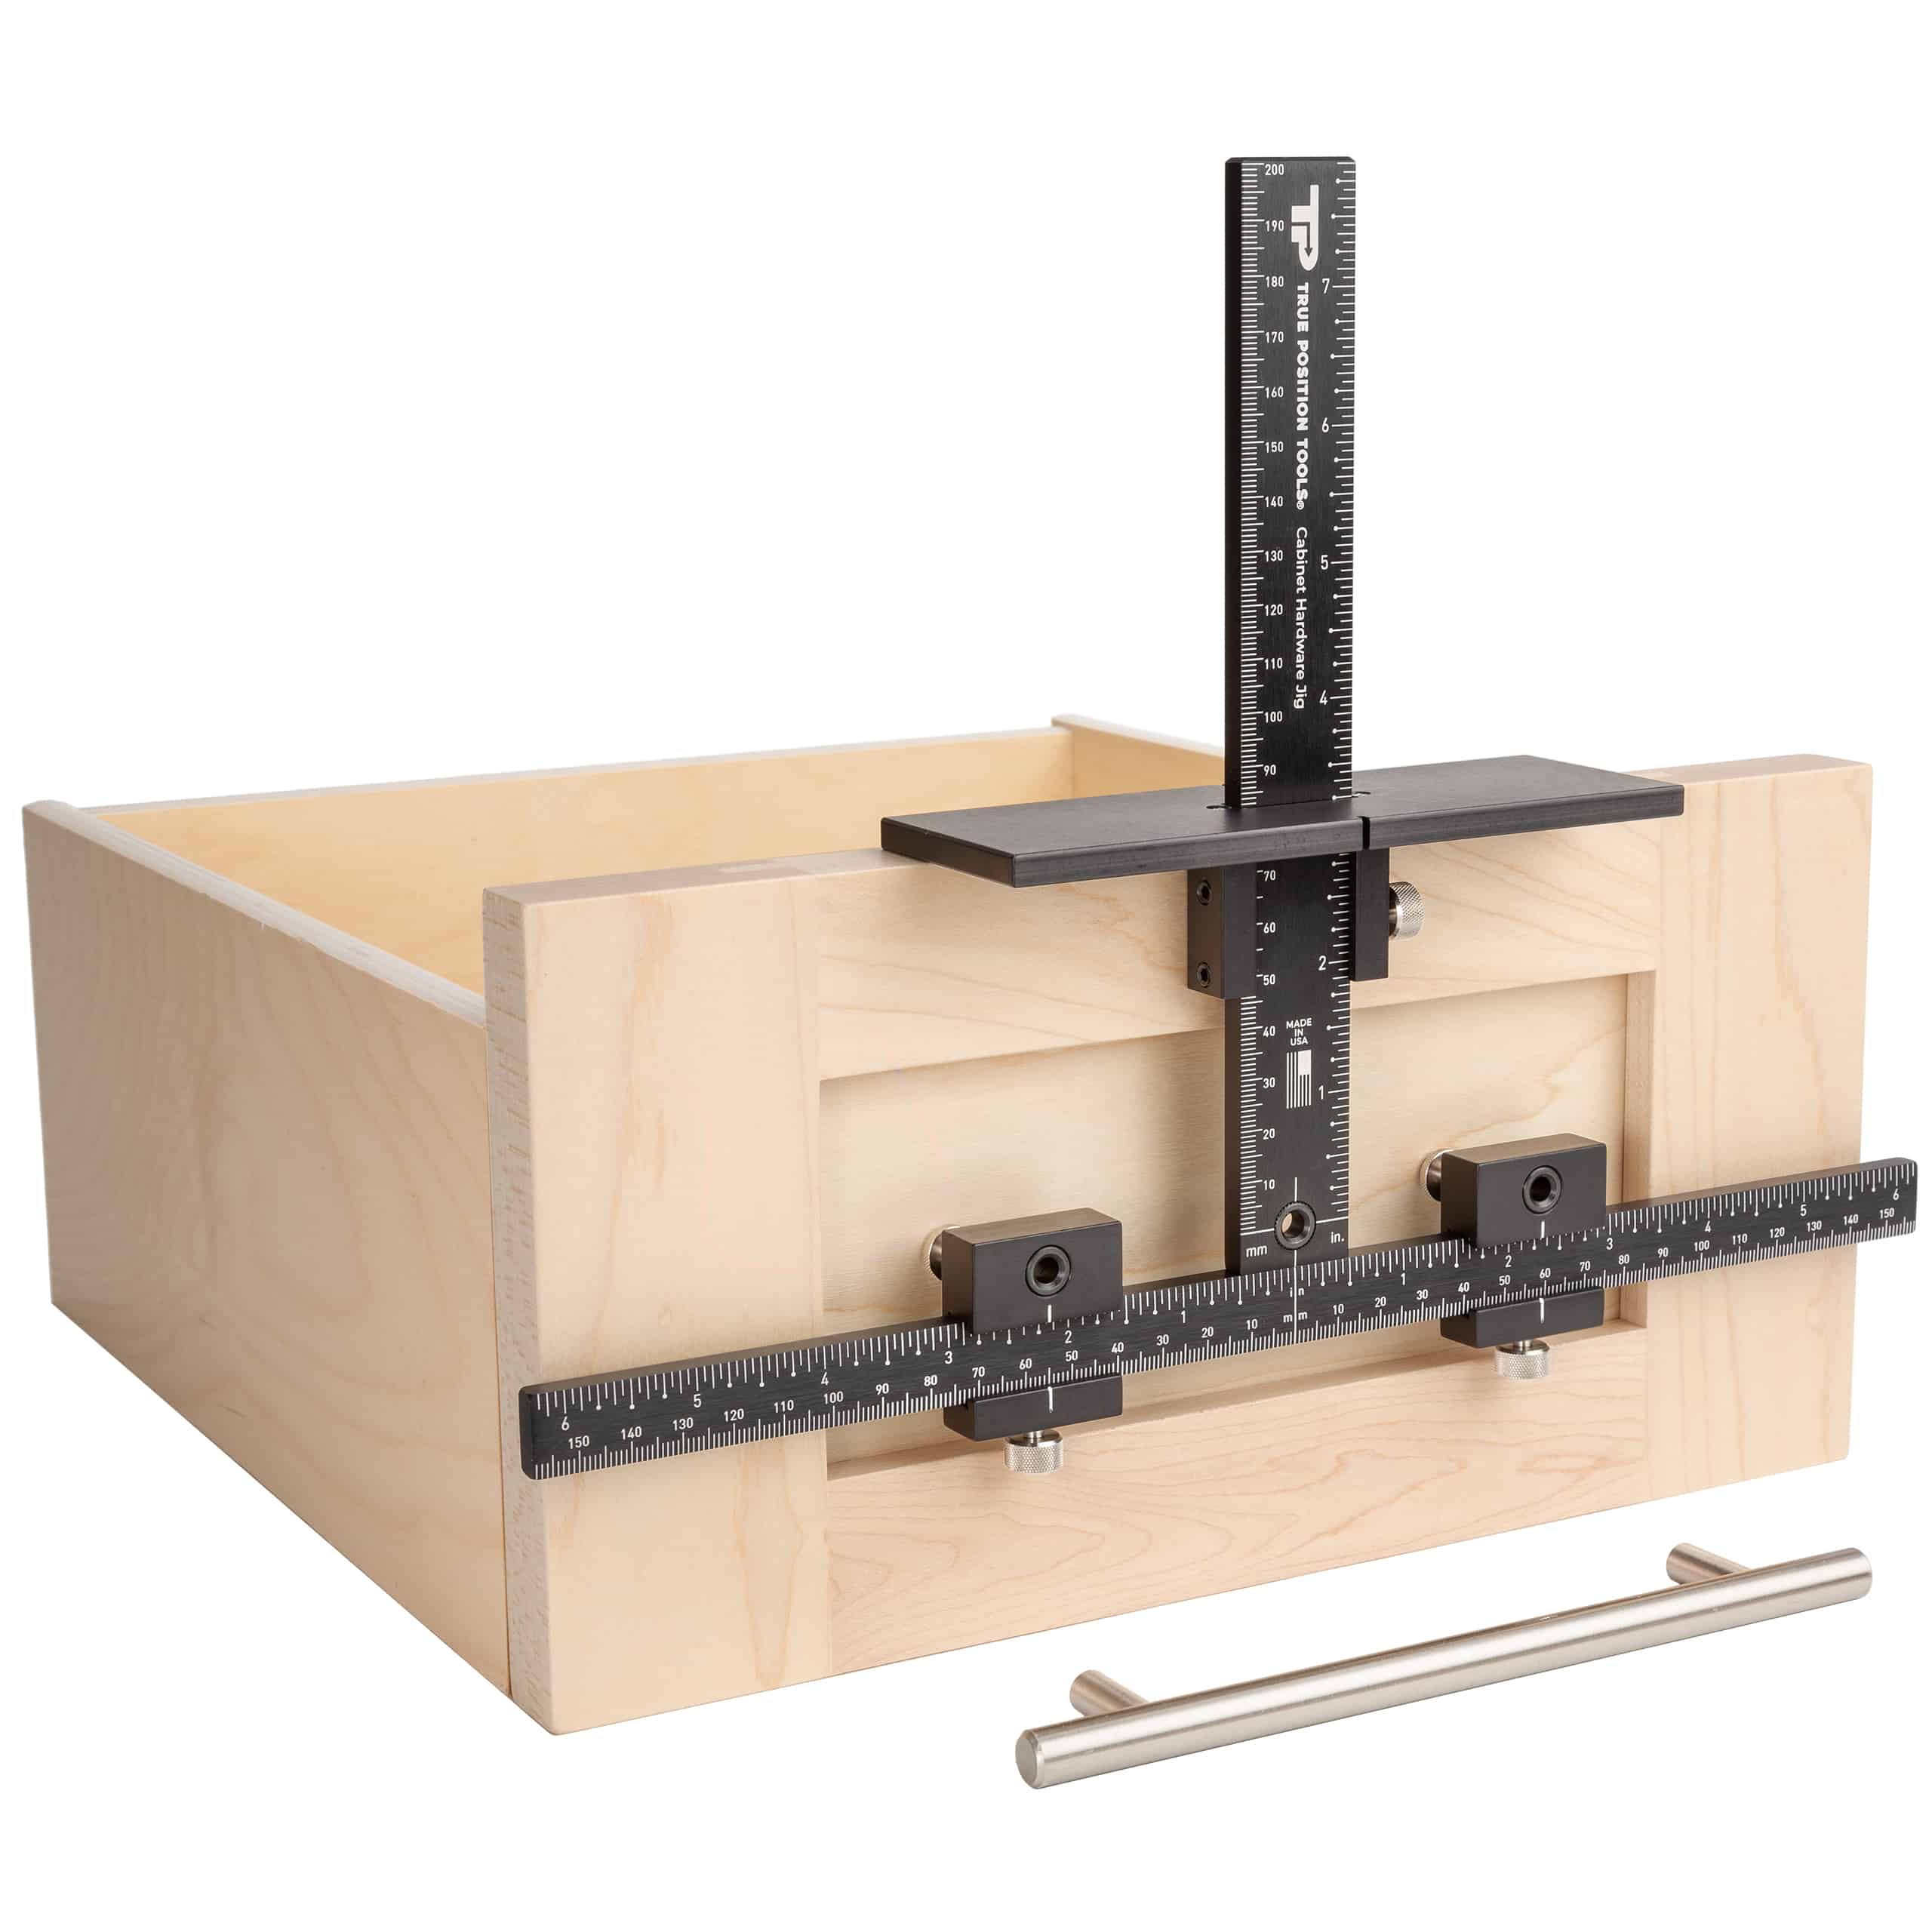
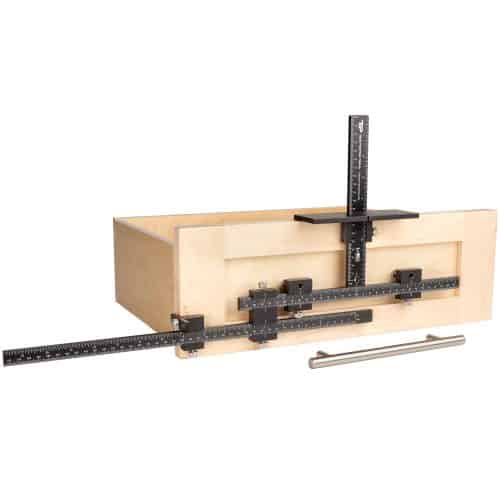
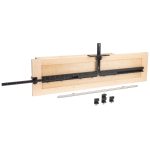
The True Position Tools Cabinet Hardware Jig ORIGINAL is the best bang for your buck option in our lineup. Install knobs and handles in seconds with the most accurate jig on the market. Perfect results every time on any cabinet door or drawer front.
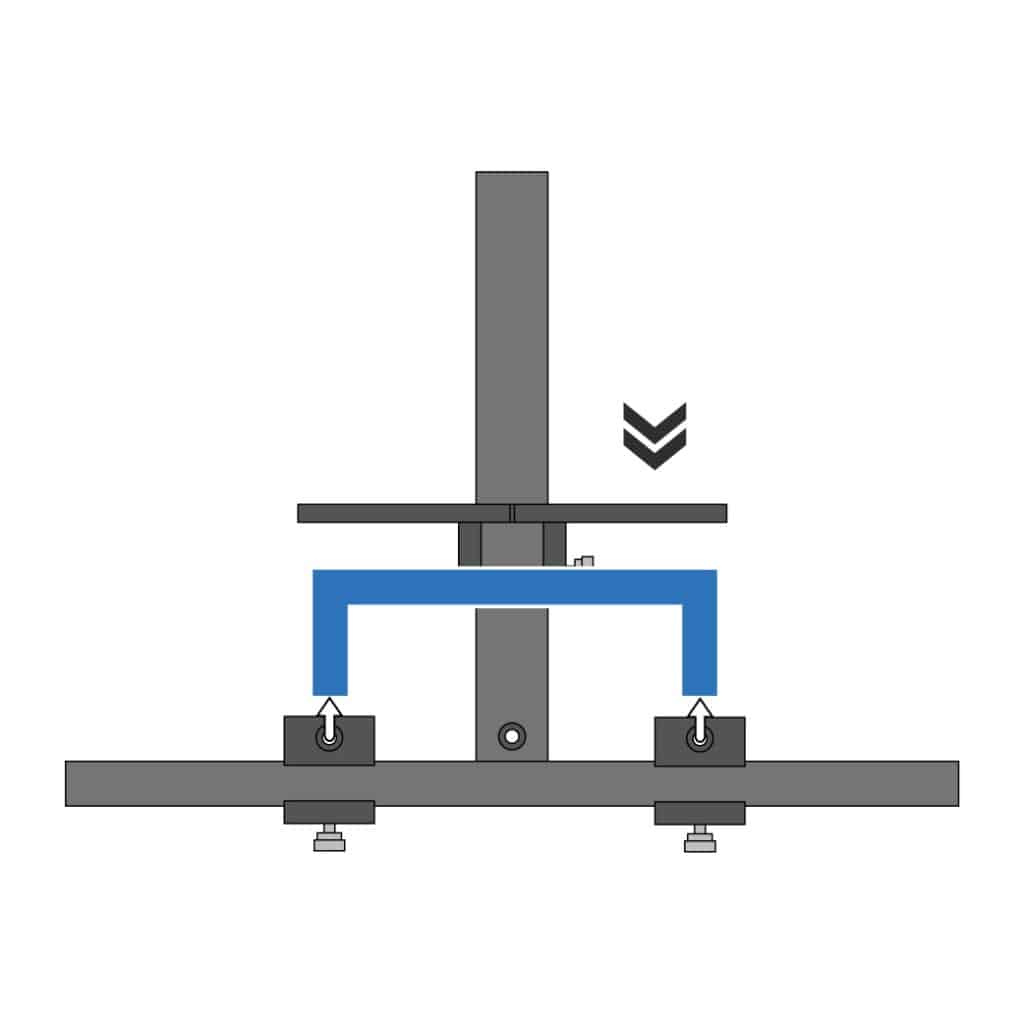
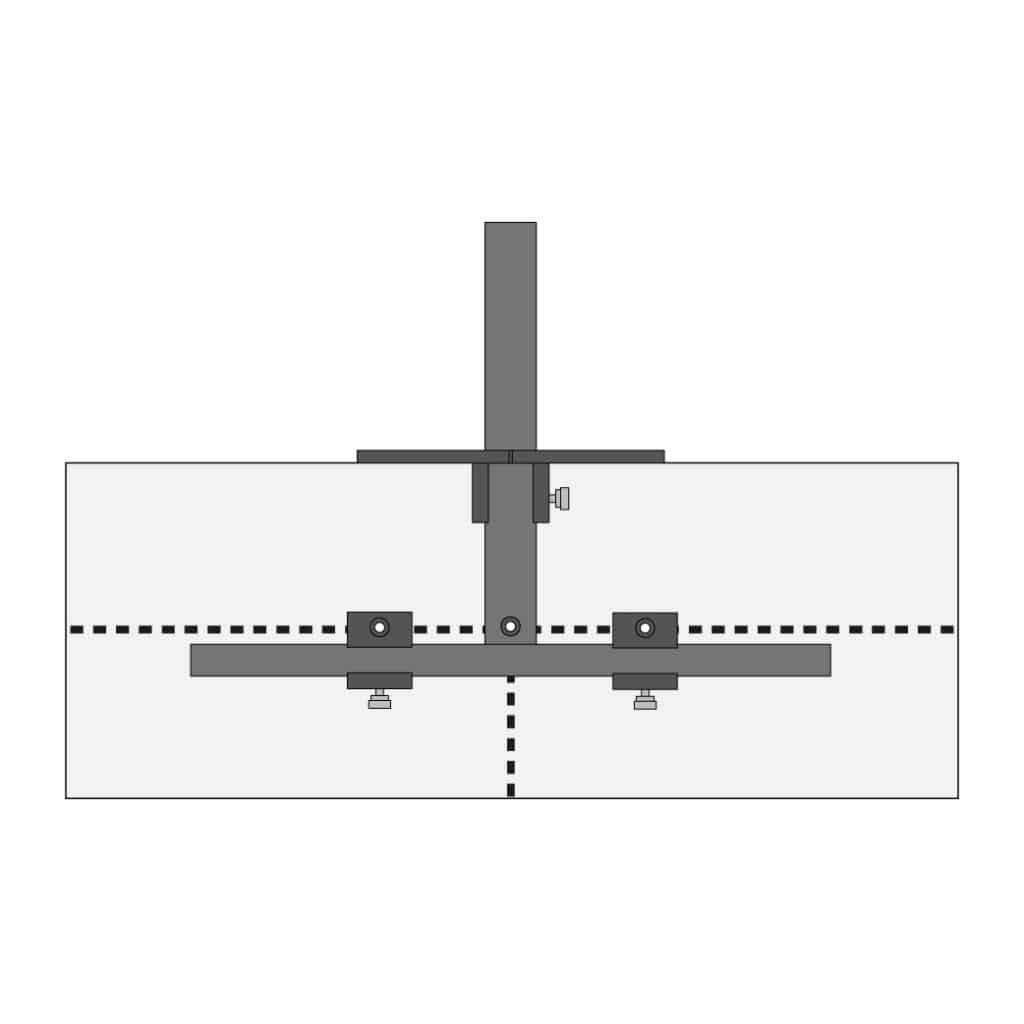
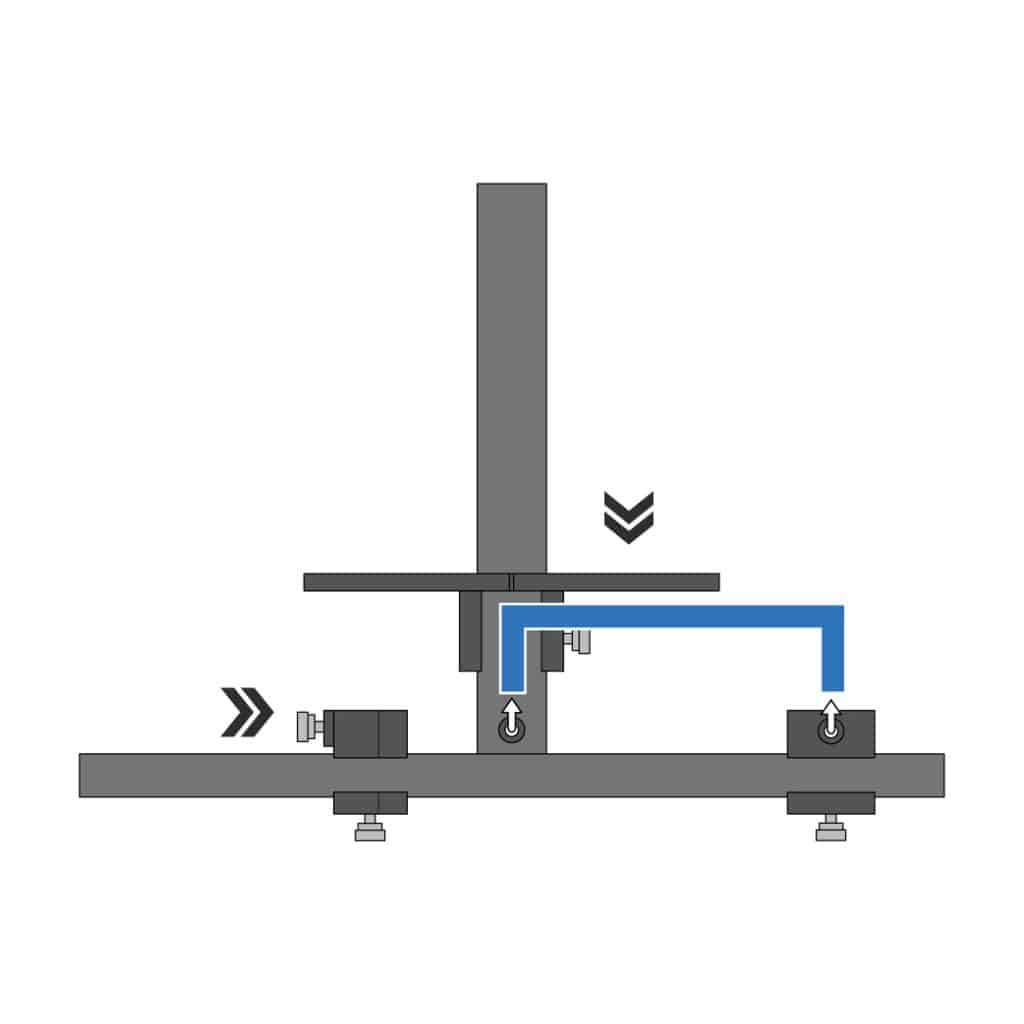
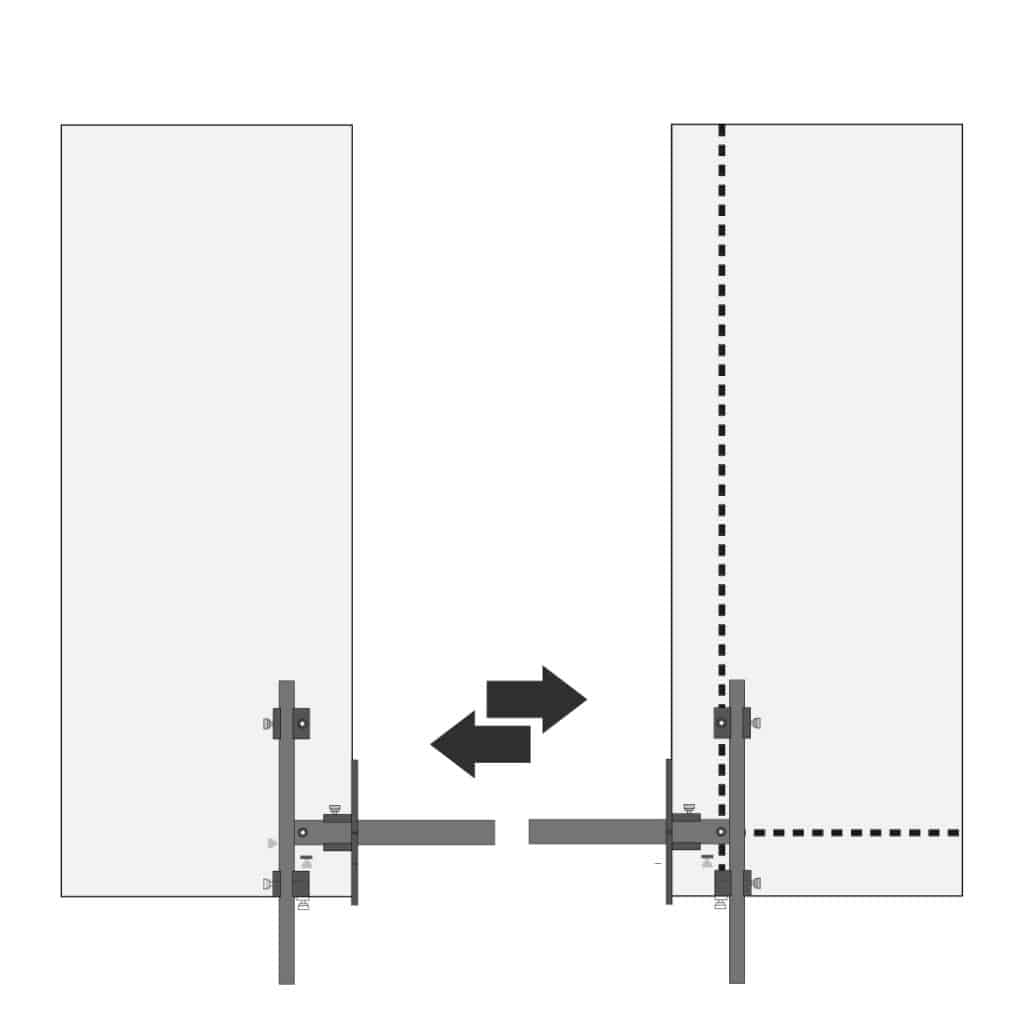
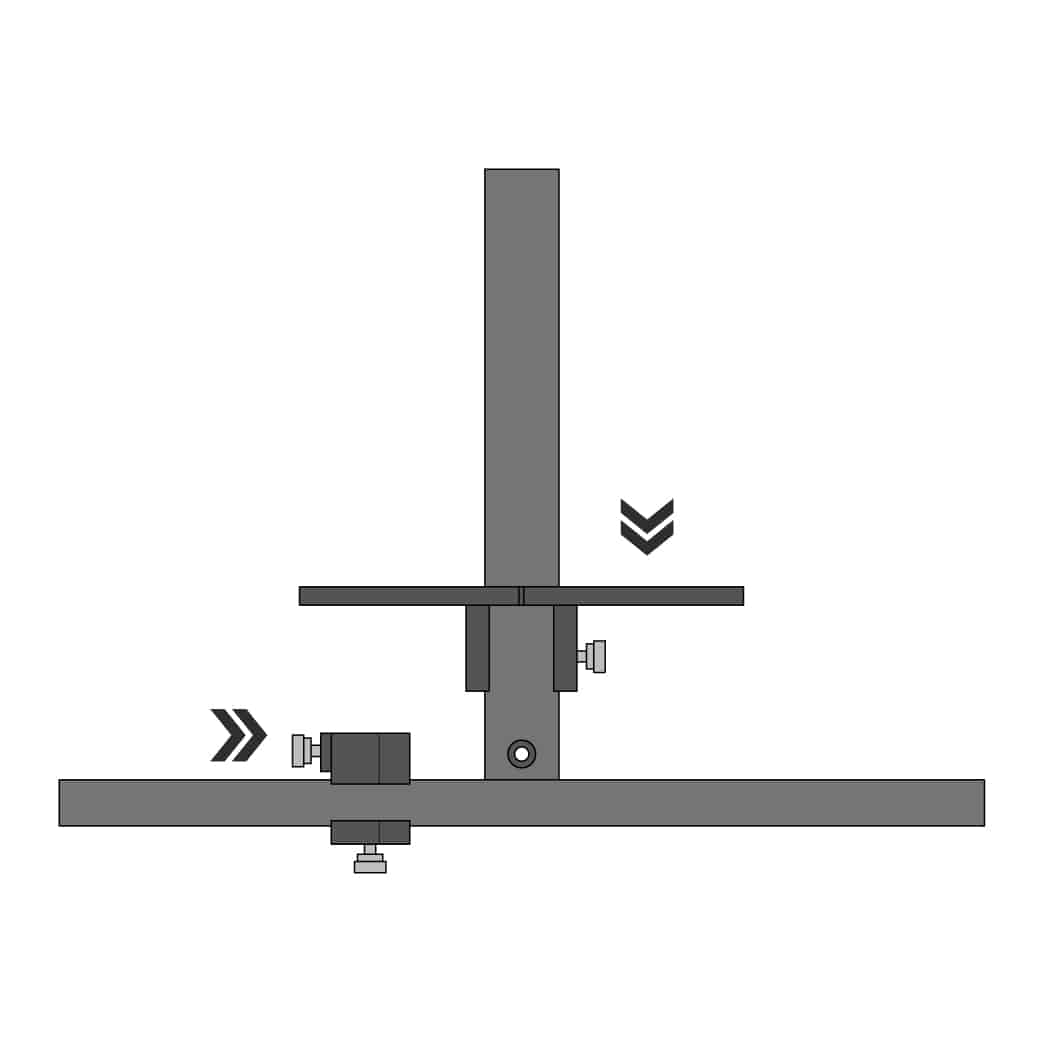
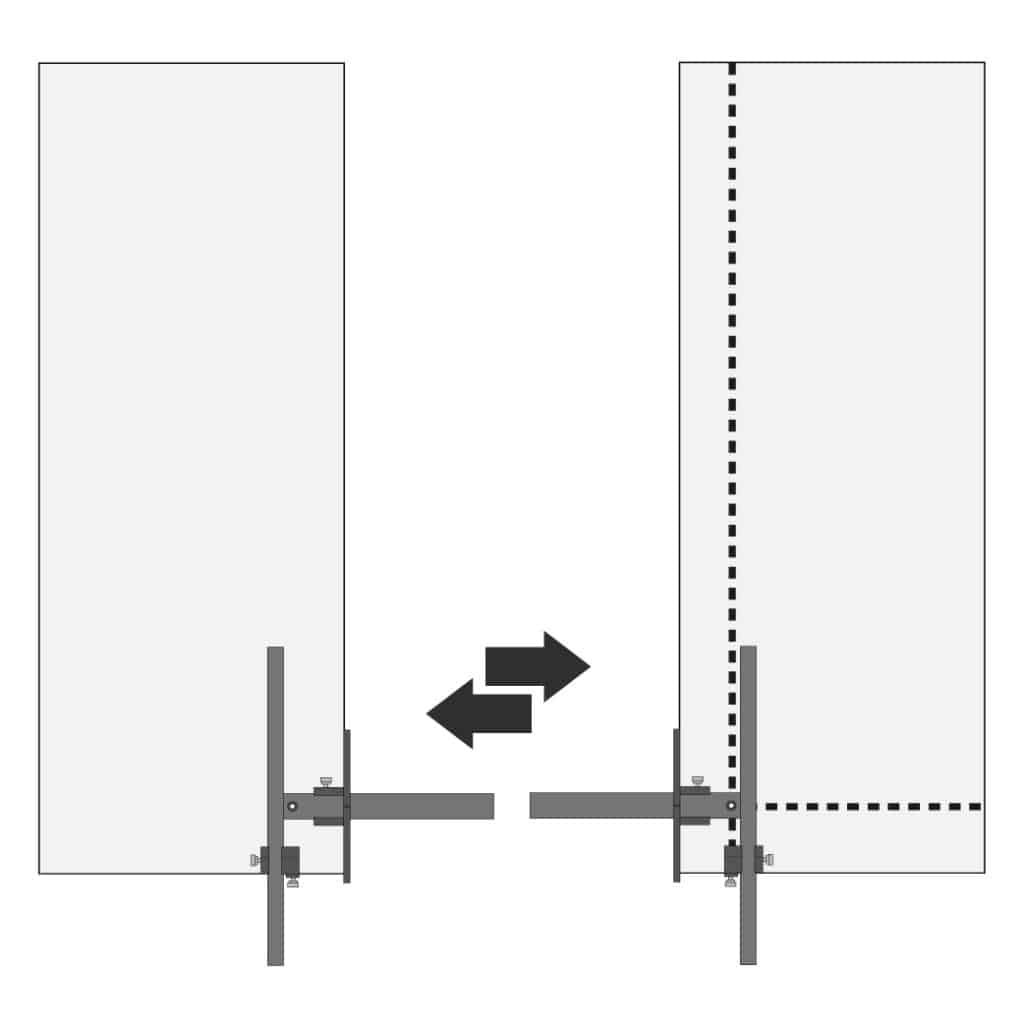
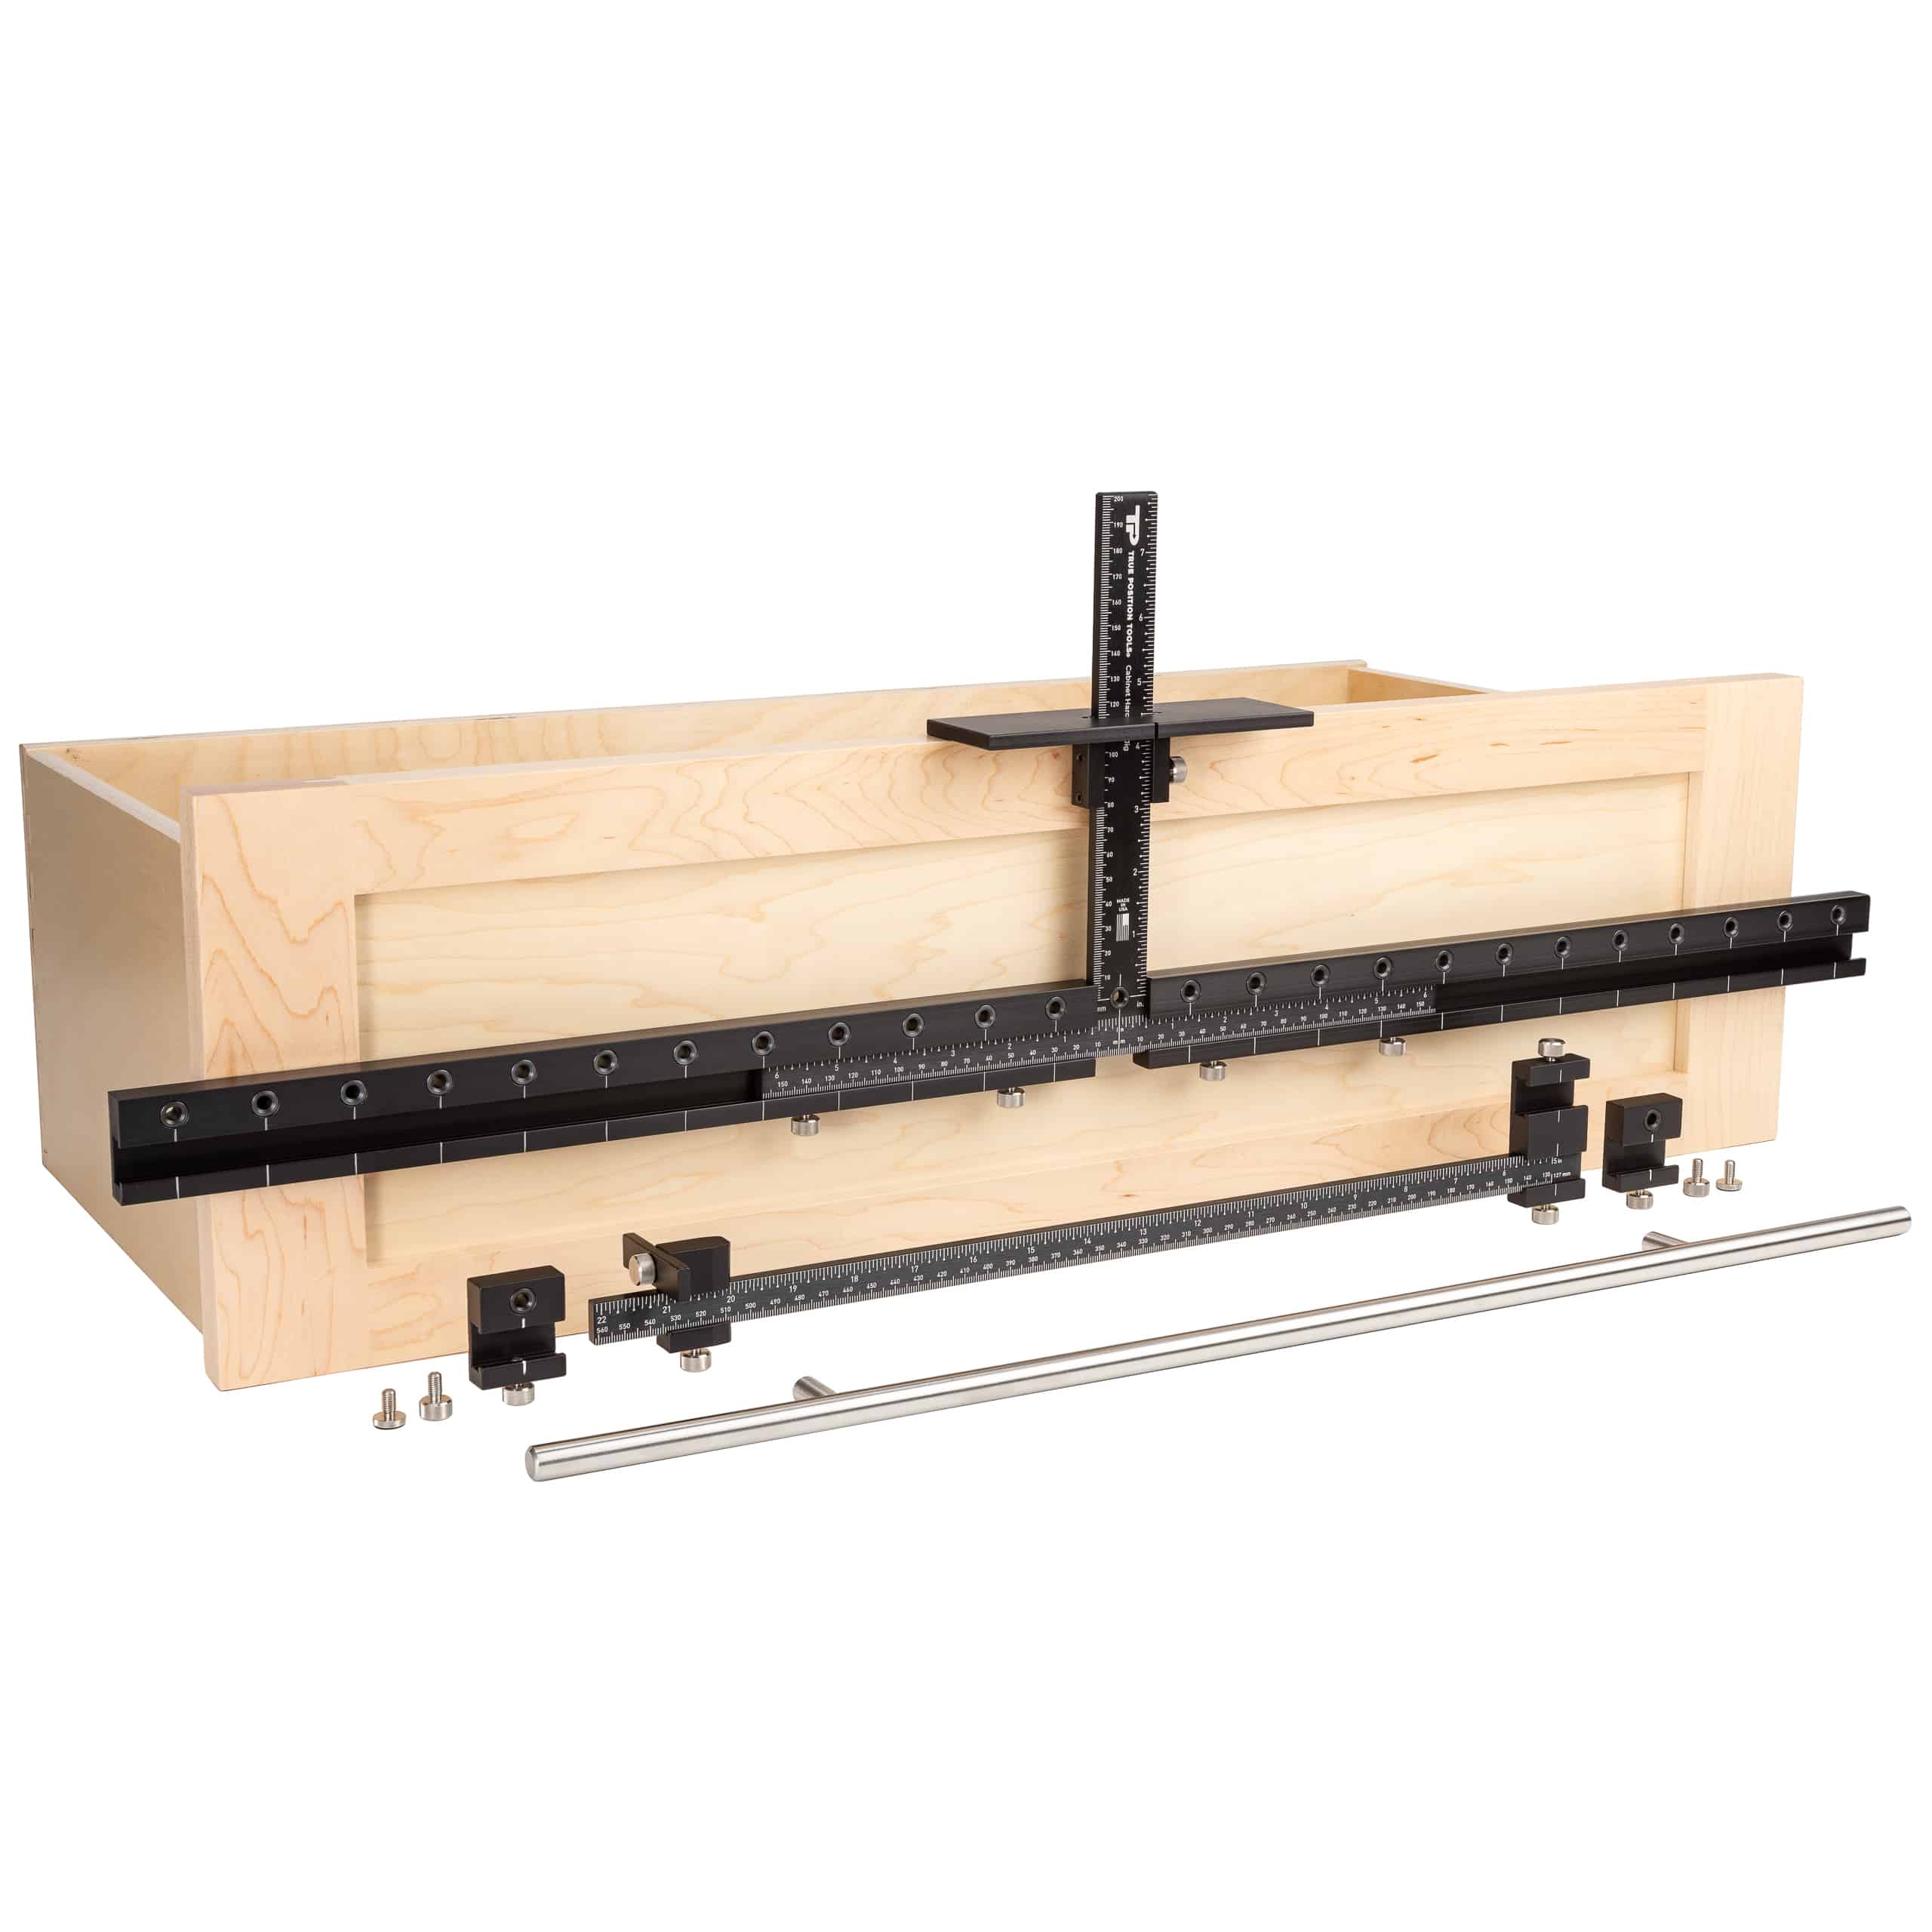
A jig, such as our Cabinet Hardware Jig or our Cabinet Hardware Jig Pro is a very useful tool to have. It takes the frustration and guesswork out and allows you to install your hardware very quickly and easily. Because these jigs are precision-machined in the USA, you can be sure that every piece of hardware is perfectly placed and aligned precisely. The jigs allow for quick, repeatable installation of hardware on many doors and drawer front sizes.
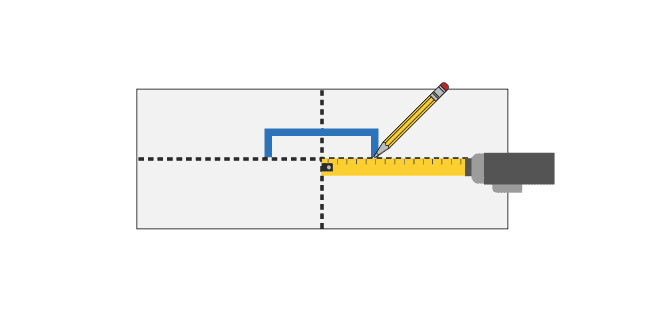
Pro Tip: You can use tape or sticky-tack on the back of the hardware to test the location of your hardware.


Pro Tip: You can use tape or sticky-tack on the back of the hardware to test the location of your hardware.


Installing cabinet hardware can seem like a daunting task. Some people might feel that this is too big of a task for them to take on. This is not the case at all. By keeping several things in mind, you can make your installation easier. Here are some tips and tricks to help you with your hardware installation.
Cabinet hardware installation is not as hard as it seems. Knowing a few basics can help you to install your hardware and have it look like it was professionally installed. By reading this guide, you have that knowledge. So let’s go ahead and finish out that space and make it showroom worthy.
For more information on choosing your hardware, see our Ultimate Cabinet Hardware Placement Guide.
For more information on how to install hardware using our jigs, please see our Cabinet Hardware Jig Instructions.
For more information in general, please see our How To library with information on a variety of topics.
Our Cabinet Hardware Jigs are made in the USA, with bushings backed by a Lifetime Warranty, and calibrated to a .005’’ square, making precision guaranteed.

Guide The Ultimate Cabinet Hardware Placement Guide Installing cabinet hardware can feel intimidating. Regardless of whether you are a DIYer or a professional woodworker, you
The Most Accurate Way to Install Cabinet Hardware Table of Contents An easy way to have a home reflect your personal style as a homeowner
Cabinet Hardware Jigs vs. Templates – Which Is Best for Your Cabinet Business? There are many different variables to creating and running a successful cabinetry
How to Install Cabinet Door Handles Table of Contents Replacing or adding cabinet door handles is a great way to update a room. Modern, sleek
How to Install Handles and Knobs on Shaker Drawer Fronts Table of Contents Getting ready to install handles and knobs on your Shaker drawer fronts?
Frequently Asked Questions Here is a categorized list of the most frequently asked questions we receive. If you can’t find the answer you are looking
© 2024 True Position Tools. All Rights Reserved.
