The Most Accurate Way to Install Cabinet Hardware
The Most Accurate Way to Install Cabinet Hardware Table of Contents An easy way to have a home reflect your personal style as a homeowner
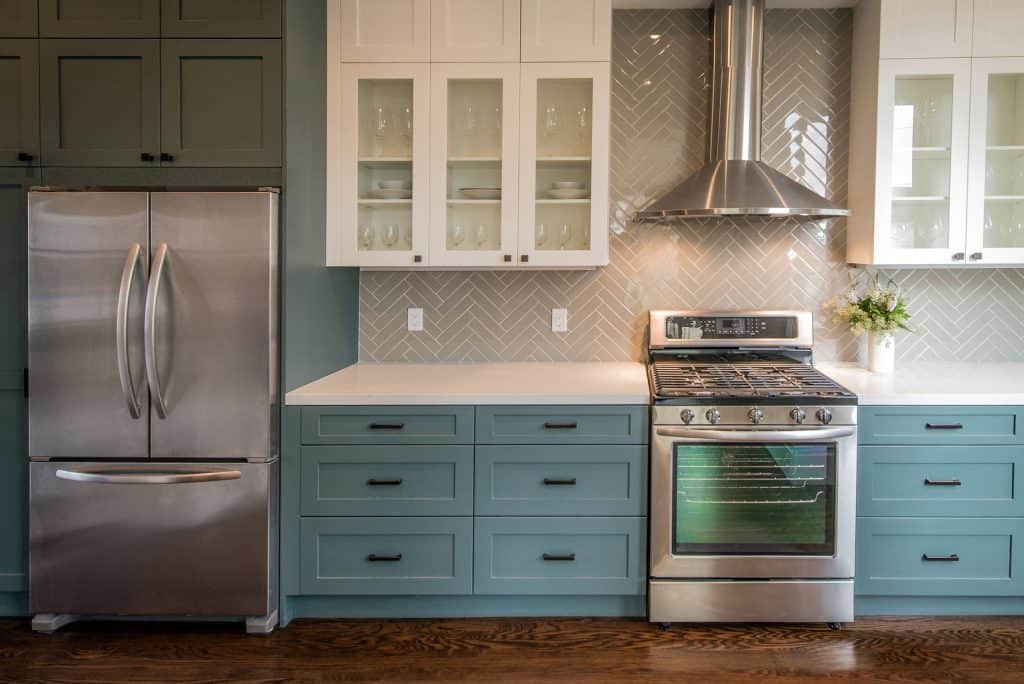
So how can you easily install handles and knobs on Shaker drawer fronts? With the Cabinet Hardware Jig ORIGINAL (TP-CHJ).
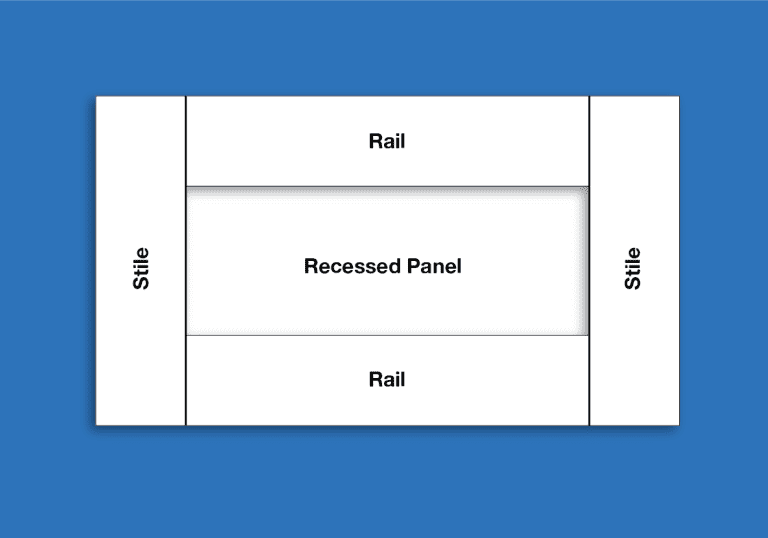
Shakers can be tricky. Due to the recessed panel being on a different plane than the rest of the drawer front, it can be hard to accurately measure and mark for hardware location using a pencil. When it comes to Shaker cabinets, it helps to use a specialized tool to avoid crooked cabinet hardware.
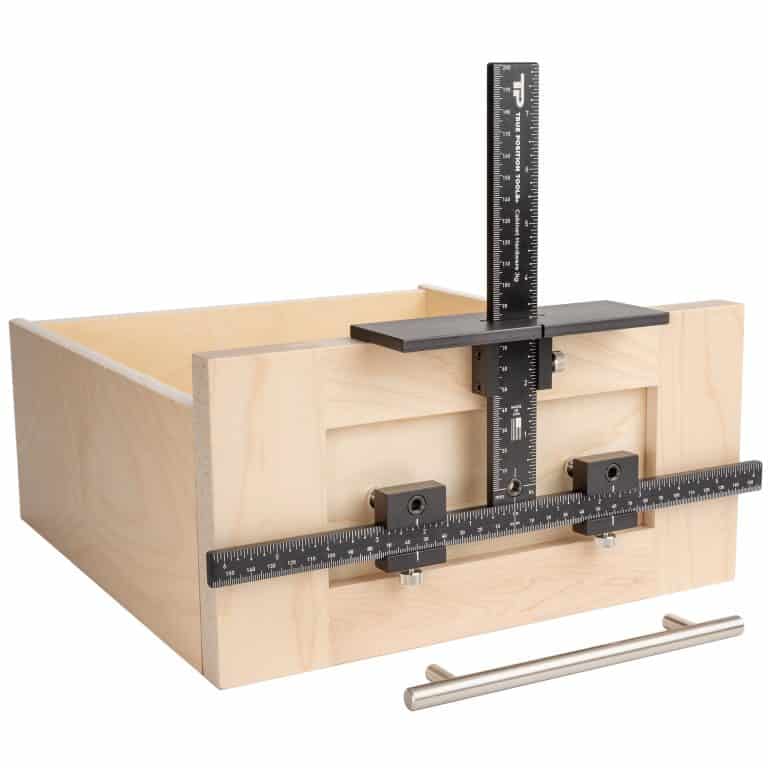
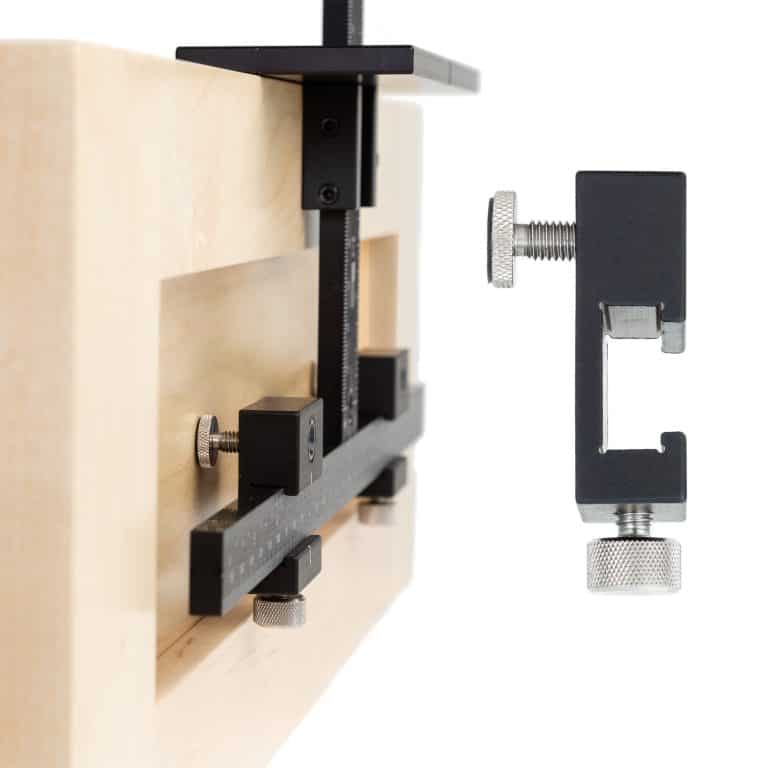
Our specialized jig is the only tool available that can accurately and quickly help you install handles on the inset panel of Shaker drawers.
The key factor is the bushings on our Cabinet Hardware Jig. They provide a guide for the drill bit, keeping the drill placement exact when spanning the gap between the back of the jig and the inset panel of the Shaker drawer front.
Before you install the handles and knobs on your Shaker drawers, you have a few options for where to place the hardware.
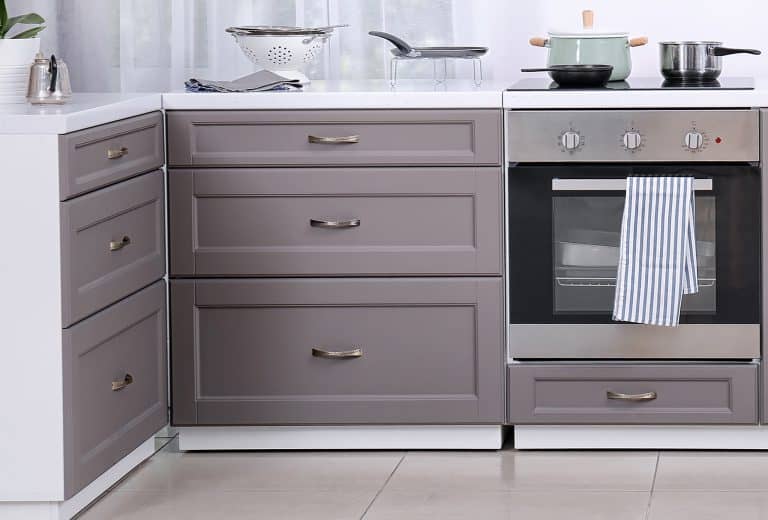
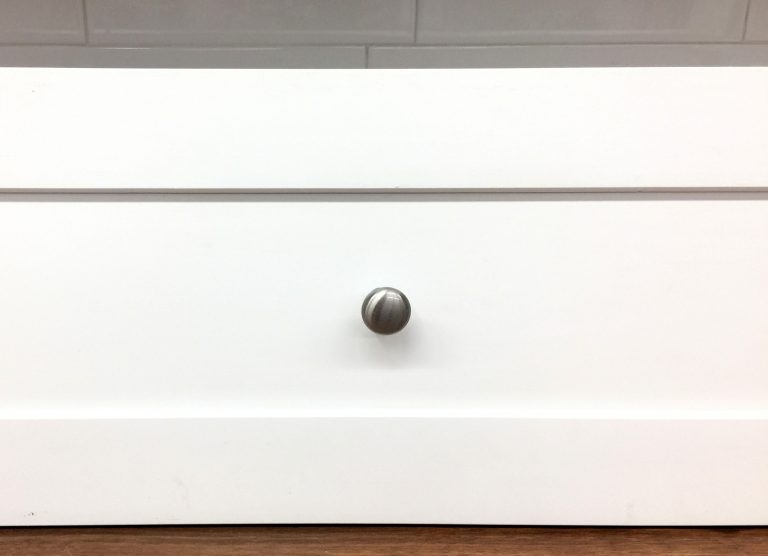
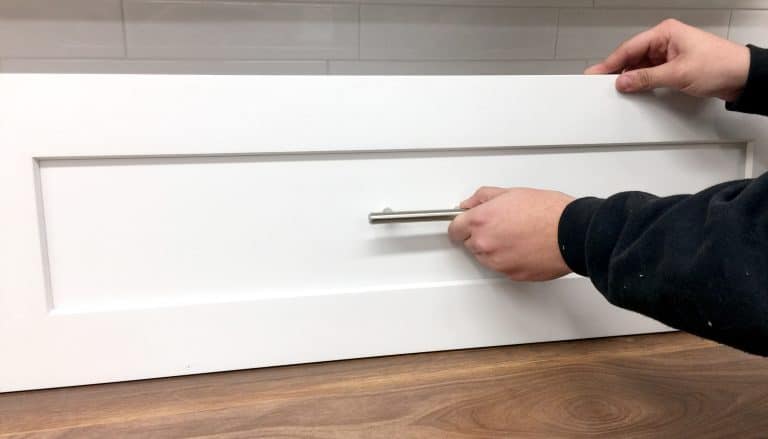
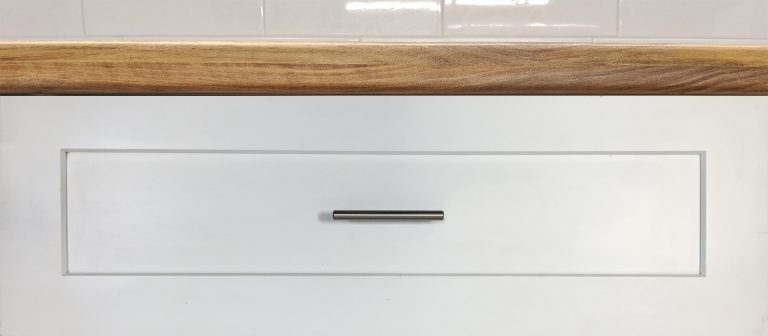
Centered on the Inset Panel: This is the most common hardware placement for Shaker cabinets. The knob or pull handle is placed on the center of the recessed drawer panel (the inset).
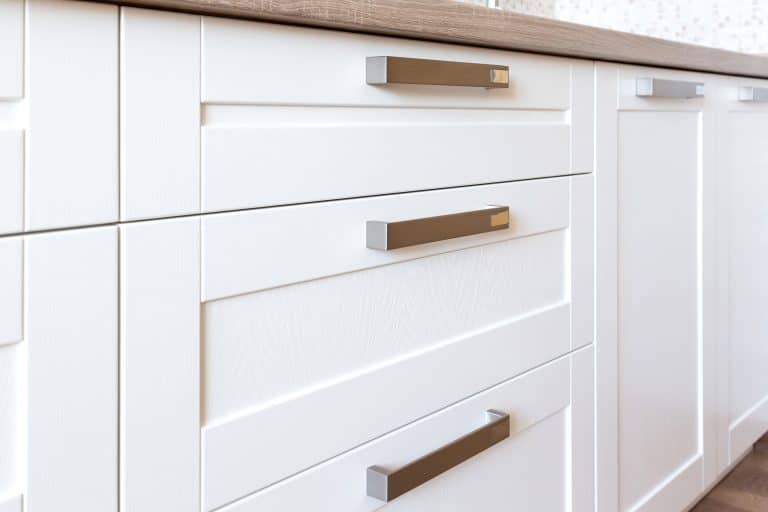
Center of the Top Rail: Place the knob or pull handle on the center of the top rail portion.
Pro Tip: If your cabinets are a mix of Shaker and slab drawers, you can place the pulls and knobs on the top ¼ of the slab and on the top rail of the Shaker cabinets. Keeping everything symmetrical.
Large or Heavy Base Cabinet Drawers: Have large Shaker cabinet drawers? Or Shaker drawers that will be holding heavy items like pots and pans? Here are your options:
Following the rule of thirds, use two knobs or two pulls. This means dividing the drawer into thirds and placing the hardware in the center of each left and right section.
Or you can use one oversized pull handle. The pull should be at least ⅓ of the cabinet width to ⅔ of the cabinet width or greater.
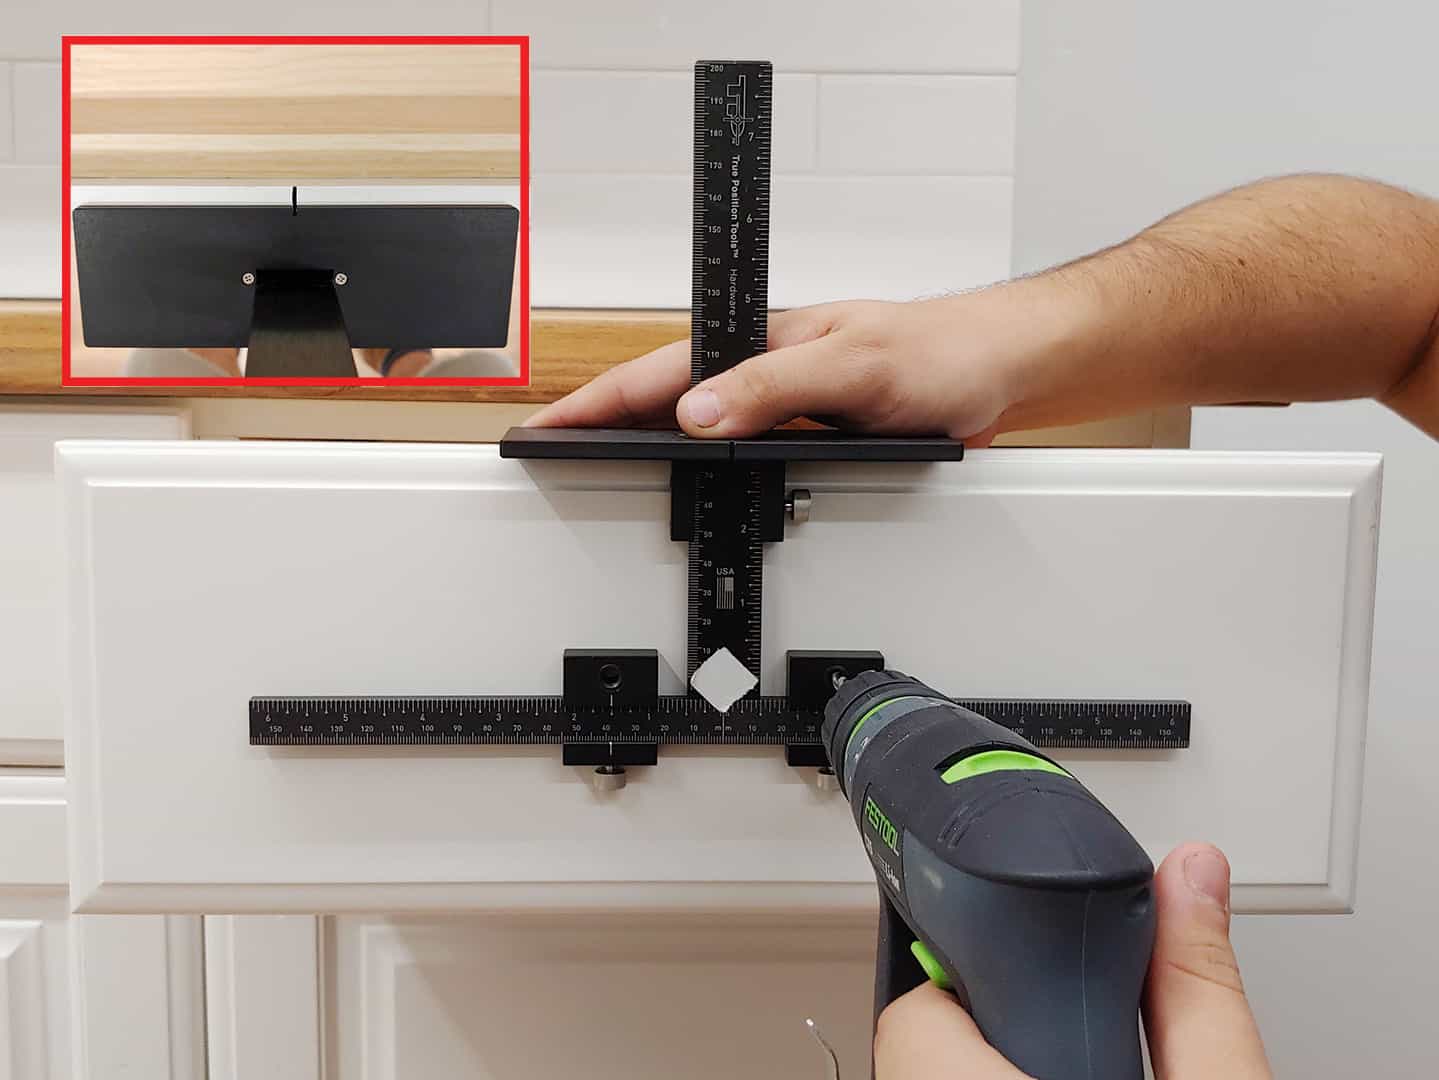
Here’s how the Cabinet Hardware Jig works on Shaker style drawer fronts: The bushings normally used on drawer fronts are 1/2” long which gives guidance for precise placement of the holes, just be sure to hold the jig so that it’s resting on the Top Stop against the top of the drawer. Rest the Cabinet Hardware Jig on the top edge of the drawer front and press firmly against the t-square just below the large top plate as shown. This provides a sufficient holding surface, suspending the jig in the air and perfectly perpendicular to the drawer.
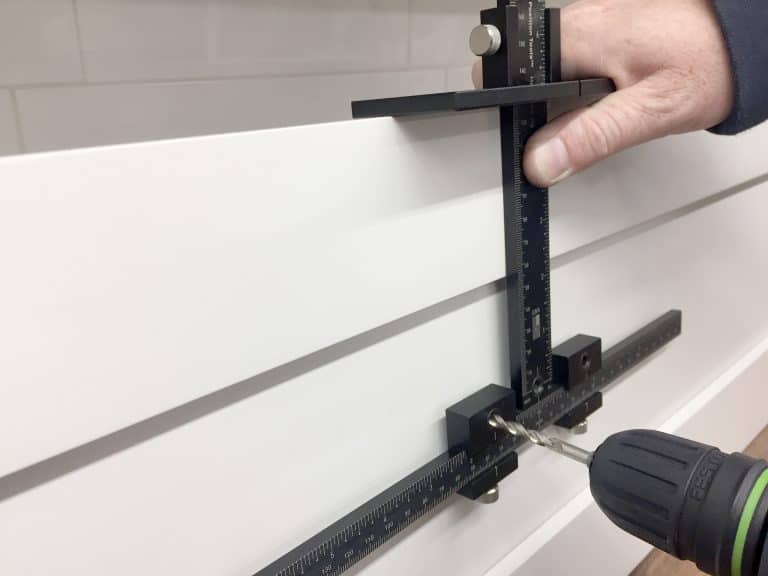
If you have a lot of cabinets to drill in this style, it might make sense to tape a shim or stack adhesive door bumpers to the back of the jig. This will let you rest the back of the jig against the face of the drawer front.
Either way, go carefully and you’ll have no issues, this method is used by thousands of installers daily and works well.
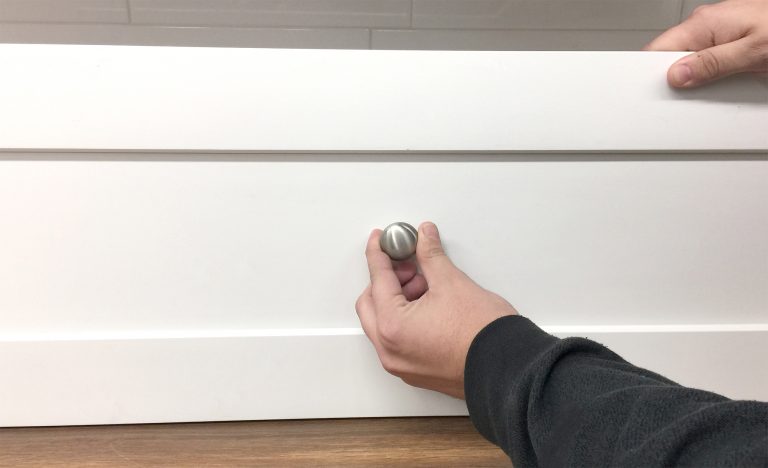
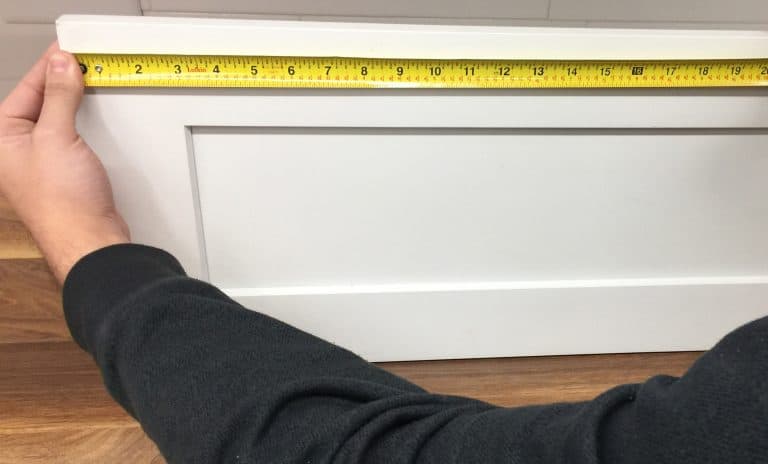
2. Measure width to find center.
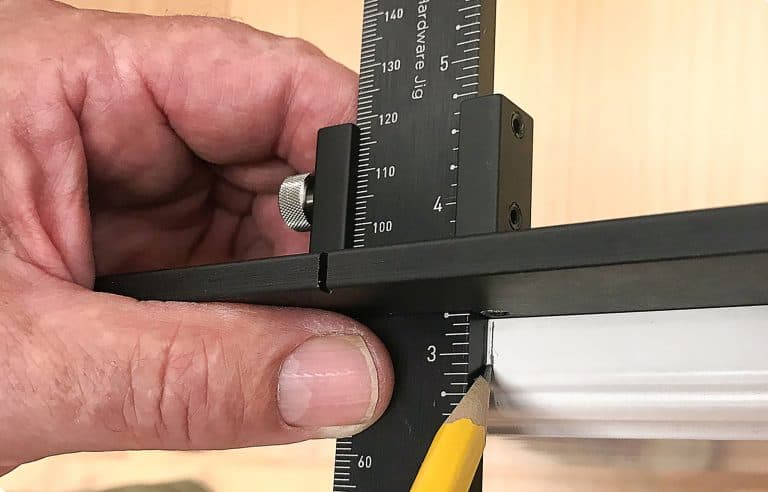
3. Mark center on top of drawer.
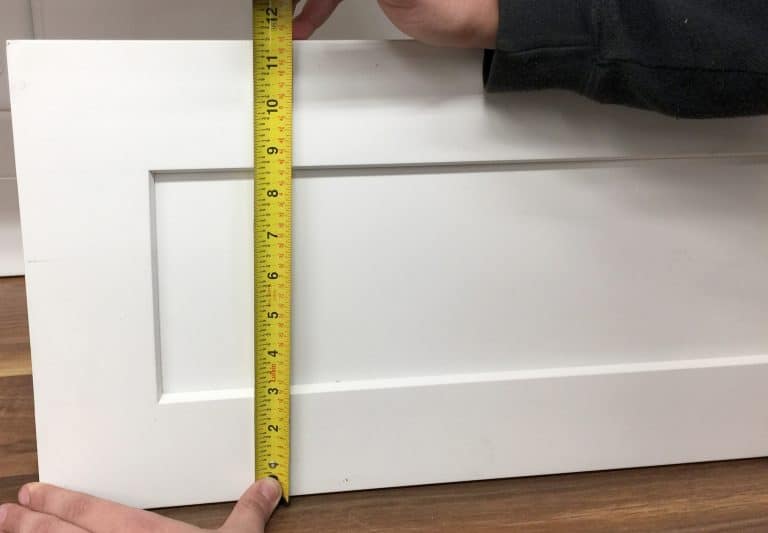
4. Measure the height of the drawer and using your Cabinet Hardware Jig, set the Large Stop to half of the drawer height. We recommend flipping the Cabinet Hardware Jig’s Large Stop upside down for additional stability. We also recommend removing both sliding drill guides to eliminate the potential for error.
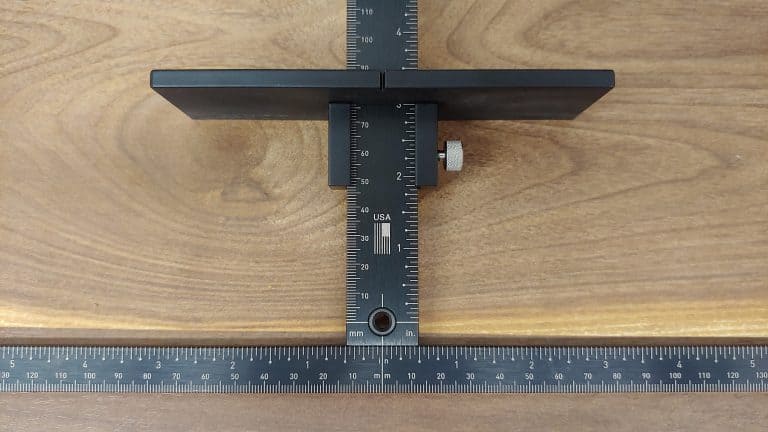
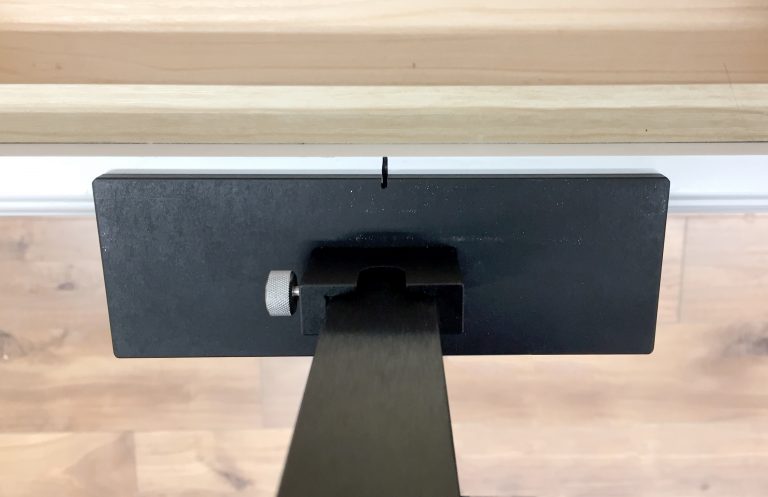
5. With your Cabinet Hardware Jig, line up the notch on the Large Stop with your mark from Step 3. Rest the jig on the top edge of the drawer front and press firmly against the t-square just below the large top plate as shown. This will provide a sufficient holding surface, suspending the jig in the air and perfectly perpendicular to the drawer.
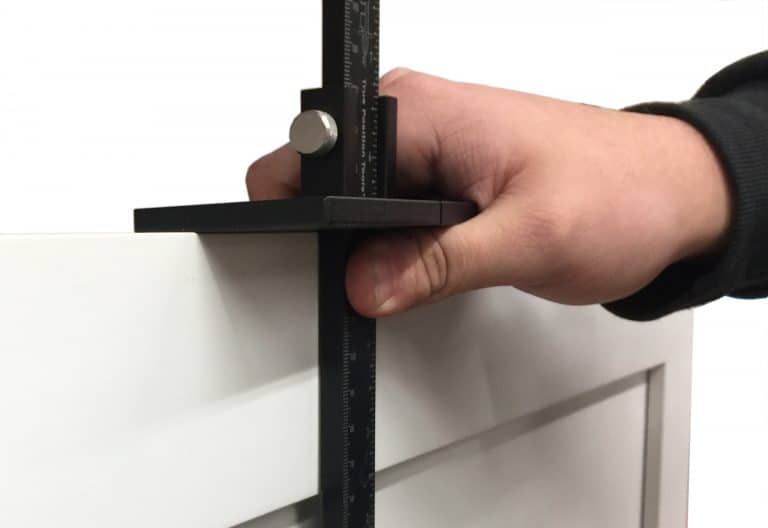
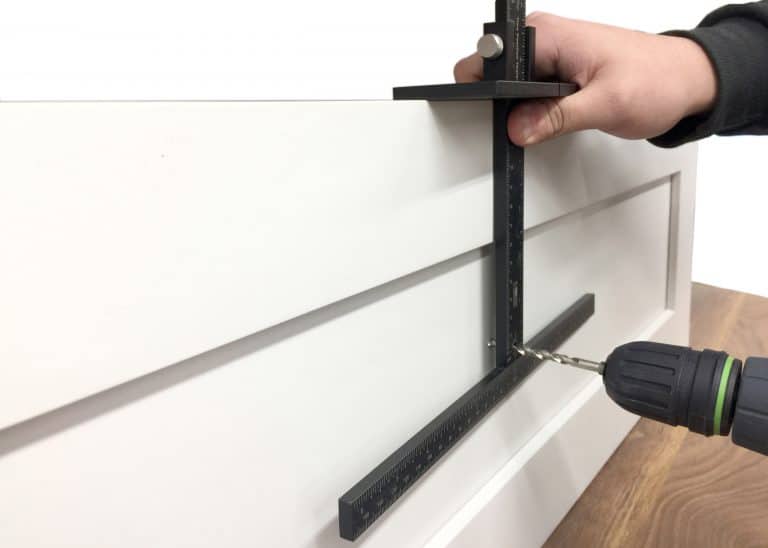
6. Drill a hole using a fixed center drill bushing, with the Cabinet Hardware Jig’s Large Stop reversed for stability.
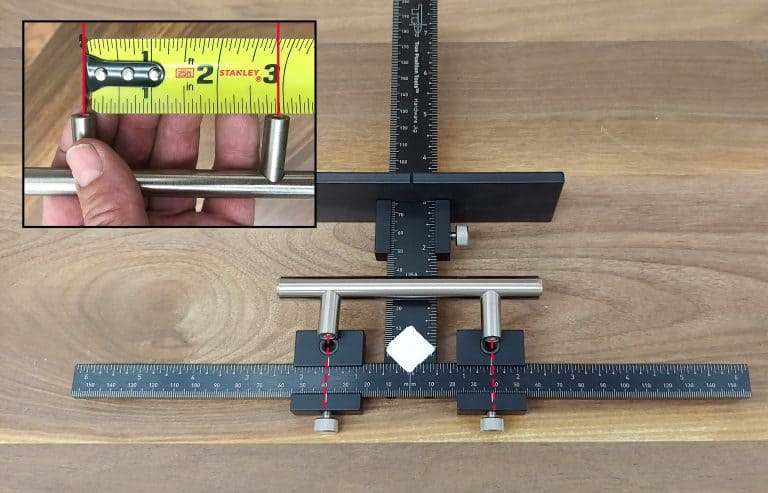
2. Measure the hole centers. Using your Cabinet Hardware Jig, adjust and tighten the Sliding Drill Guides. Cover the unused bushing with tape in order to prevent accidental drilling.

3. Using a tape measure, measure the drawer width to find the center.

4. Use half of the measurement from Step 3 to mark the center on top of the drawer.

5. Measure the height of the drawer front with your tape measure.
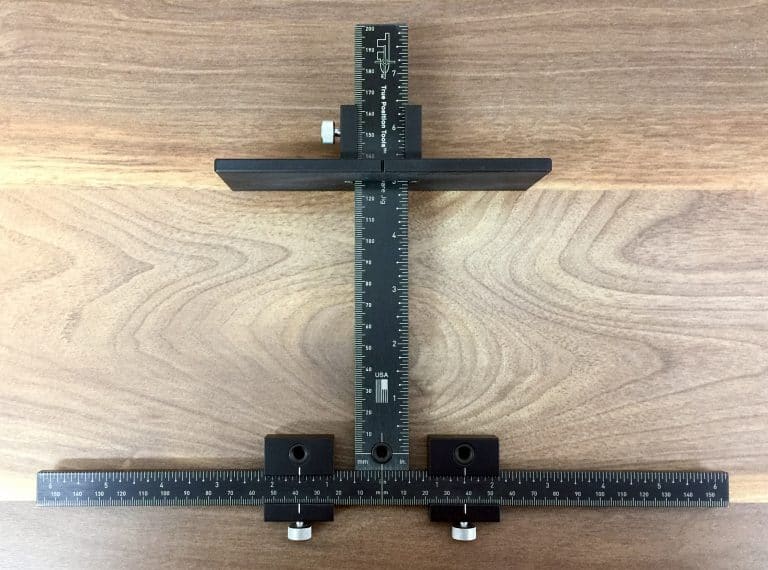
6. Take your Cabinet Hardware Jig and set the Large Stop to half of the measurement from Step 5.
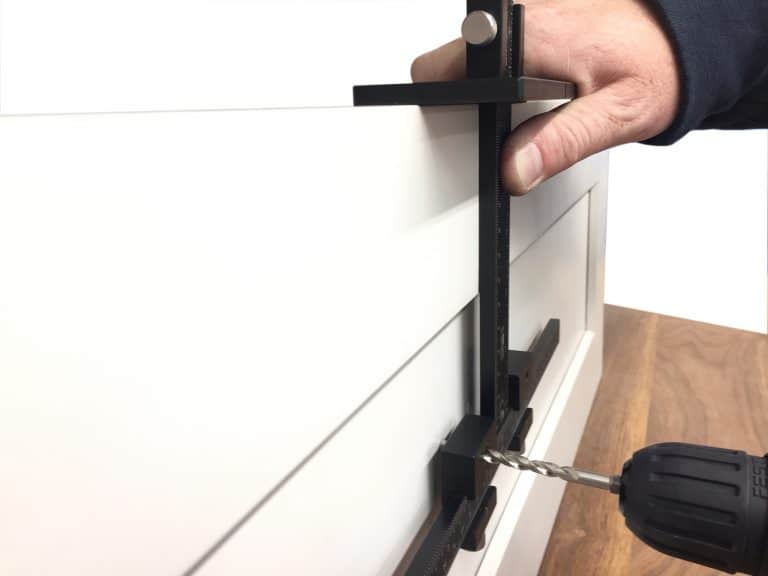
7. With your Cabinet Hardware Jig, line up the notch on the Large Stop with your mark from Step 4. Rest the jig on the top edge of the drawer front and press firmly against the t-square just below the large top plate as shown. This will provide a sufficient holding surface, suspending the jig in the air and perfectly perpendicular to the drawer.
The True Position Tools Cabinet Hardware Jig ORIGINAL is the best bang for your buck option in our lineup. Install knobs and handles in seconds with the most accurate jig on the market. Perfect results every time on any cabinet door or drawer front.

The Most Accurate Way to Install Cabinet Hardware Table of Contents An easy way to have a home reflect your personal style as a homeowner
Cabinet Hardware Jigs vs. Templates – Which Is Best for Your Cabinet Business? There are many different variables to creating and running a successful cabinetry
Shaker Cabinets: Your Hardware Placement Guide Table of Contents Hardware cabinet placement is a critical part of bringing the aesthetics of a room together. But
Cabinet Hardware Jig Instructions Learn how to install a wide range of cabinet hardware, hinge plates, and shelf pin holes using genuine True Position Tools
Frequently Asked Questions Here is a categorized list of the most frequently asked questions we receive. If you can’t find the answer you are looking
Guide The Ultimate Cabinet Hardware Placement Guide Installing cabinet hardware can feel intimidating. Regardless of whether you are a DIYer or a professional woodworker, you
© 2024 True Position Tools. All Rights Reserved.
Looks like you haven't made a choice yet.