The Ultimate Cabinet Hardware Placement Guide
Guide The Ultimate Cabinet Hardware Placement Guide Installing cabinet hardware can feel intimidating. Regardless of whether you are a DIYer or a professional woodworker, you
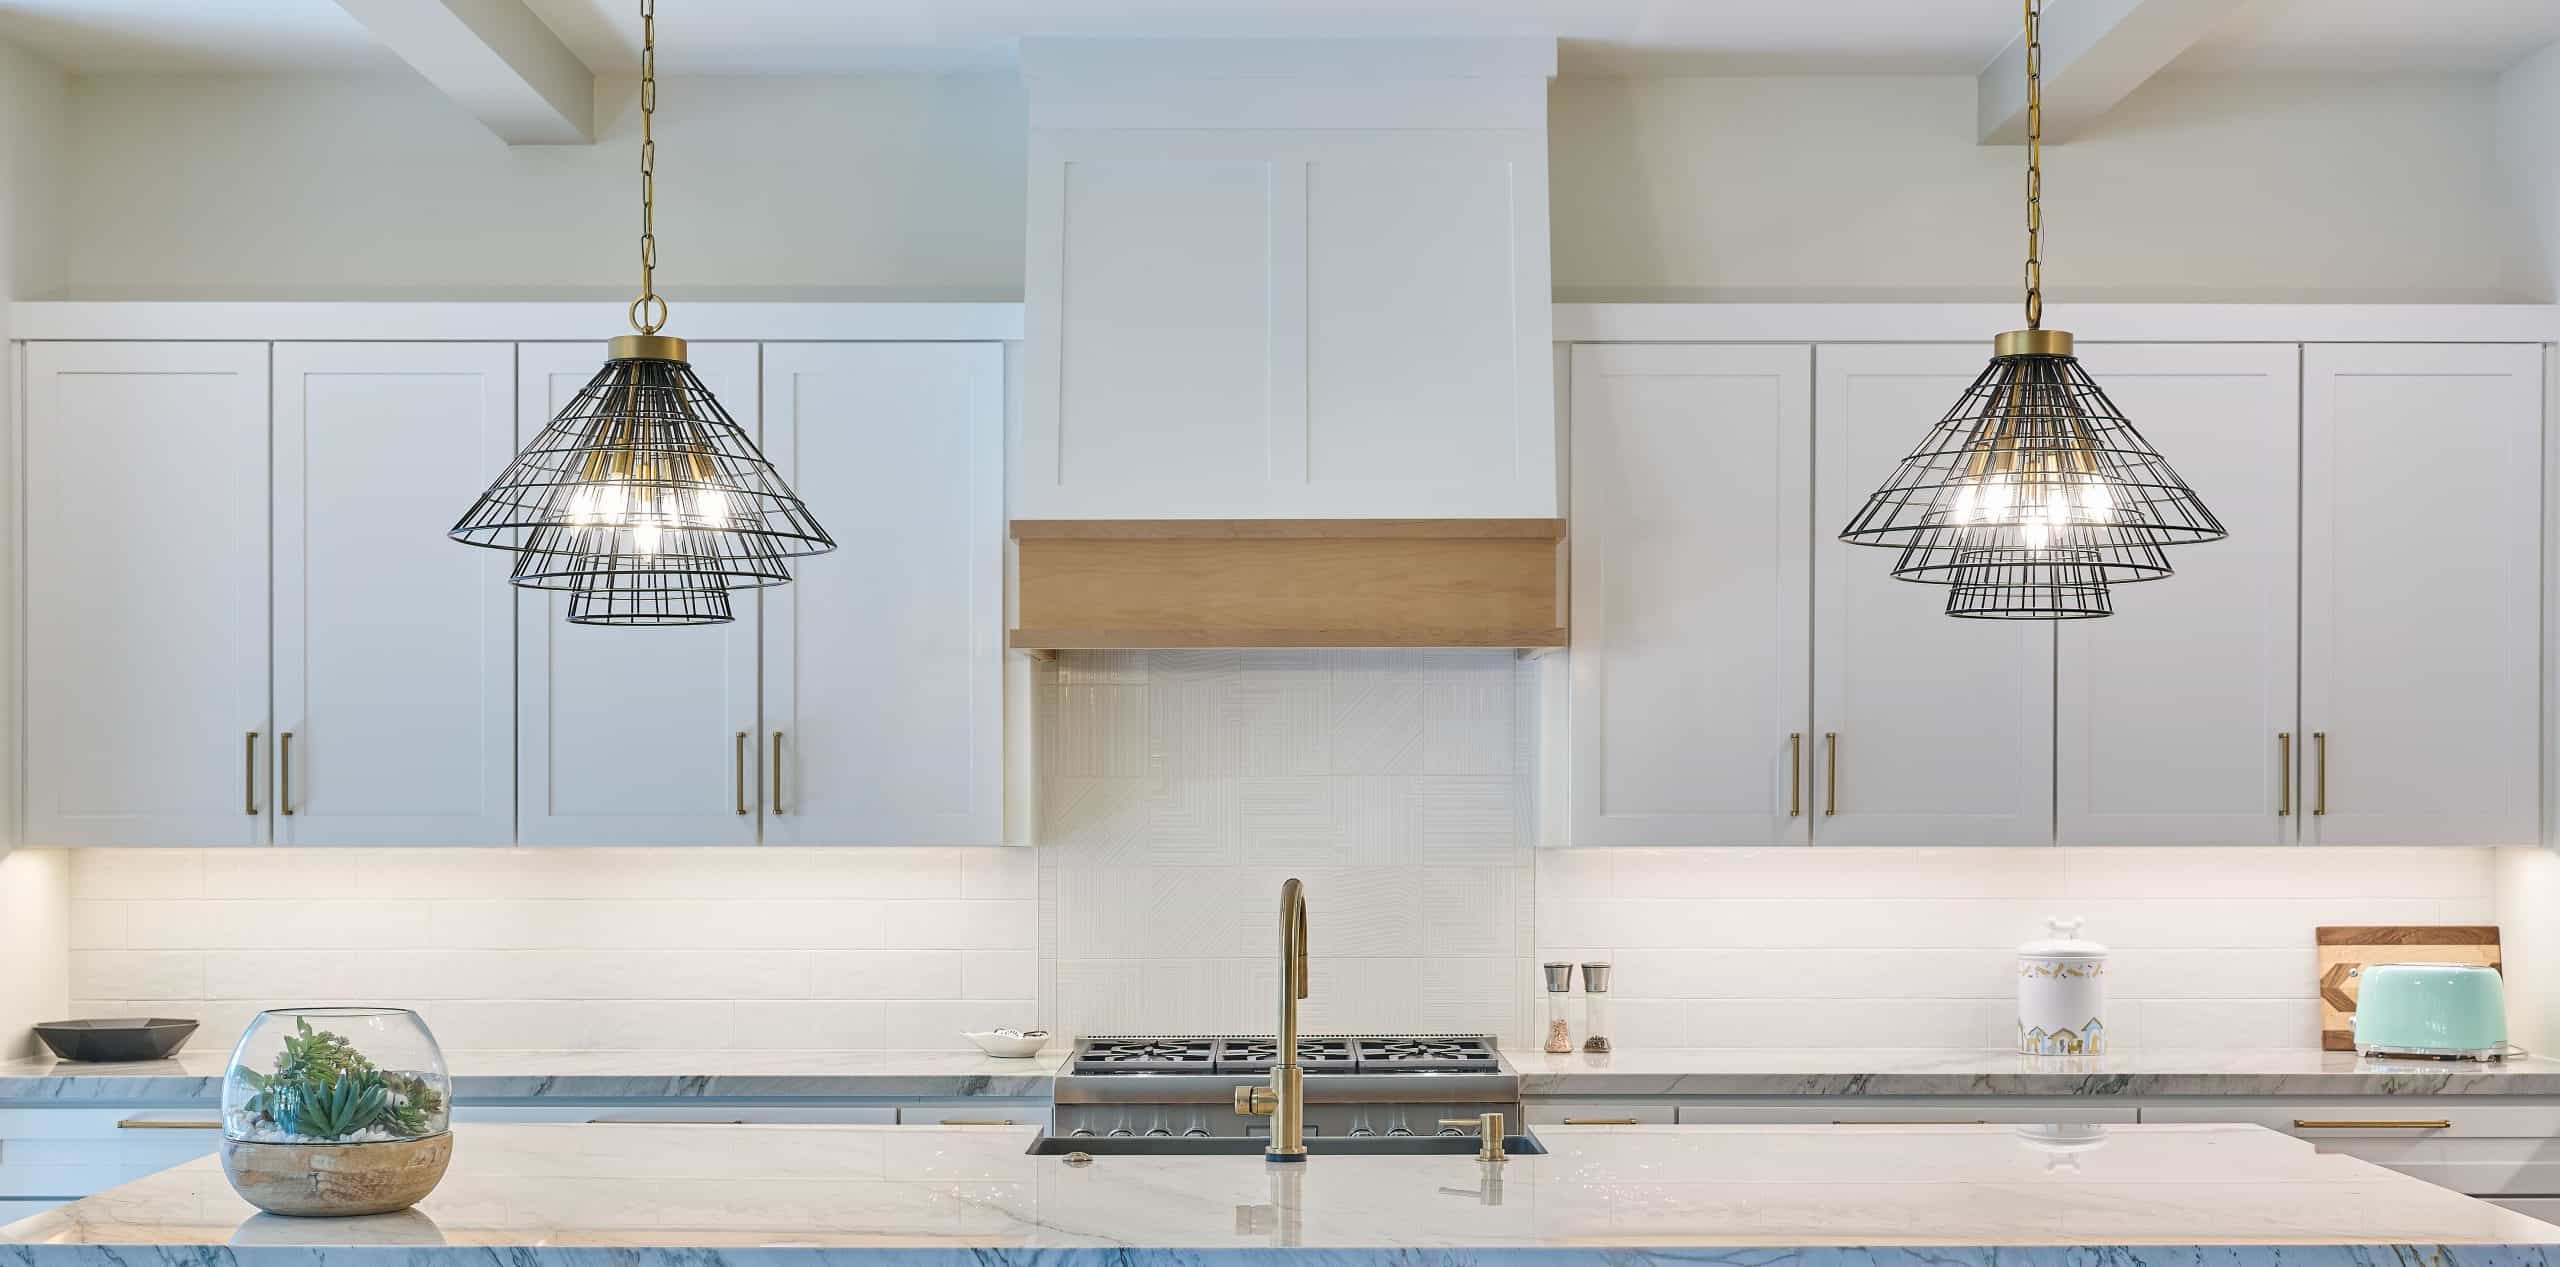
Under cabinet lighting can be a beautiful way to upgrade your home. They offer an elegant touch to any kitchen or bathroom upgrade. And, because they can be installed in shelving, they offer countless opportunities for illumination in any hallway, closet, or display space. While under cabinet lighting is a simple way to add elegance and value to your home, however, installing under cabinet lighting is not always easy. That’s why we put together some tips from True Position Tools’ team of professionals. They include the different kinds of under cabinet lighting available–and popular–in today’s marketplace; placement of under cabinet lighting; special considerations to take into account when installing under cabinet lighting; the most popular ways to conceal under cabinet lighting wires for a more professional look; and other pro installation ideas.
Keep reading below for Installing Under Cabinet Lighting Like a Pro – Full Guide.

There are many different types of under cabinet lighting available today, and each offers its own unique benefits and drawbacks.
As a general rule, under cabinet lighting is available in four different styles: strip lights, puck lights, tape lights and bar lights. The latter two, tape lights and bar lights, are the cheapest ways to light your under cabinet areas. Tape lights, as their name would suggest, can be easily adhered to any under cabinet surface for quick installation. Bar lights can generally be screwed directly into the bottom side of your cabinet floor. While they are quick and easy, both tape lights and bar lights have two major disadvantages. First, they protrude beneath the cabinet, making them visually unappealing and unwieldy in smaller spaces. Second, because they are not hard-wired to your electric source, their wires are also visible and use valuable–and often limited–outlet space in your kitchen or bathroom.
For a more professional look, our experts recommend recessed strip or puck lighting. In recent years, we have seen strip lighting outpace puck lighting in popularity, but both offer elegant and attractive solutions for updating or upgrading your home space. And, each has its own distinct purpose and function. For instance, puck lights are great for introducing light to specific spots on your counters while strip lights create consistent lighting throughout your counter space. (See Considerations for Under Cabinet Light Placement below for more information.)
The real benefits of both strip lighting and puck lighting, however, are that both are fully recessed and ensure full concealment of wires. That means they’re more visually appealing and more functional because they reduce clutter in your kitchen, bath, and closet spaces.
When it comes to installing under cabinet lighting, strip lighting and puck lighting offer a more professional, elegant, and finished look.
The best under cabinet lighting placement and selection will depend fully on the purpose of your under cabinet lighting installation.
In general, placing under cabinet lighting in the middle of your cabinet or shelf floor is suitable for most homeowners’ needs. However, there are a few scenarios where other placement (toward the front or back of the cabinet or shelf floor) may be more optimal:
When you’re installing under cabinet lighting primarily for mood or accent–i.e. for beauty rather than function
Additionally, be sure to match the color of your chosen under cabinet lighting to other light fixtures in your project space. In general, kitchens tend to feature cooler, brighter colors while bedrooms and living rooms will opt for warmer colors.
“Task lighting” will typically require lumens 200-500 lumen/ft
For many, concealing wires from under cabinet lighting is the most challenging part of the under cabinet lighting installation. As noted above, concealing under cabinet lighting wires is not a requirement of your under cabinet lighting installation. However, it will offer the most professional, elegant look for your space while also ensuring the maximum functional/workable area in your kitchen, closet, or shelving unit.
In the past, one of the most popular ways to conceal under cabinet lighting wires was to build a “false bottom” or recessed floor into the shelf or cabinet. There are easier ways to conceal under cabinet lighting wires, which we’ll get to in a moment. But for those interested in pursuing this option, the following is a brief overview of how to do it.
Cut a thin sheet of wood (¼”) that will fit the area (length by width) under your cabinet while aligning with the bottom of the cabinet face.
Attaching the sheet of wood to the cabinet can be tricky. For best results, install spacers under your bottom shelf and glue the sheet of wood directly to the spacers, ensuring that they align perfectly with the shelf front bottom. You may need to adjust the size of the spacers by sanding or planing to ensure a perfect alignment.
Repeat as needed with each shelf/shelf bottom in your project.
Note: If there is not enough room to fit your chosen puck or strip lighting in the gap currently available, you’ll need to create a recessed floor to make space and then continue with your false bottom installation.
As noted above, creating false bottoms is a more challenging approach to under cabinet lighting installation. They require a high degree of modification to the cabinet, and with it, a higher chance of expensive mistakes. In addition, adding a false bottom can take away valuable space from your countertop, which is especially problematic if your shelves are already low.
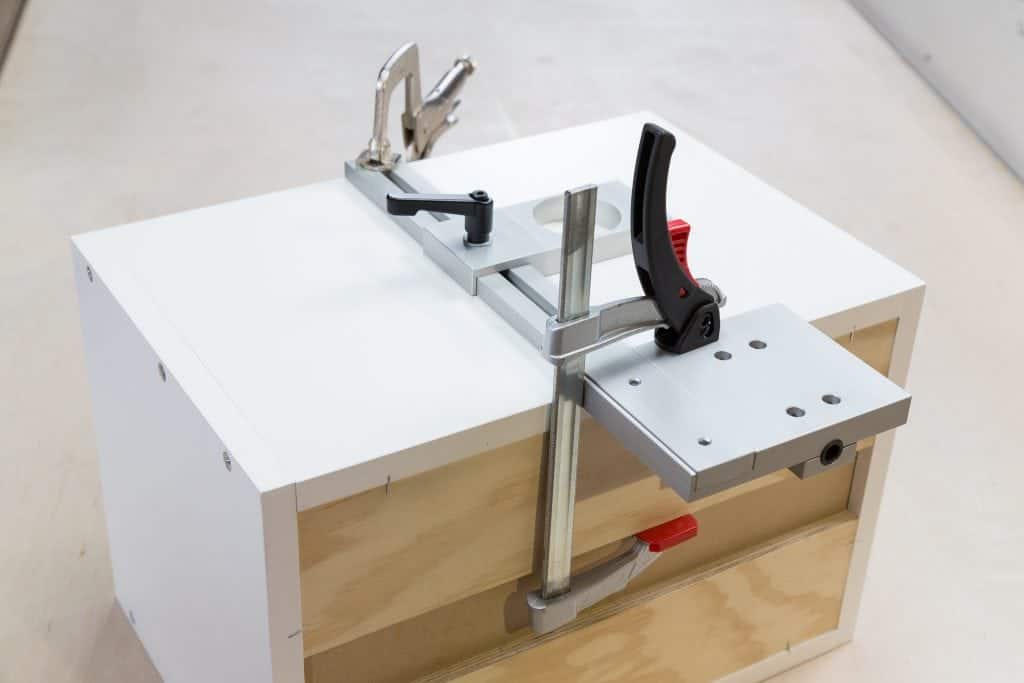
Clamp Cabinet Light Jig in desired location.
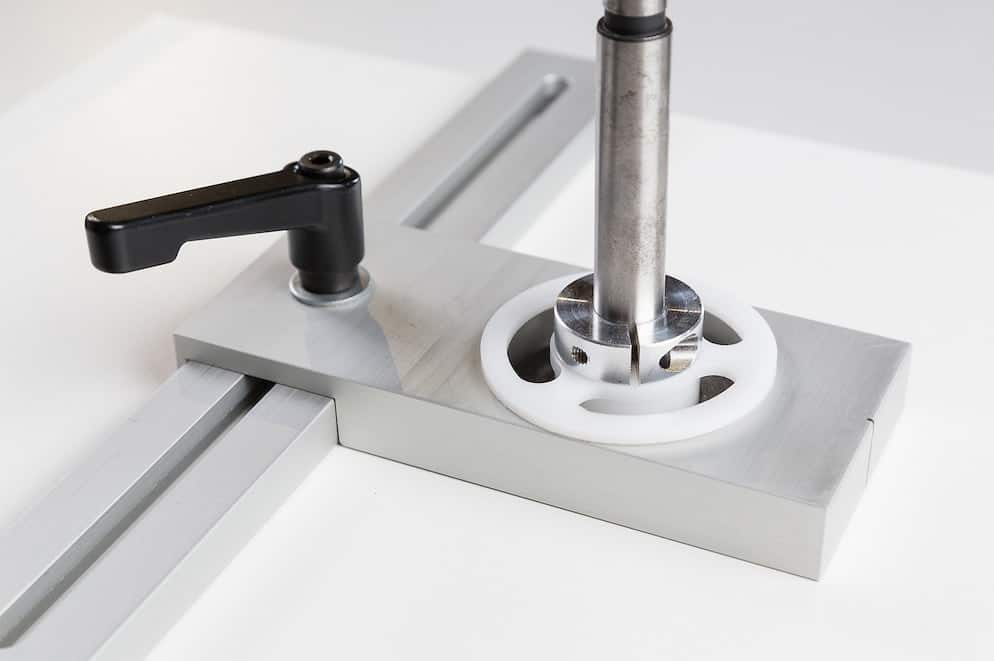
If drilling a puck light hole, drill light hole to desired depth using the adjustable stop.
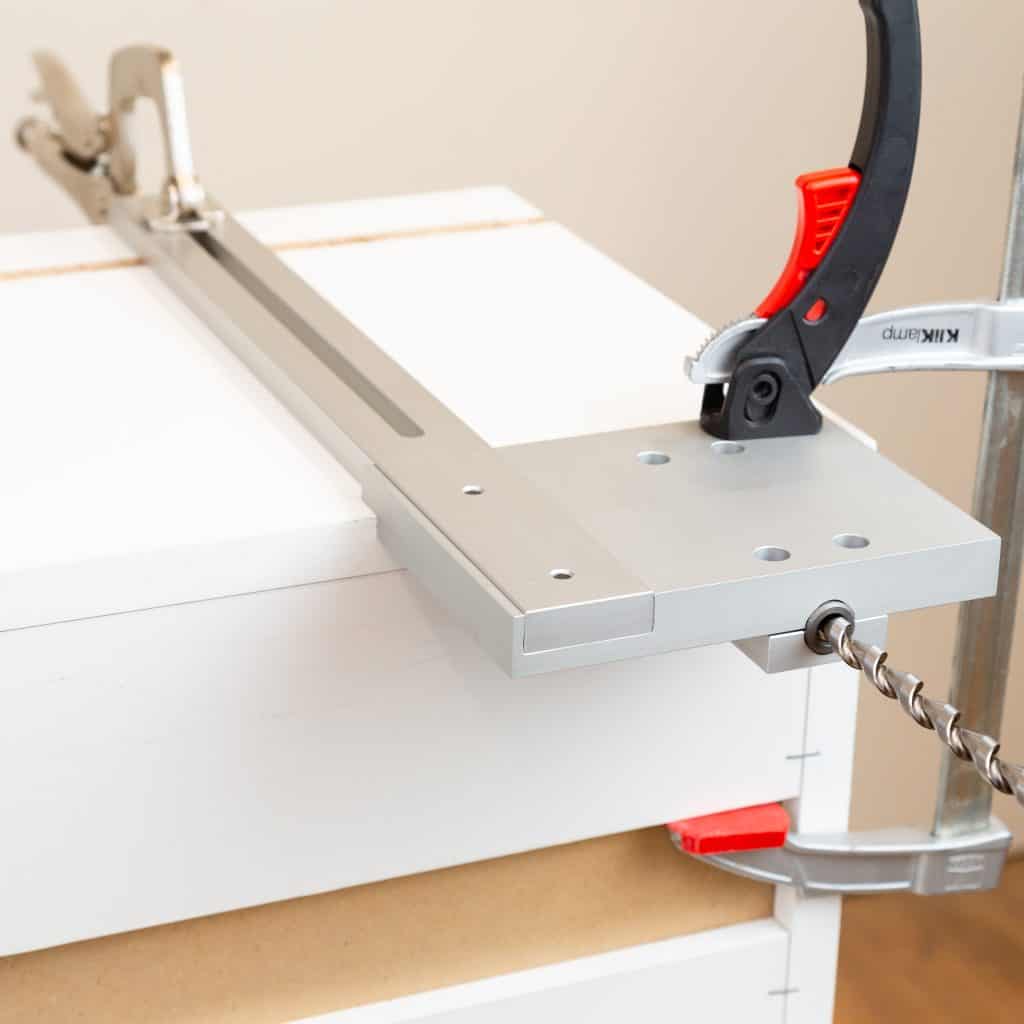
Whether installing puck or string lights, leave clamps in place, drill wire hole until drill bit reaches light hole.
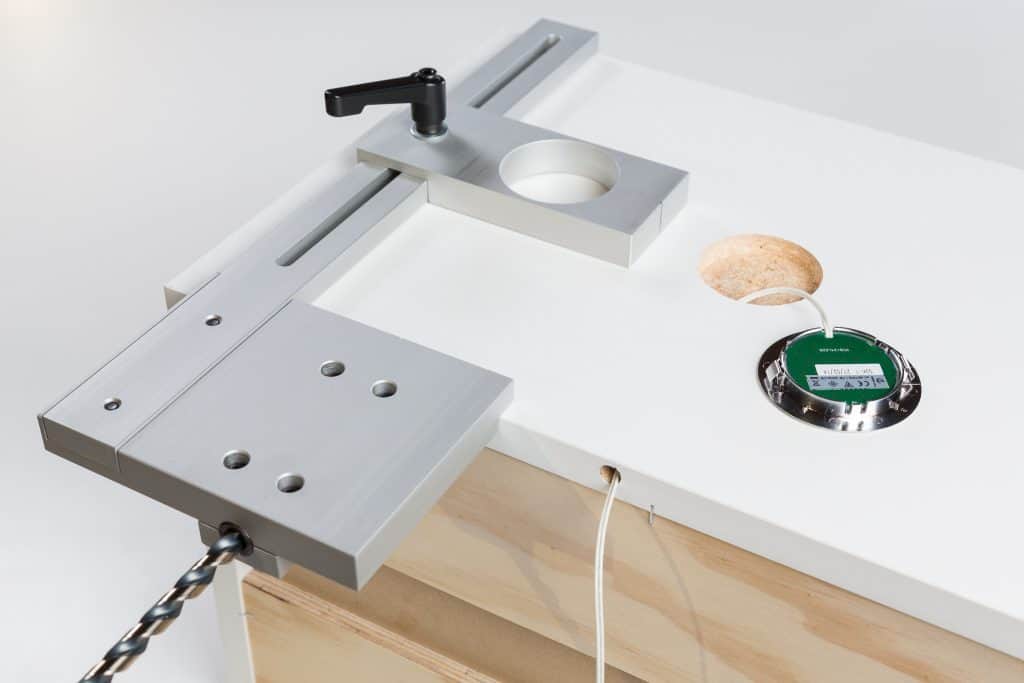
Remove clamps and feed wire through by hand.
True Position Tools Cabinet Light Jig is the simplest, easiest way to install under cabinet lighting. The Cabinet Light Jig (Standard) was designed specifically for under cabinet strip lighting while the Cabinet Light Jig MAX was designed for both under cabinet strip lighting and under cabinet puck lighting. A few more notes about the Cabinet Light Jig:
The Cabinet Light Jig is a professional-grade tool capable of thousands of product installations. It’s also easy enough to be used by anyone interested in simplifying the puck light or strip light installation process for a single project.
Our Cabinet Hardware Jigs are made in the USA, with bushings backed by a Lifetime Warranty, and calibrated to a .005’’ square, making precision guaranteed.

Guide The Ultimate Cabinet Hardware Placement Guide Installing cabinet hardware can feel intimidating. Regardless of whether you are a DIYer or a professional woodworker, you
The Most Accurate Way to Install Cabinet Hardware Table of Contents An easy way to have a home reflect your personal style as a homeowner
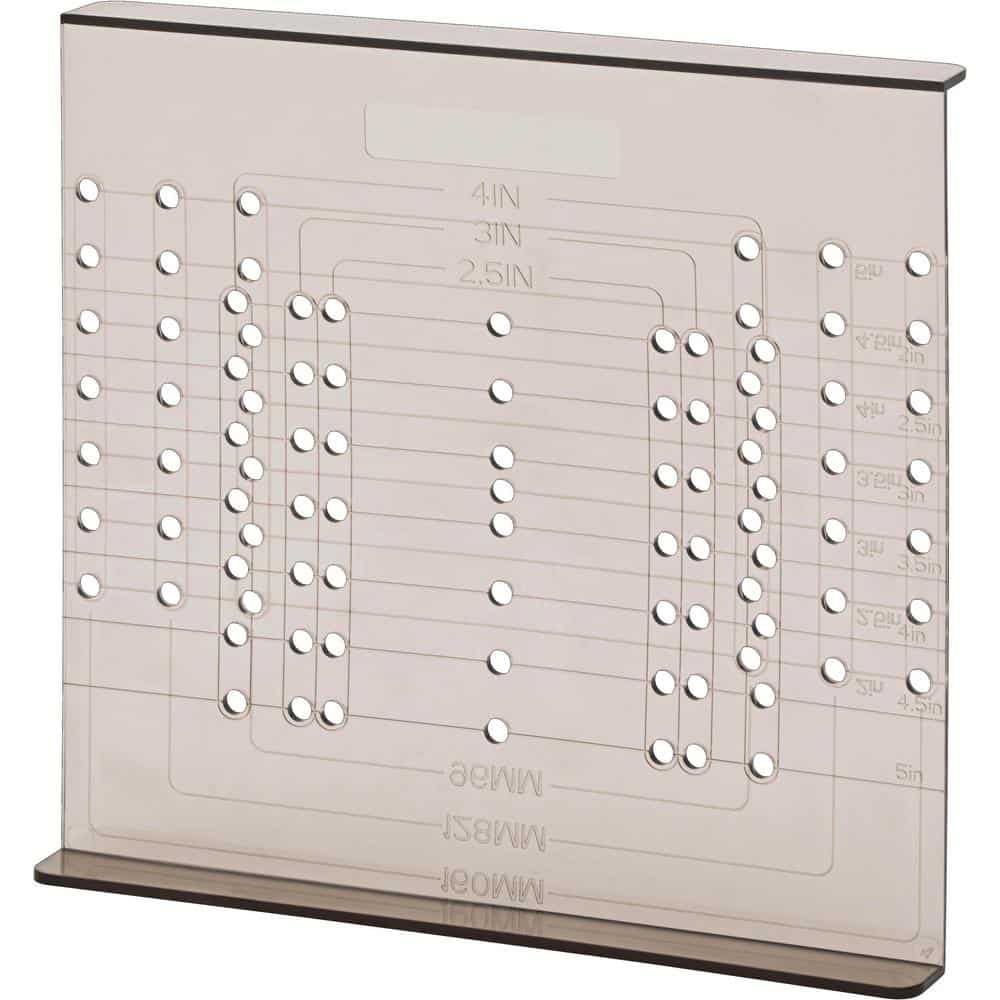
Cabinet Hardware Jigs vs. Templates – Which Is Best for Your Cabinet Business? There are many different variables to creating and running a successful cabinetry
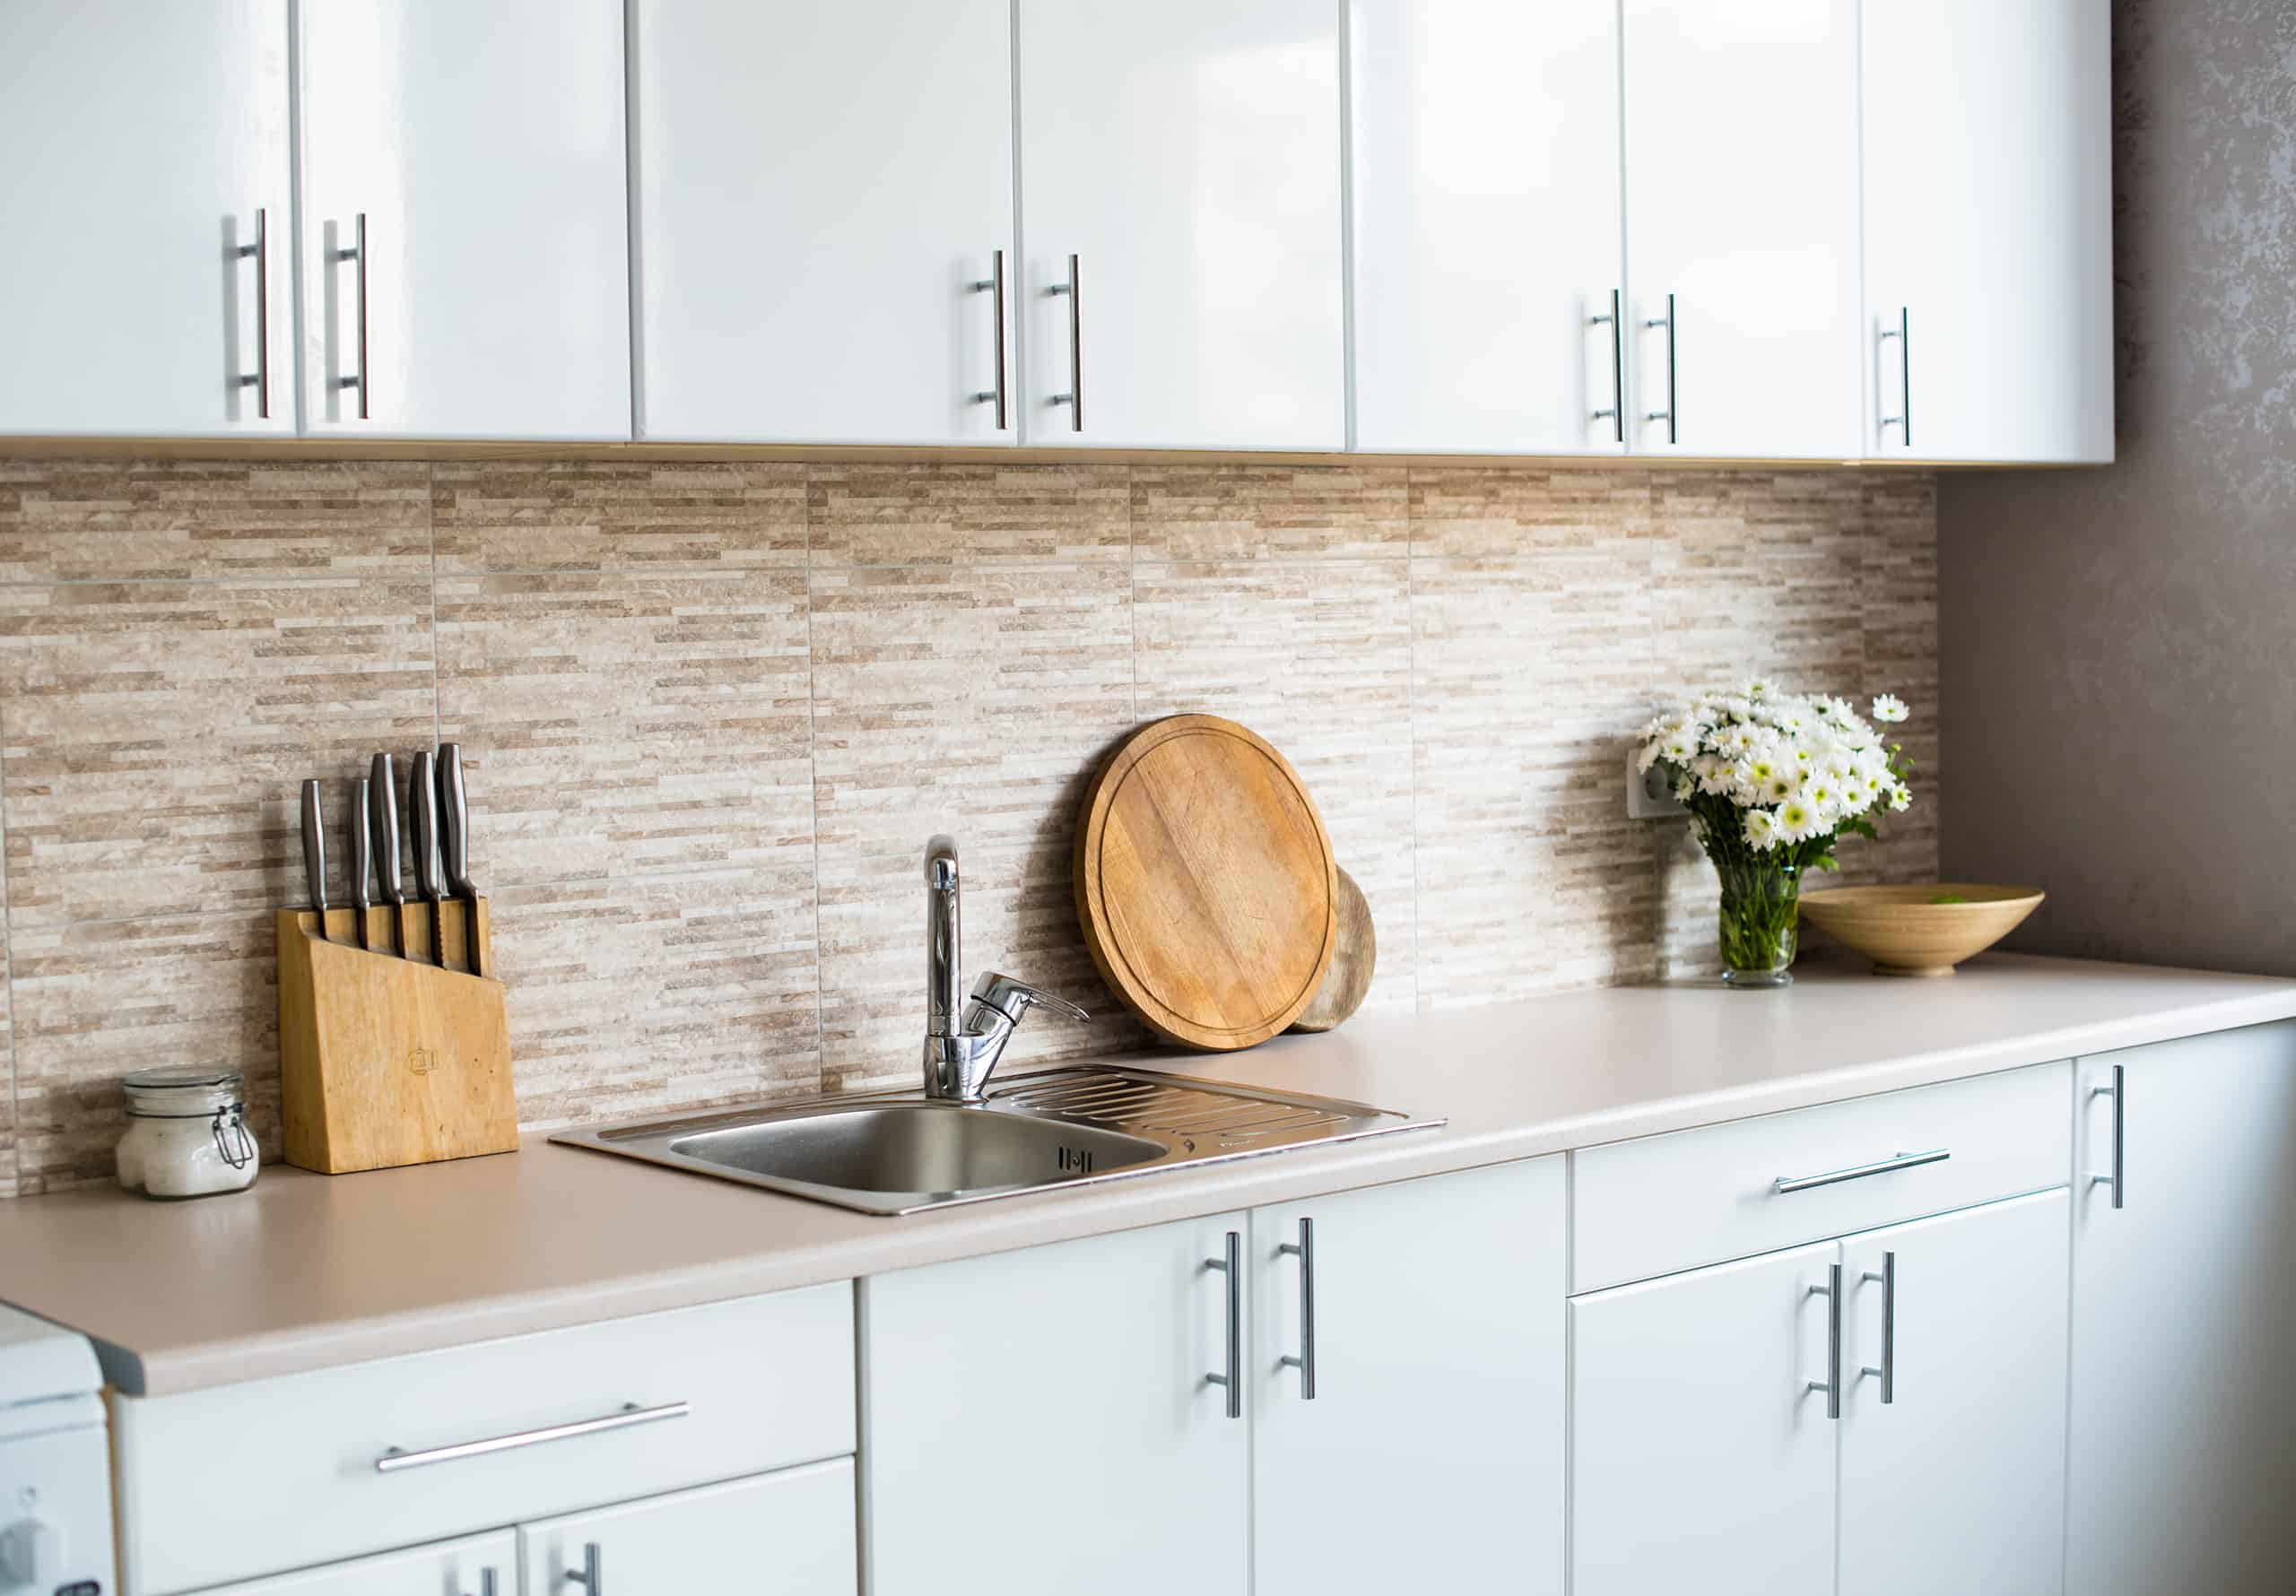
How to Install Cabinet Door Handles Table of Contents Replacing or adding cabinet door handles is a great way to update a room. Modern, sleek
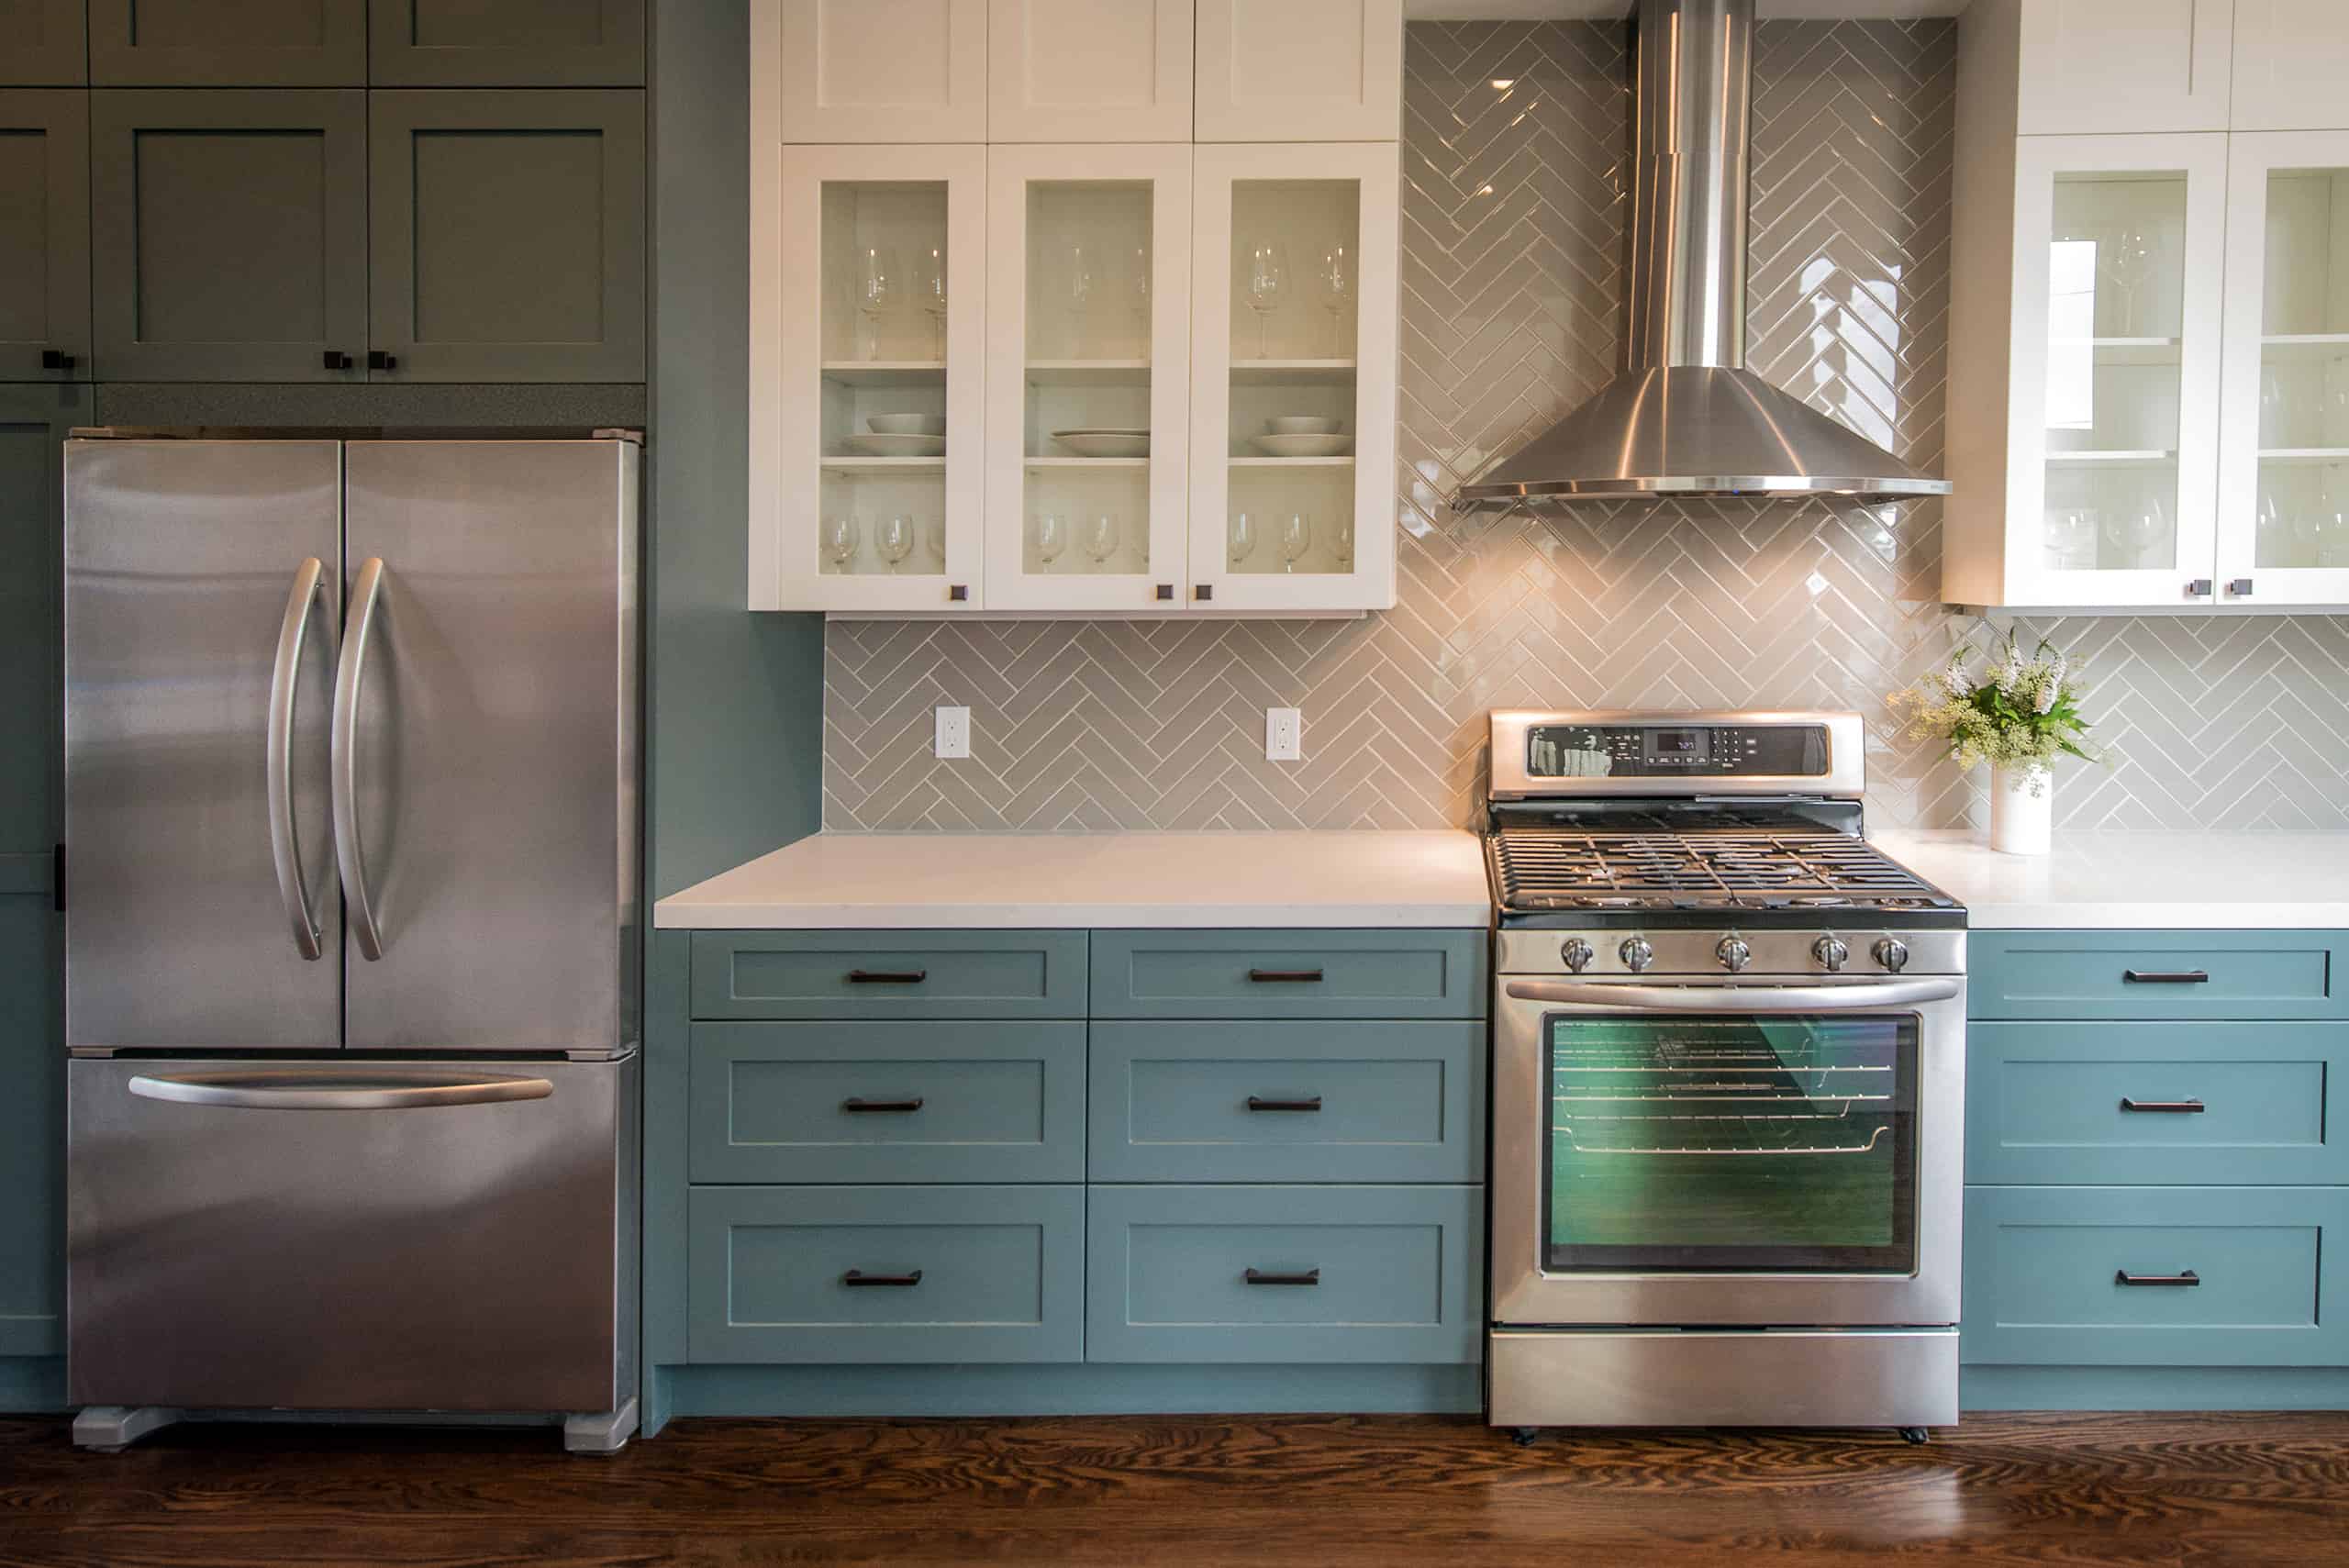
How to Install Handles and Knobs on Shaker Drawer Fronts Table of Contents Getting ready to install handles and knobs on your Shaker drawer fronts?
Frequently Asked Questions Here is a categorized list of the most frequently asked questions we receive. If you can’t find the answer you are looking
© 2024 True Position Tools. All Rights Reserved.
Looks like you haven't made a choice yet.