The Ultimate Cabinet Hardware Placement Guide
Guide The Ultimate Cabinet Hardware Placement Guide Installing cabinet hardware can feel intimidating. Regardless of whether you are a DIYer or a professional woodworker, you
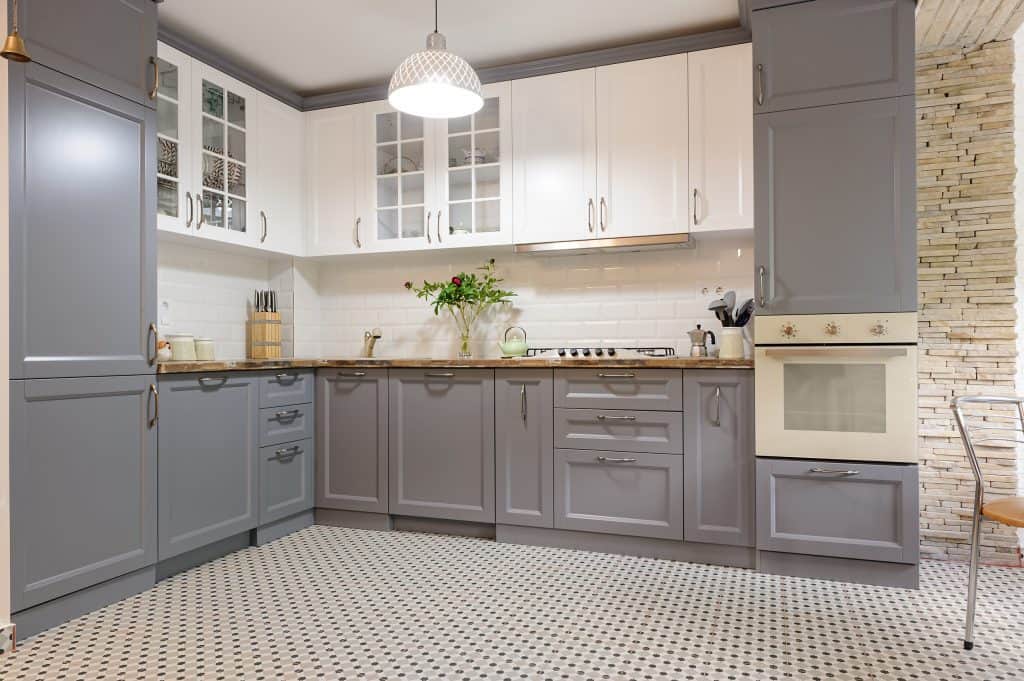
Hardware cabinet placement is a critical part of bringing the aesthetics of a room together. But knowing exactly where to place those knobs and pulls on your kitchen cabinets can feel overwhelming, especially when it comes to the most popular type of cabinets – Shaker Cabinets.
Our guide provides everything you need to know about installing knob and pull handles on your Shaker cabinets to give a room the exact look and feel you want. Whether it’s your laundry room, home office or kitchen being remodeled, here are the best go-to tips for your Shaker style doors and drawers hardware placement.
Shaker cabinets are the most popular type of cabinet. Their signature look includes a five-piece design with a recessed center panel. They tend to have subtle details that create clean lines. And because this specific style of cabinet has a variety of design options, their versatility can help a room to feel either modern or traditional. Shaker cabinets actually have a long history in households, started centuries ago by a religious community in the United Kingdom and eventually making their way over to the United States.
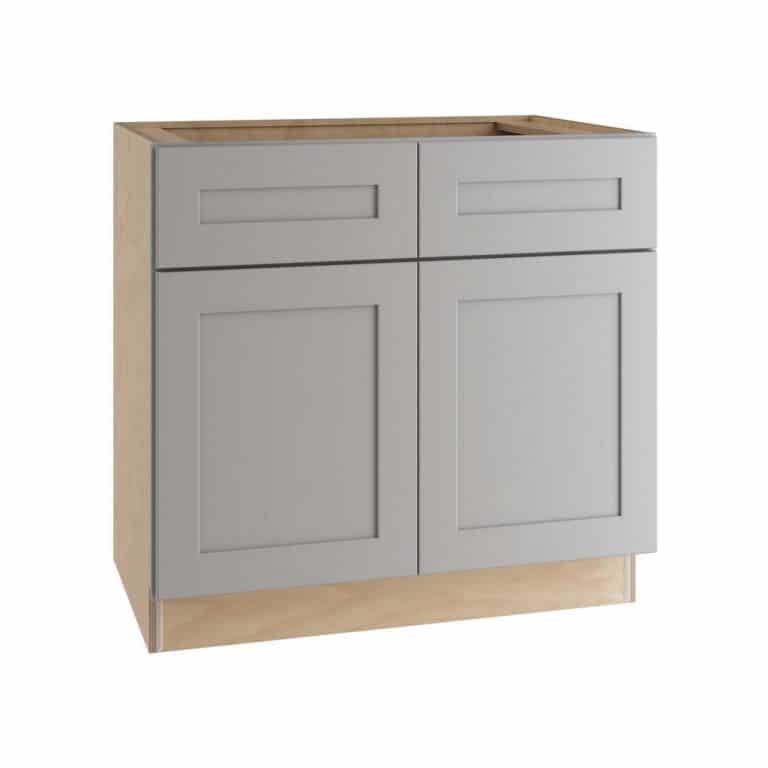
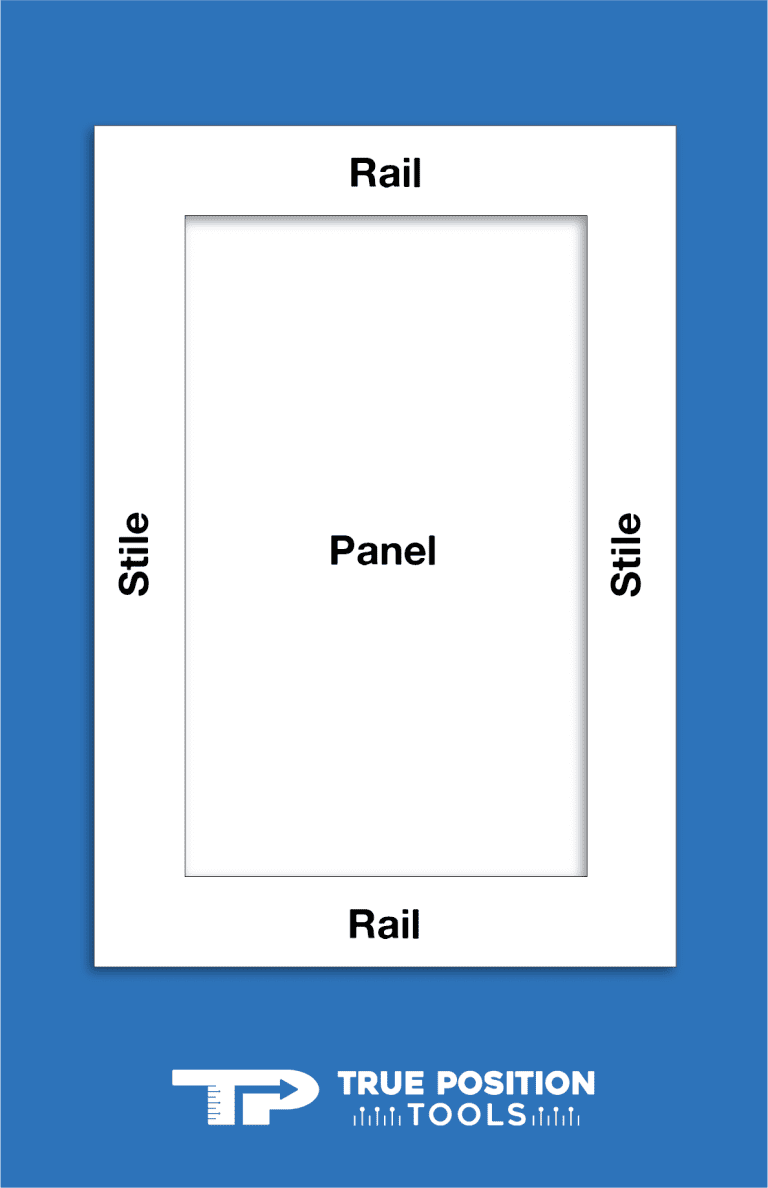
The main reason hardware placement can be difficult with Shaker cabinets is because most people don’t really understand how they are designed. And while you do not need to be an expert at building them to be able to place hardware correctly, it does help to know a tiny bit about their layout. When we say there are five-pieces that make-up a Shaker cabinet, those five parts are the center (recessed) panel, the stile (placed vertically on both sides of the center panel), and the rail (placed horizontally on both the top and bottom of the center panel). The stiles and rails make-up the frame.
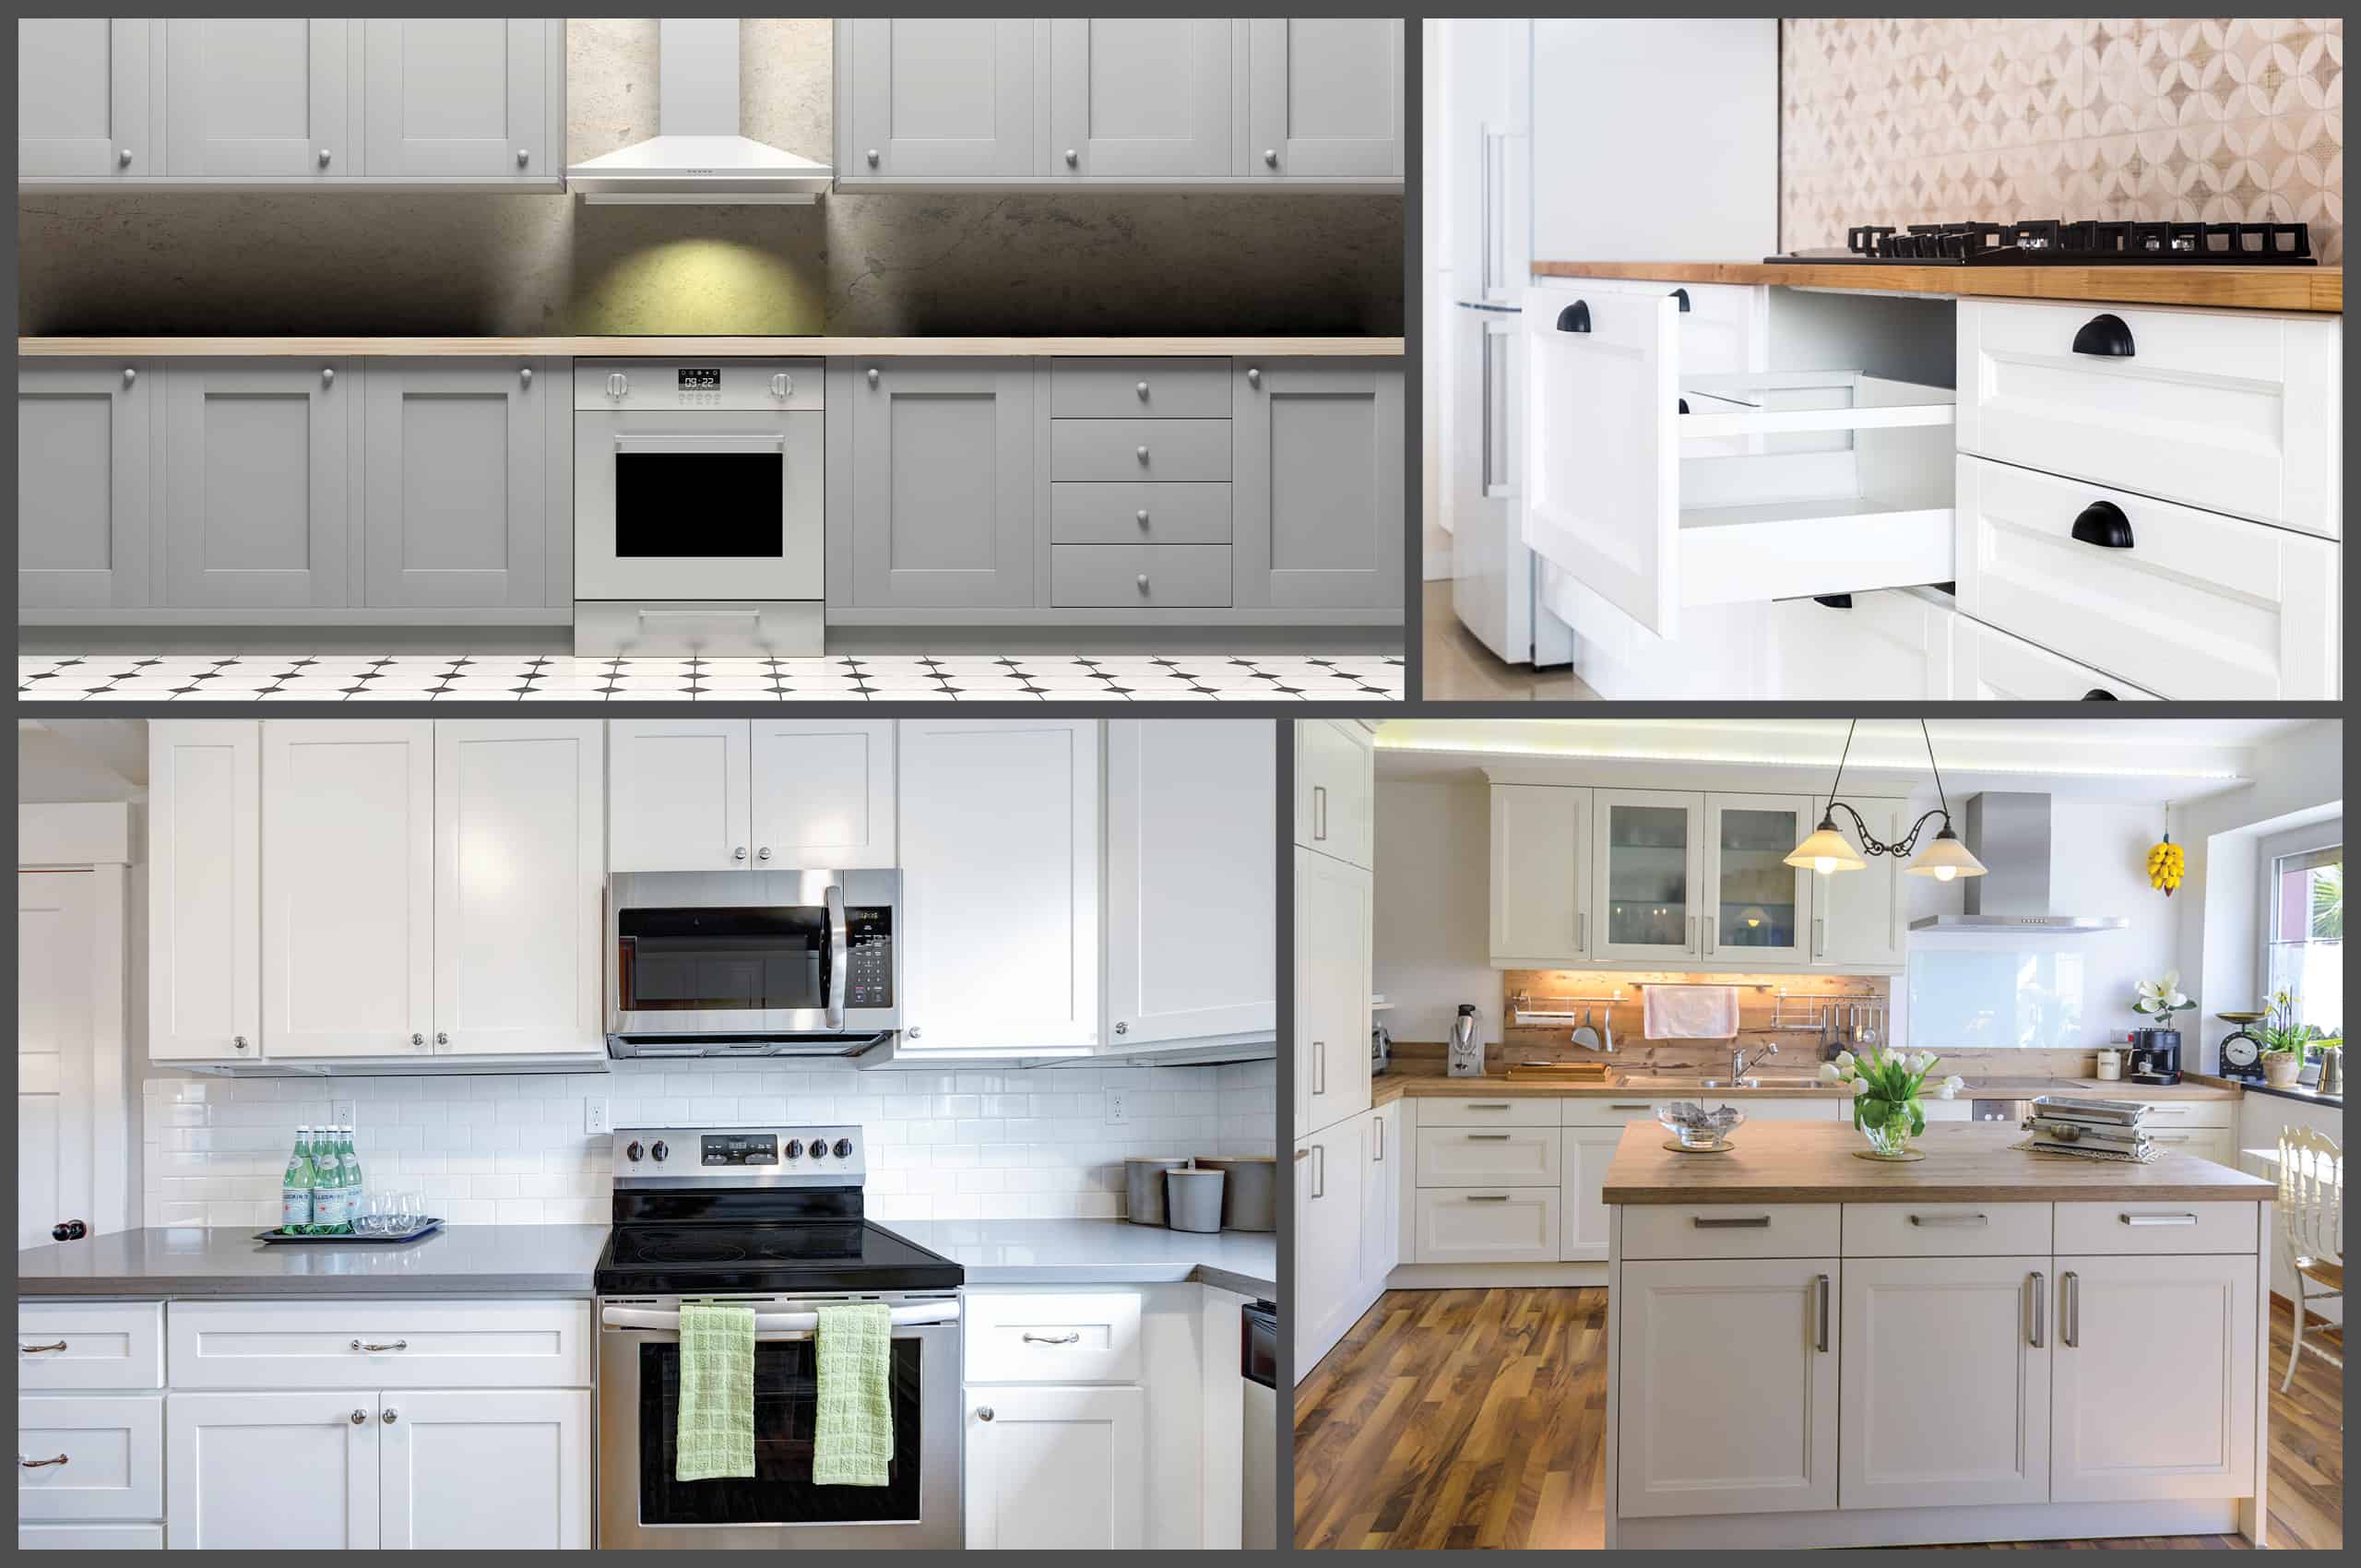
Your Shaker cabinet hardware will consist of cabinet knobs and pulls, most likely a mix of both. Knobs tend to be used for cabinet doors, pulls tend to be used with both doors and drawers. They serve both function and style – You want to be able to open your shaker style drawers and doors easily, making all the handles within reach.
You of course, also want them to play into the aesthetics of the room. This is where the stye portion with handles comes in: Do you want your handles to give your cabinets a more modern, sleek feel? Or do you prefer the more traditional, classic look and feel? Knobs are going to take your room the traditional route. A mix of knobs and pulls is going to give the room a semi-modern look. Pull handles can go either way. Traditional pulls can look like bin pulls or have smoothe, curved edges with a lot of detail. If you want to go all-the-way modern, then long, sleek pull handles are what you want.
This is a very common question with Shaker cabinets. Some of the most popular places for pull handles are the following:
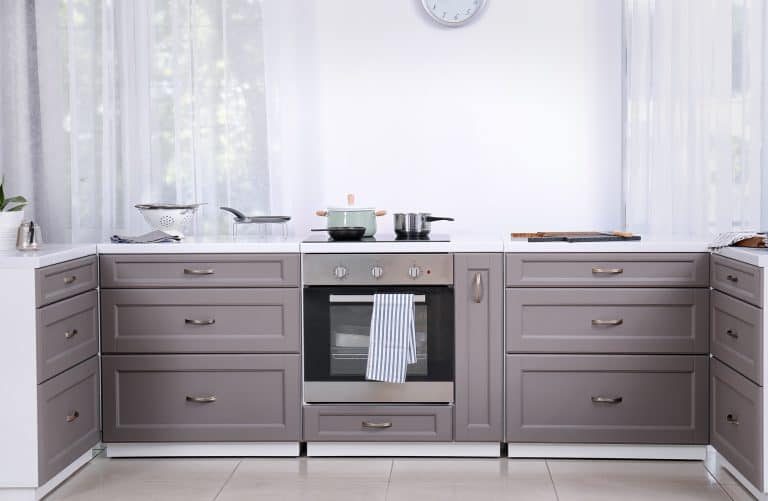
Pulls can be placed horizontally in the center of the inset panel.
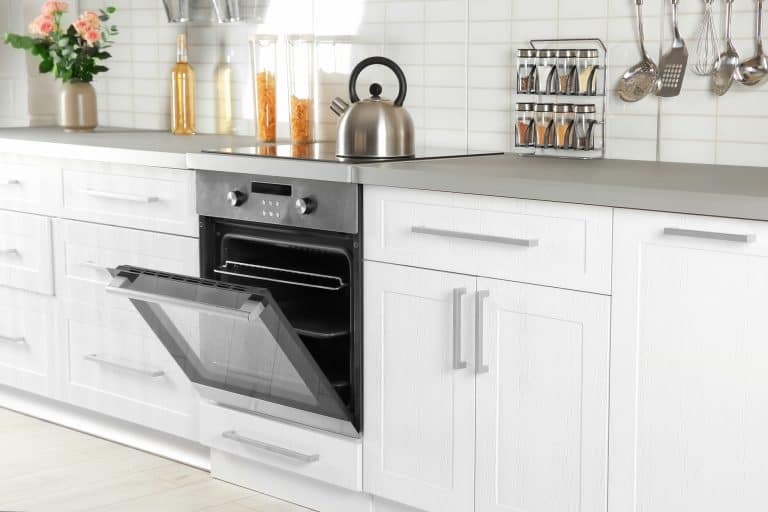
The center of the base cabinet drawer rail is another popular place to install a pull handle. The pull handle should be horizontal.
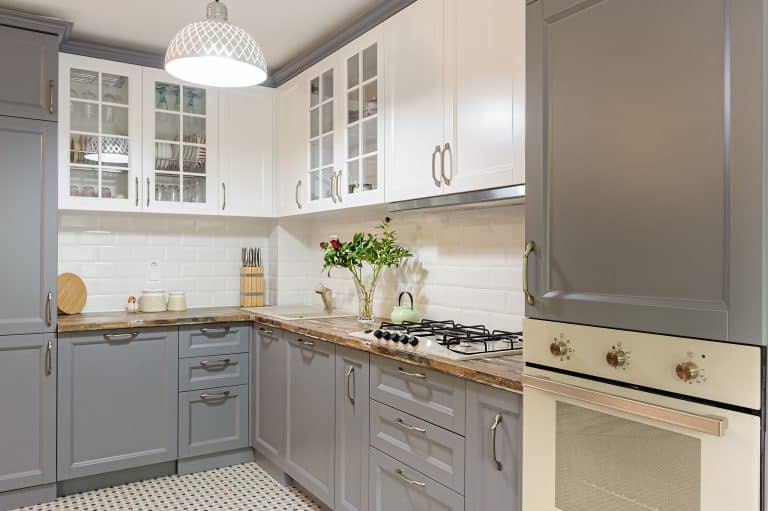
Some people also choose to place pull handles in the upper or lower corners of the frame, specifically anywhere from 1’’ to 3’’ from the corners. This is largely based on personal preference.
The center of the stile is a common placement for larger cabinet doors (with the pulls placed vertically).
You have a few options when it comes to deciding where to place your knob and pull handles on Shaker doors. The big takeaway here is that the placement when it comes to the doors is usually based on your personal preference. It is very likely that if you think the knobs and pulls look good where you’ve placed them, it probably works. Either way, here are some good starting points of where to place the hardware on your Shaker cabinet doors:
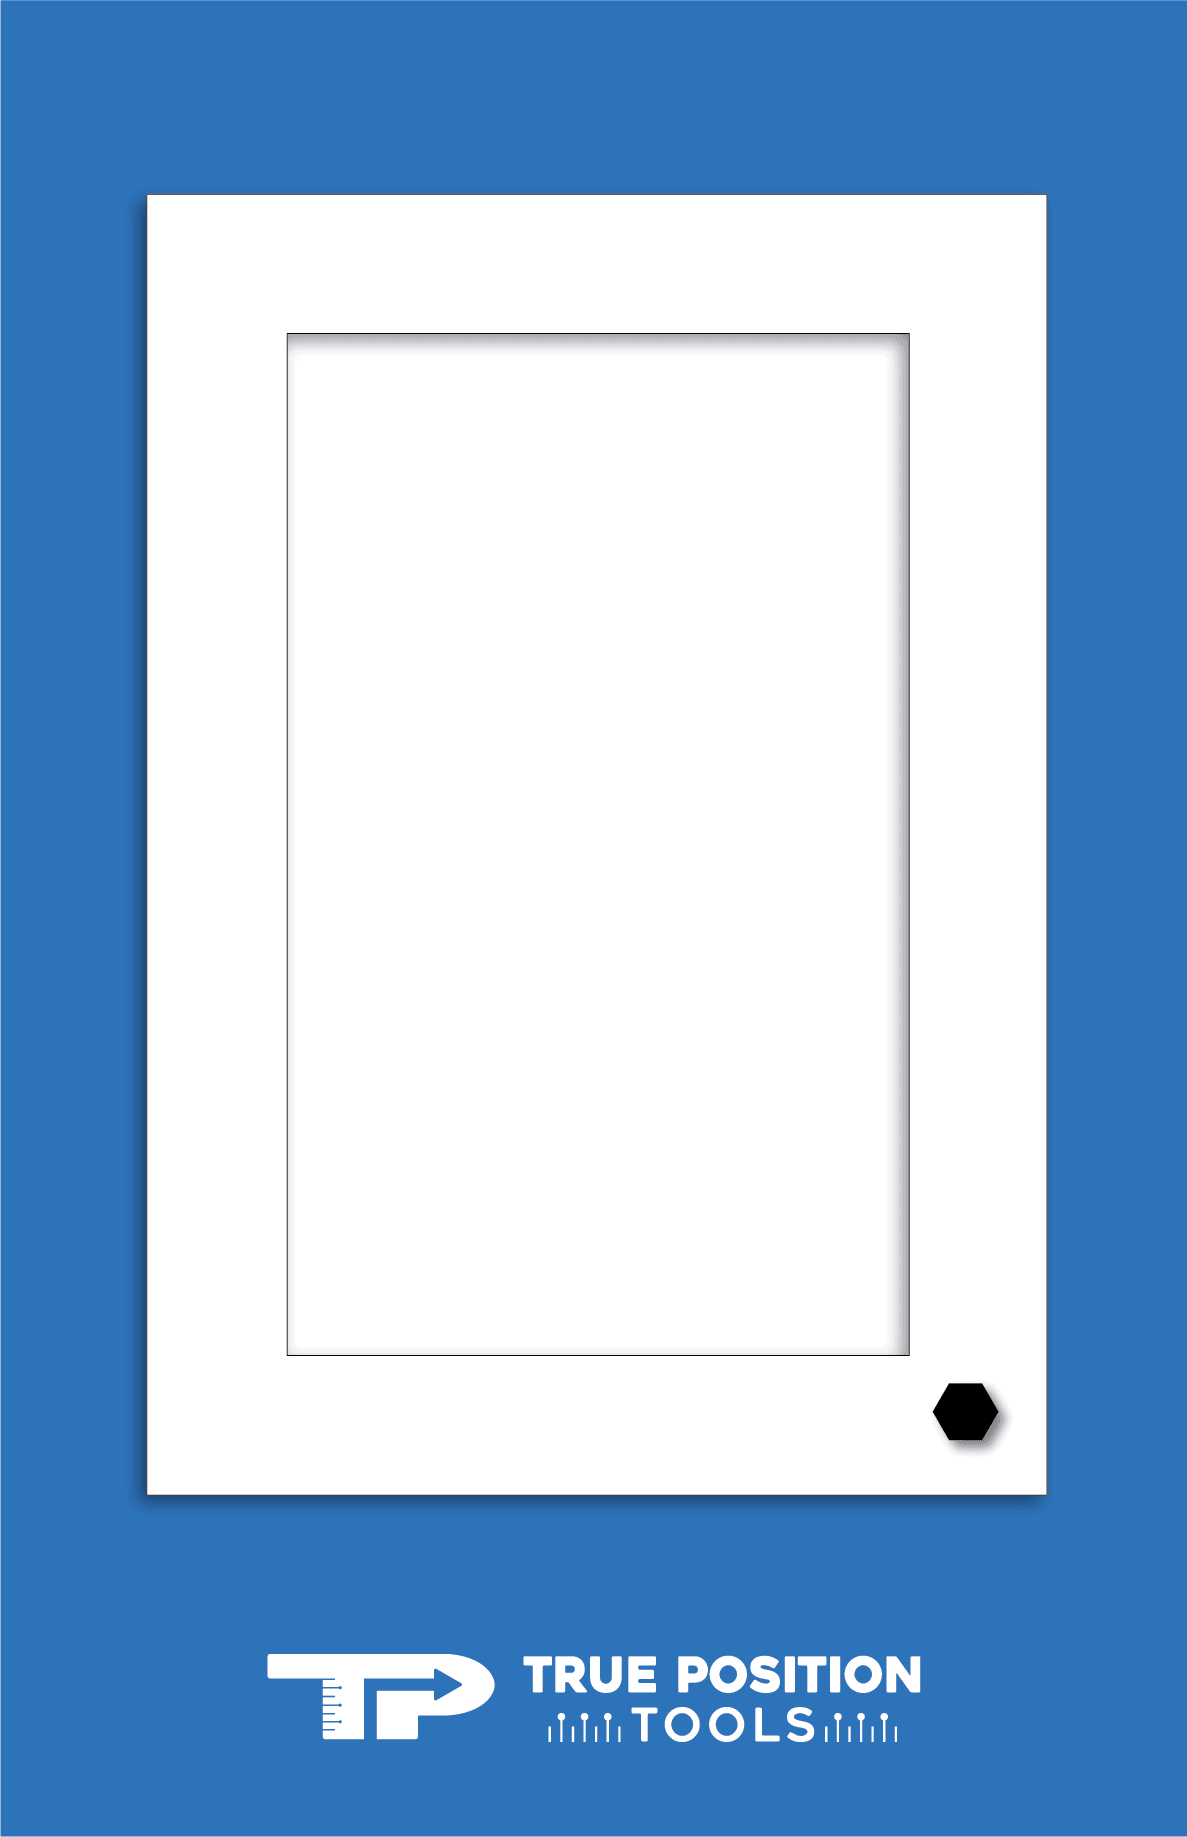
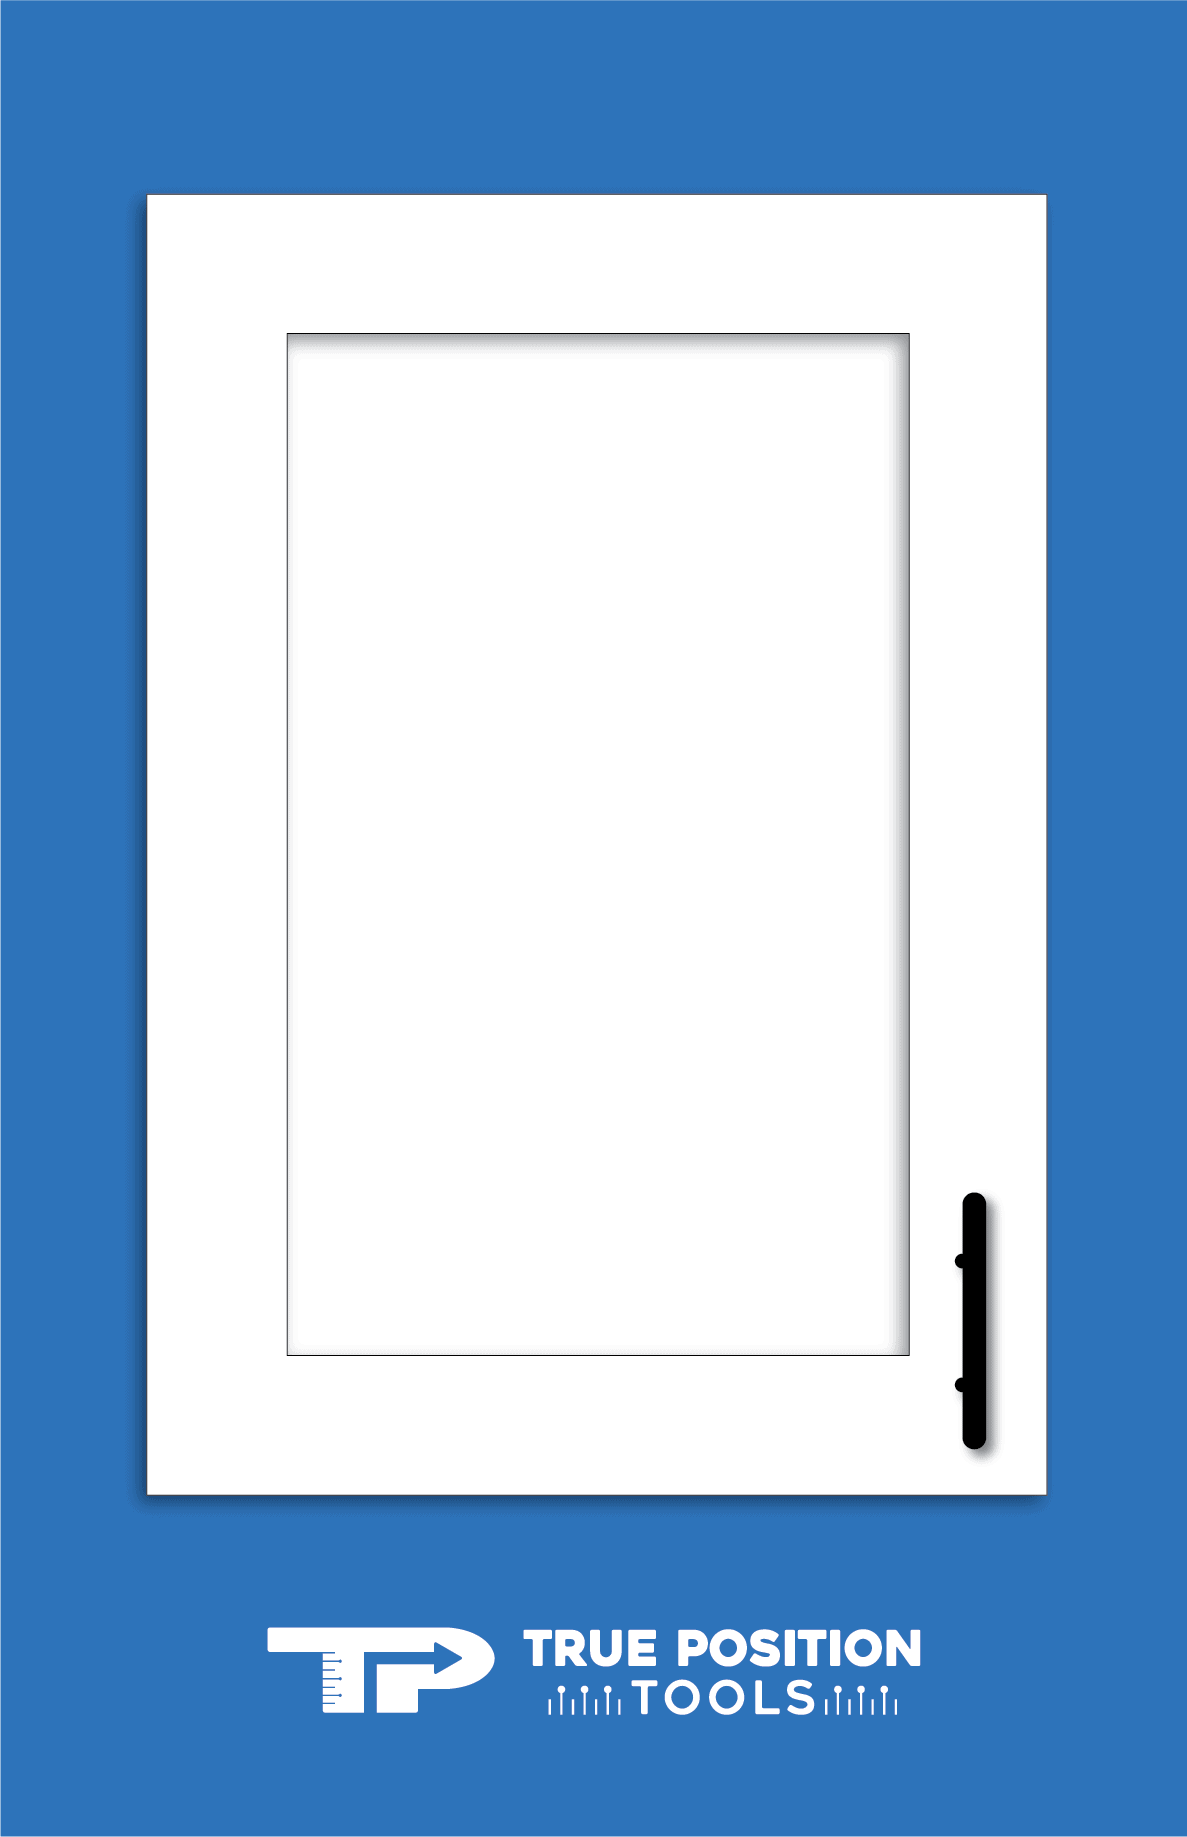
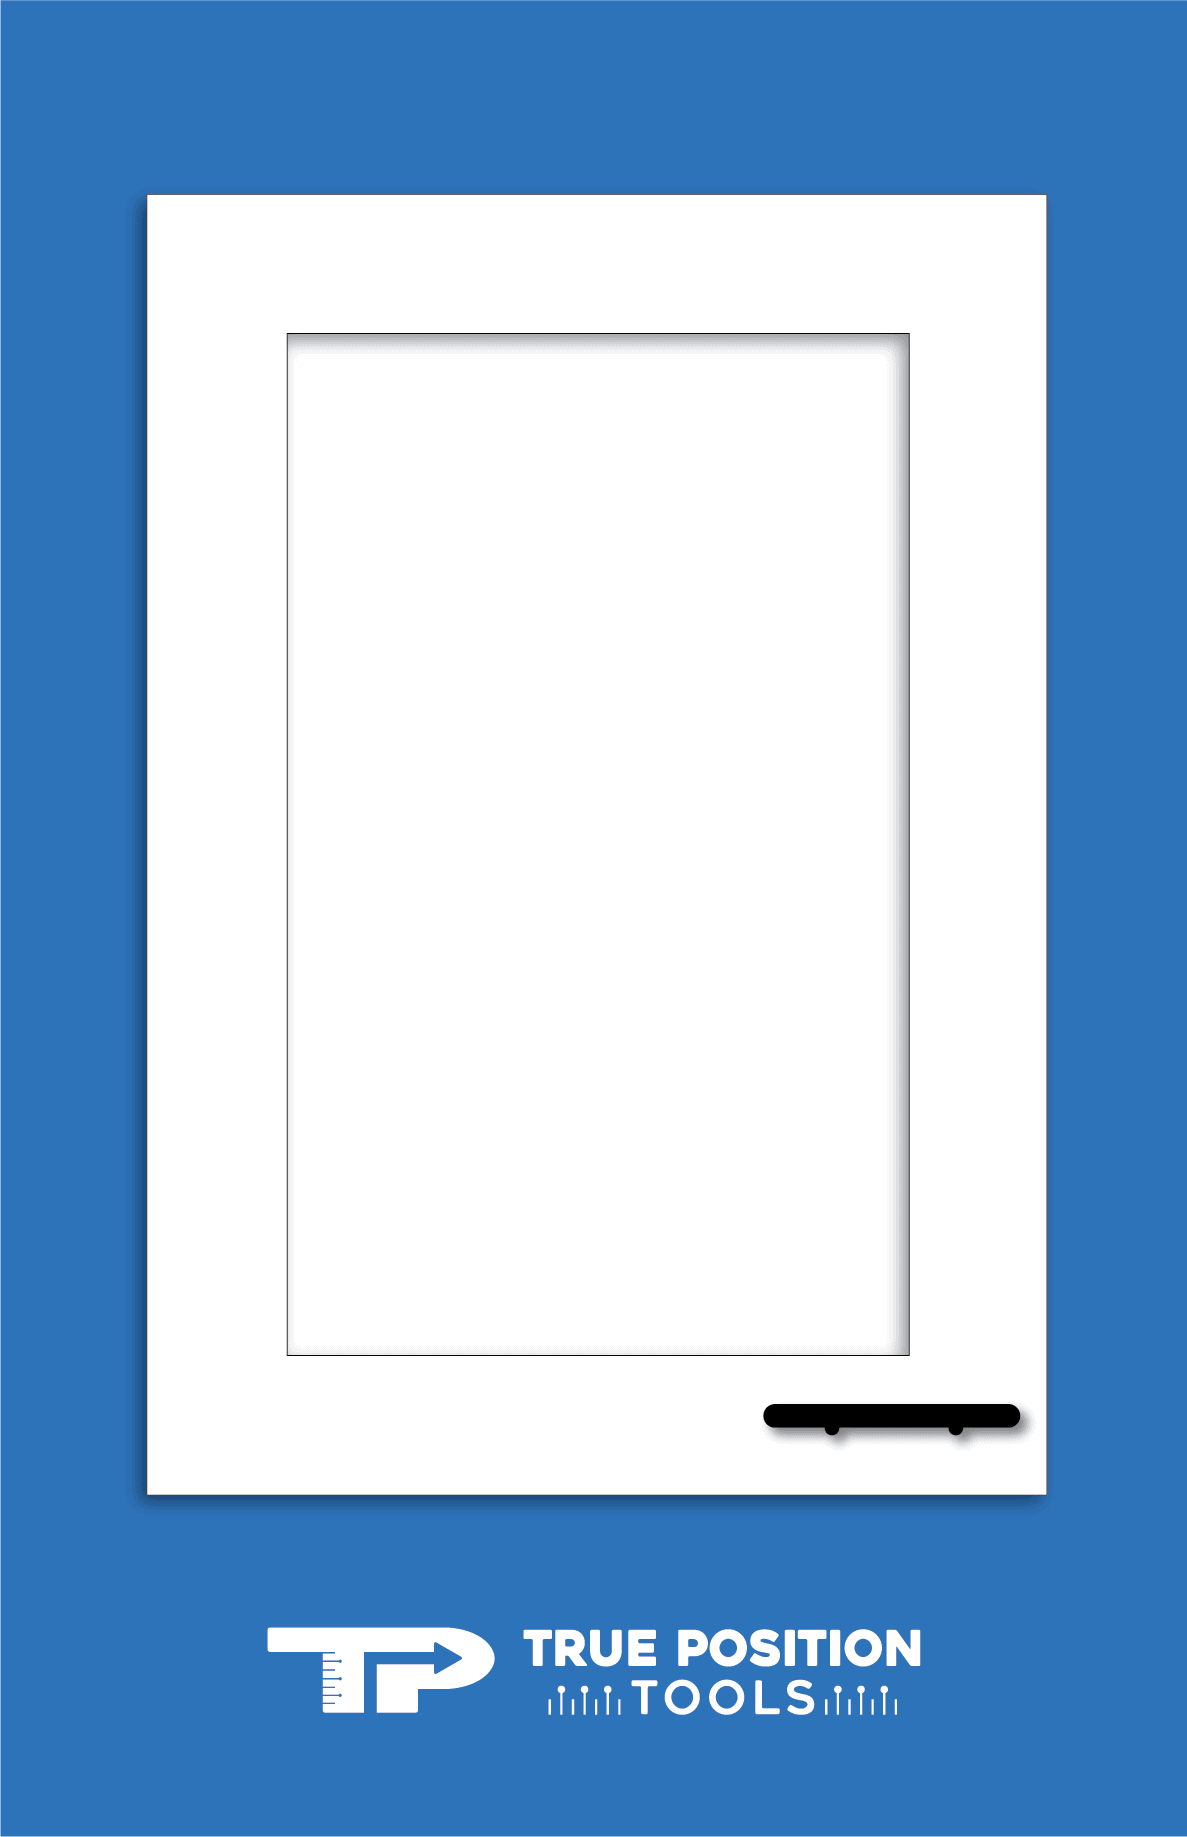
Placed in the Lower Corner – If placing knobs and pulls in the lower corner, this is usually around 1’’ from the edge. If you decide to use pulls here instead of knobs, you’ll want to place the pull handles vertically. Using horizontal pull handles is a great option if you want a modern look.
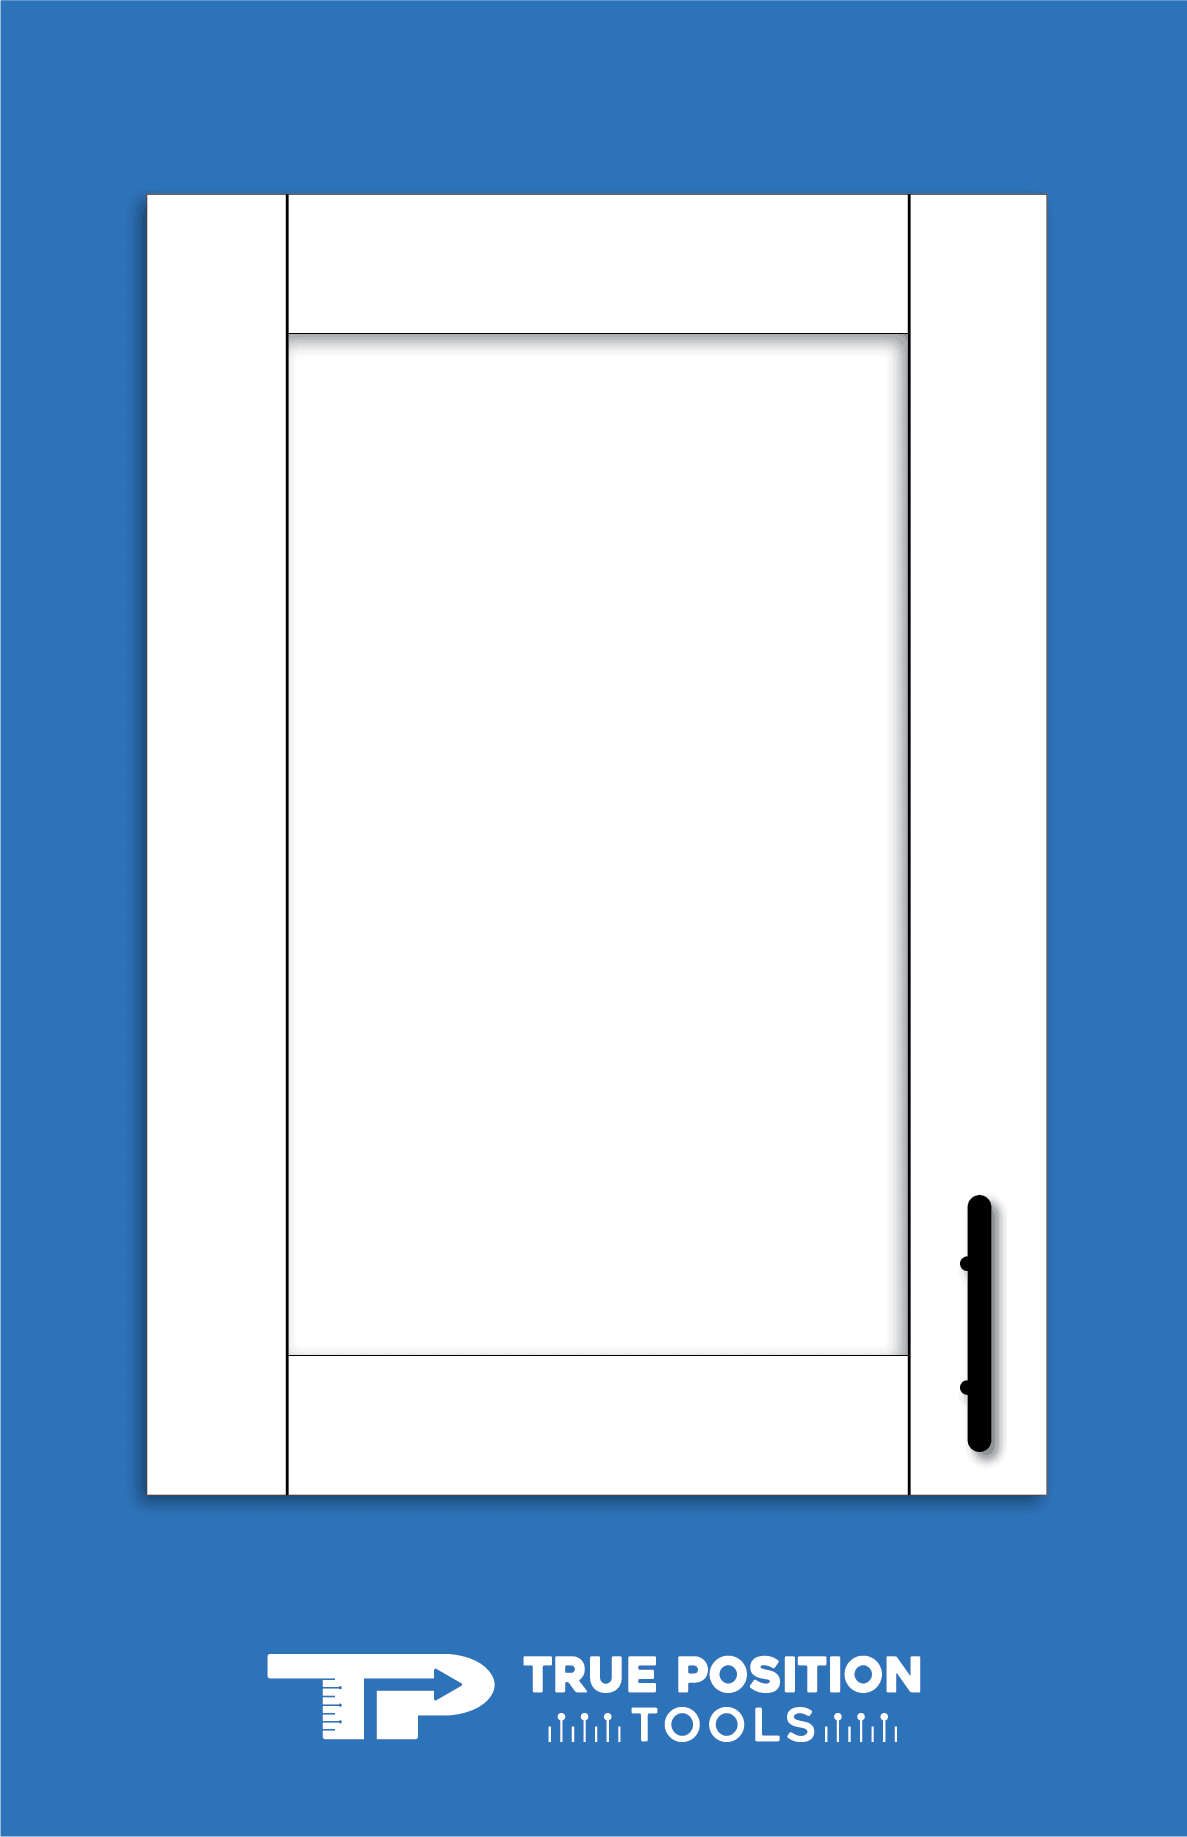
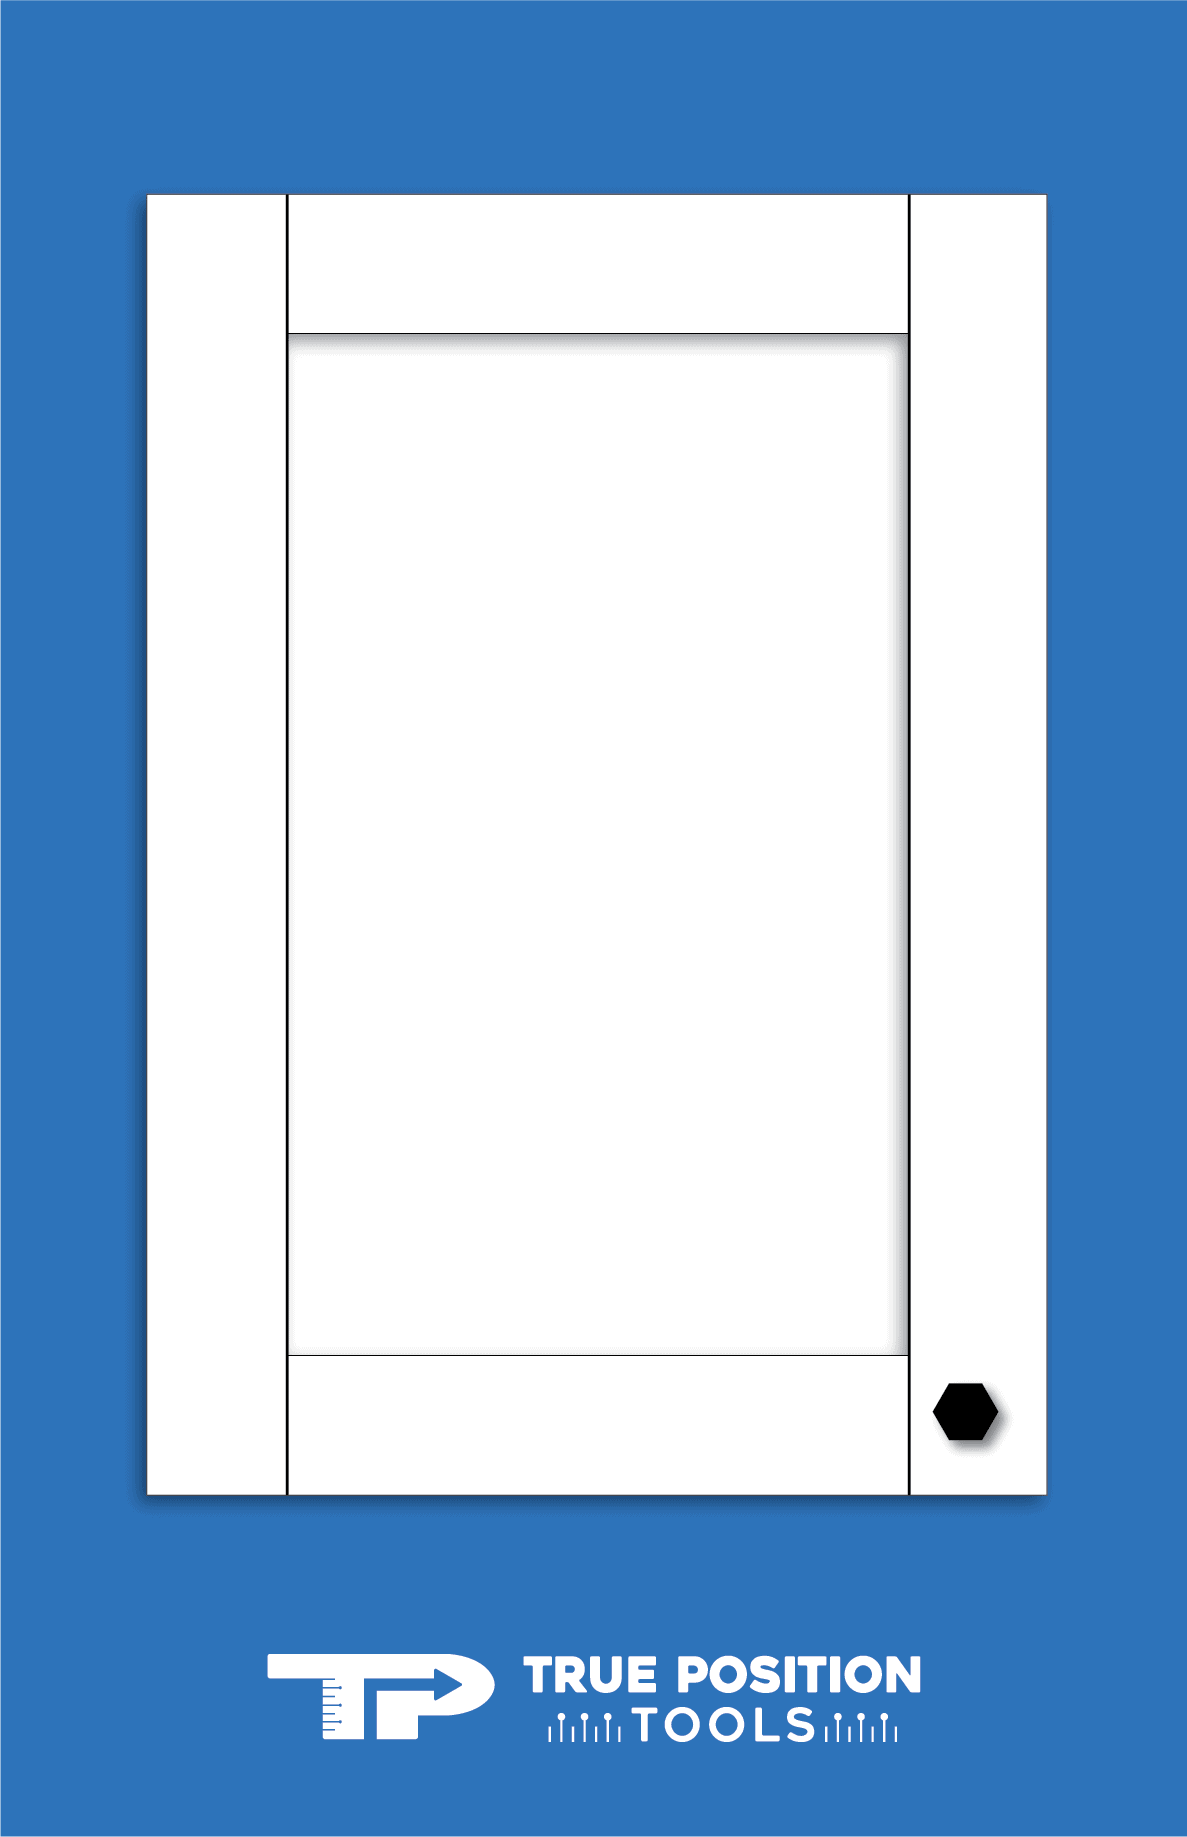
If your Shaker cabinets have visible stiles and rails, it’s very common to place your hardware in the center of those sections.
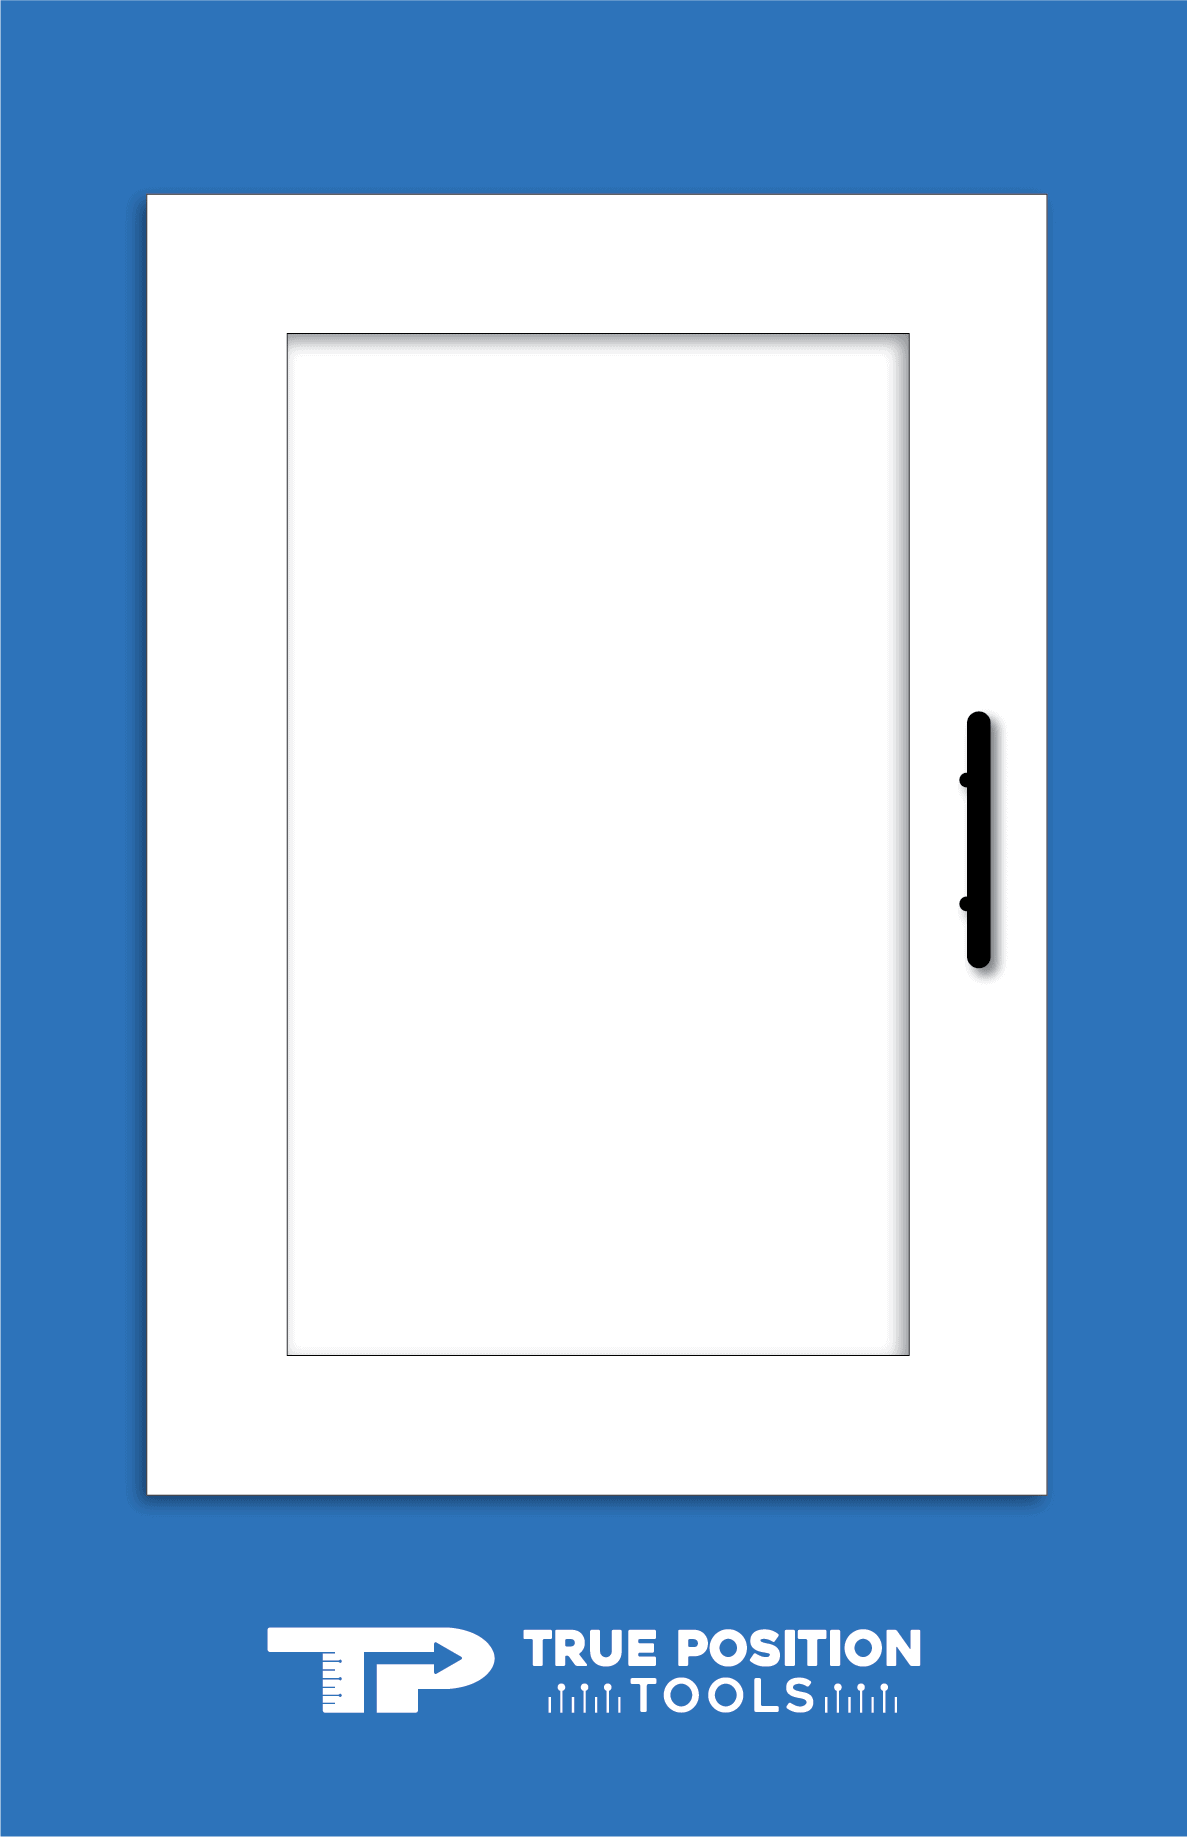
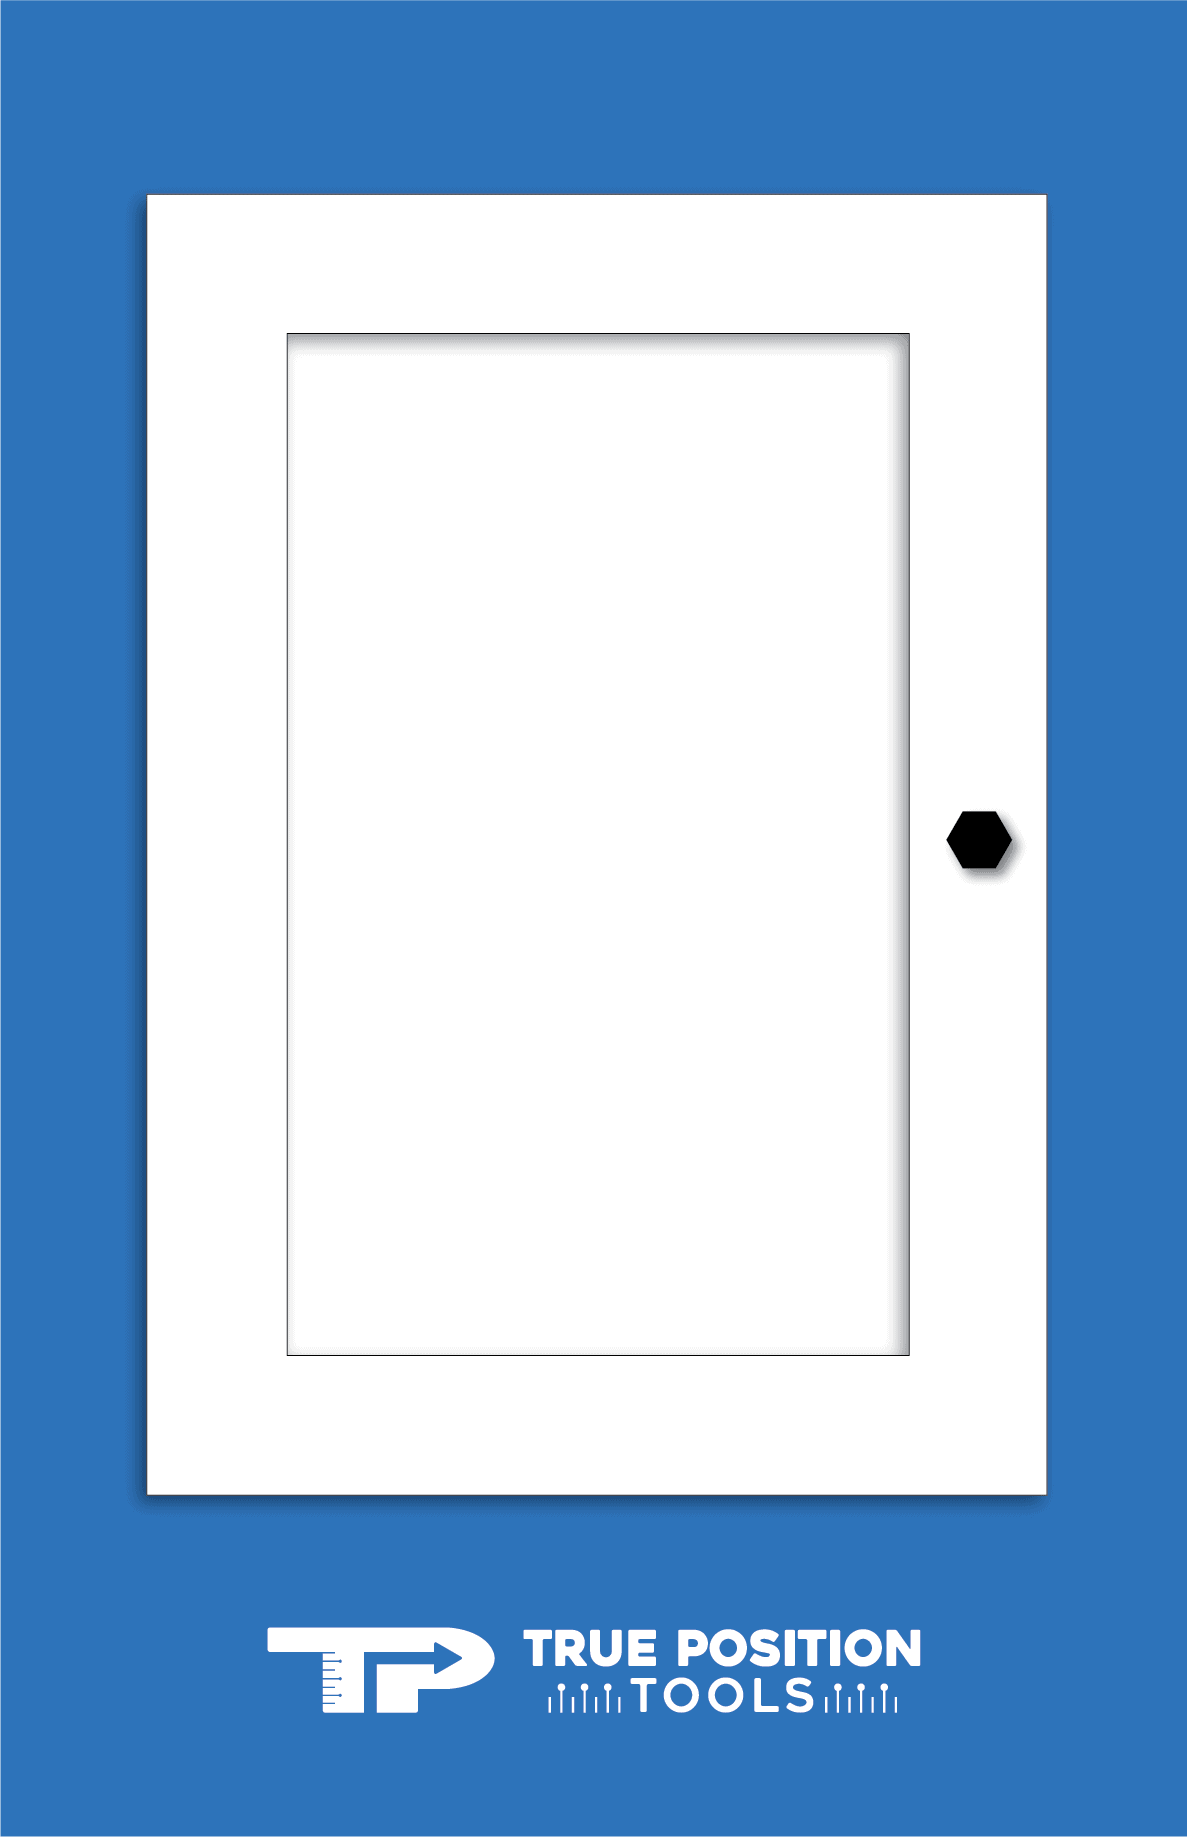
Center of the Stile: Knobs and pulls can be placed halfway up the stile of your Shaker door. Keep in mind you’ll want to be able to reach the handles, since they will be placed higher up along the stile.
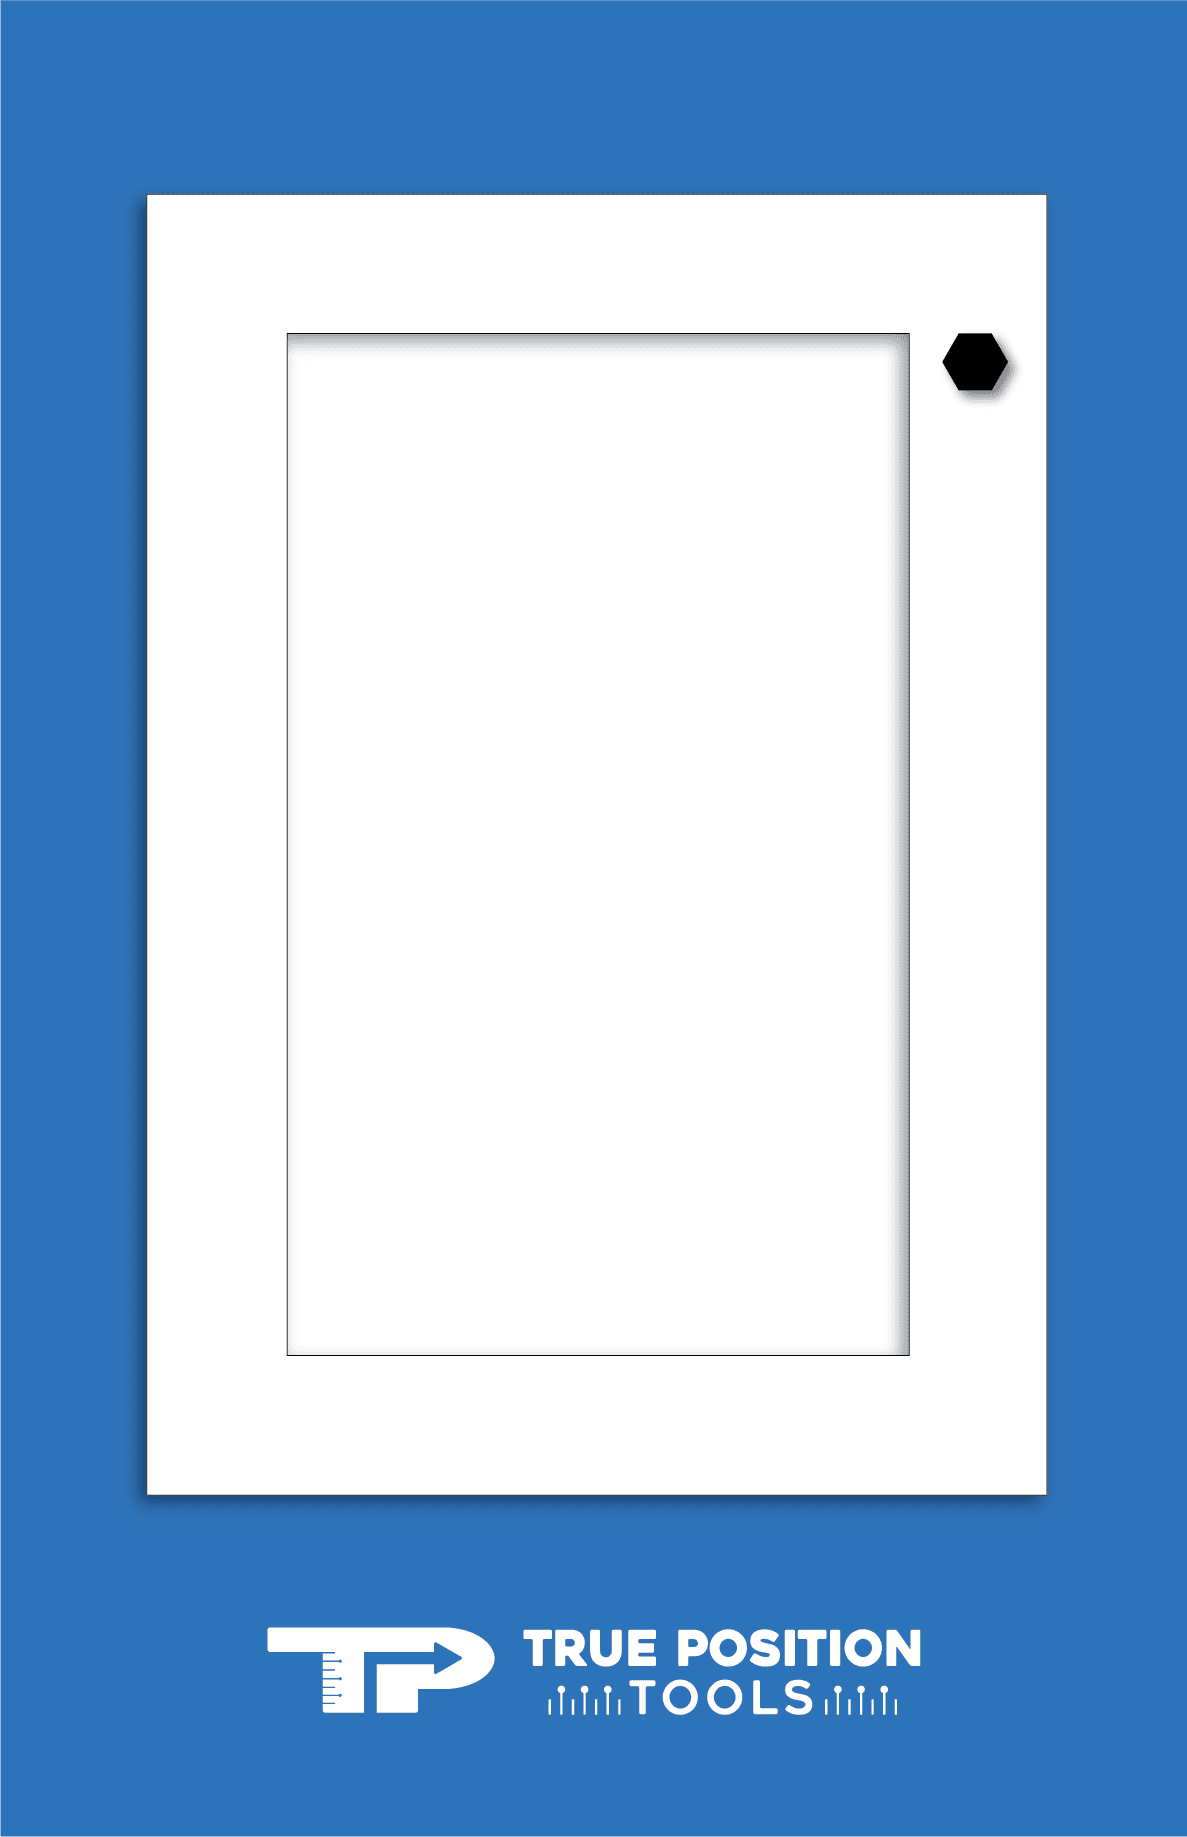
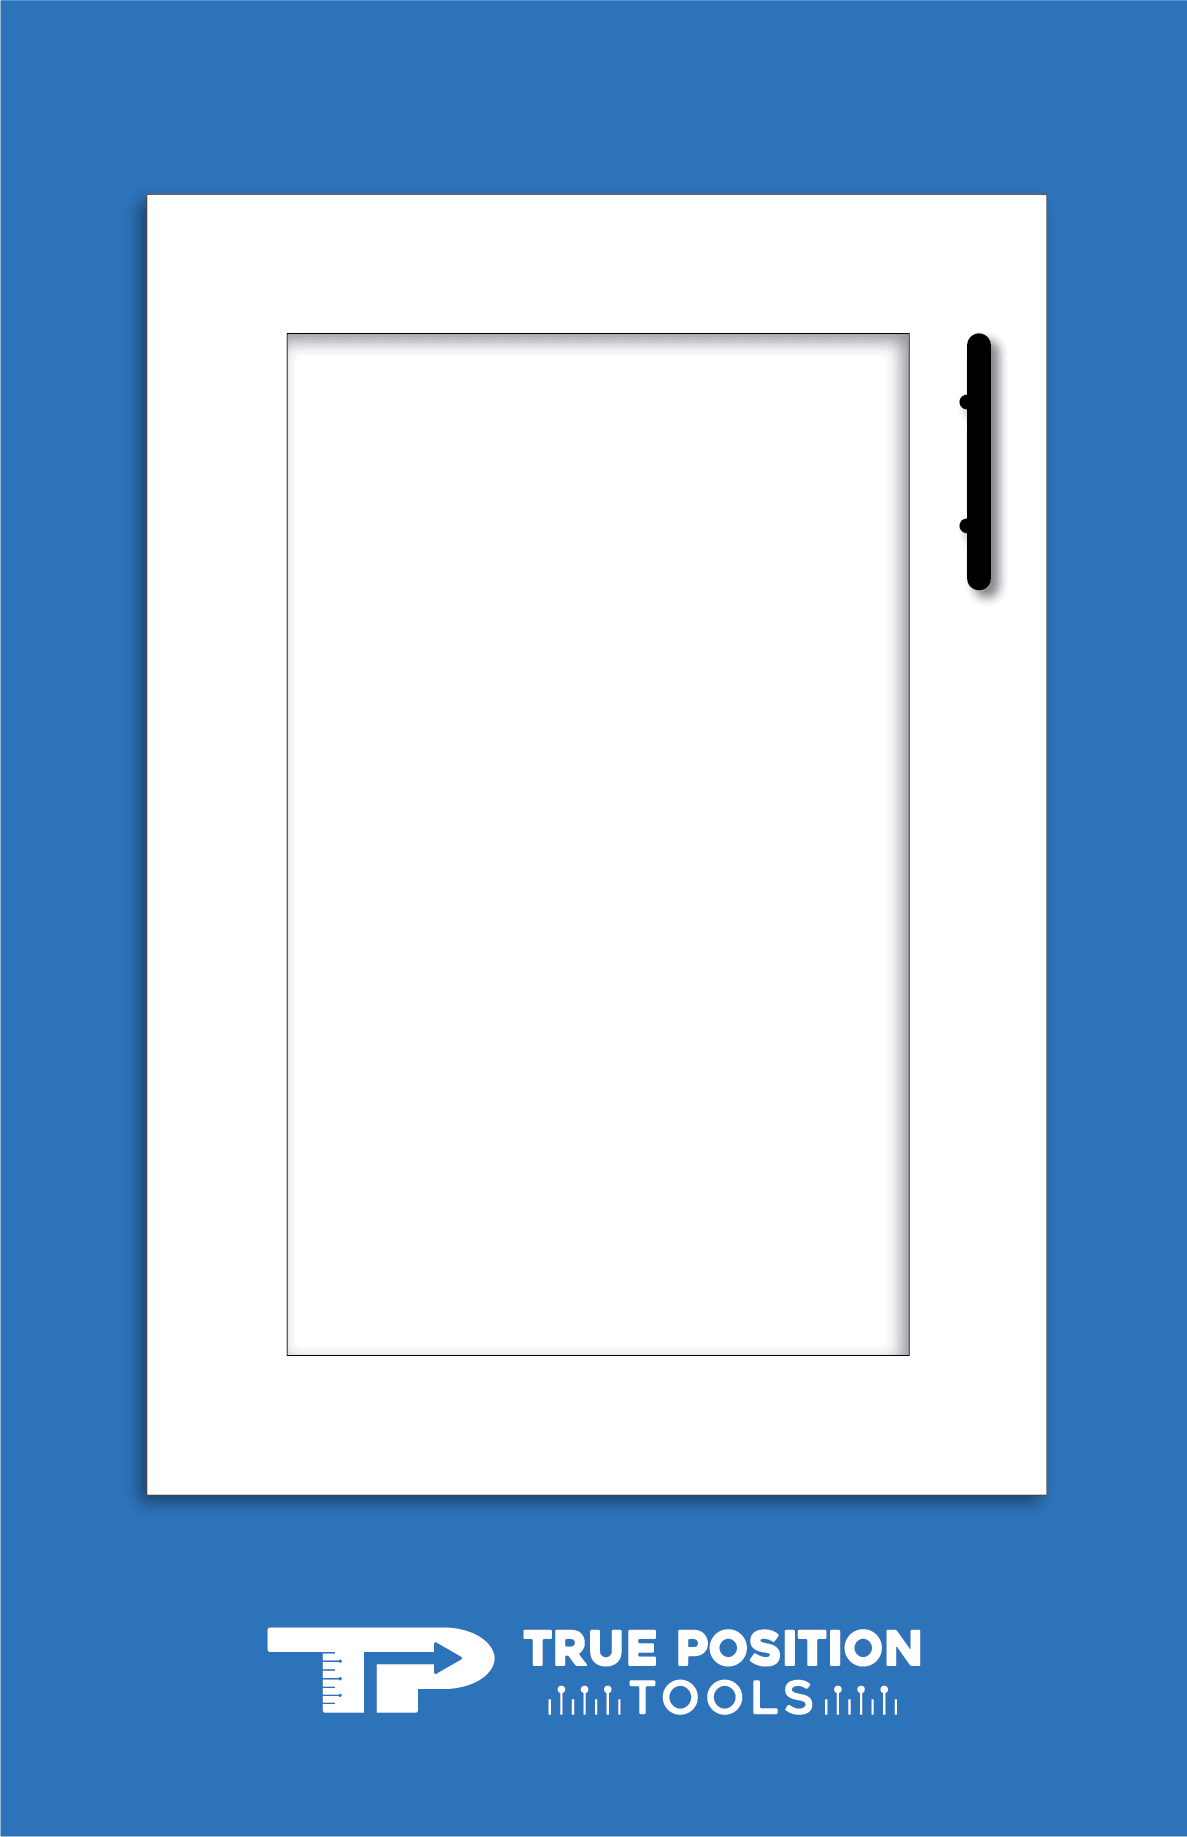
Just Above or Below the Corners: Place the knobs or pulls 2’’ to 3’’ from the lower or upper corner. Again, if you use pull handles here instead of knobs, the pulls should be vertical.
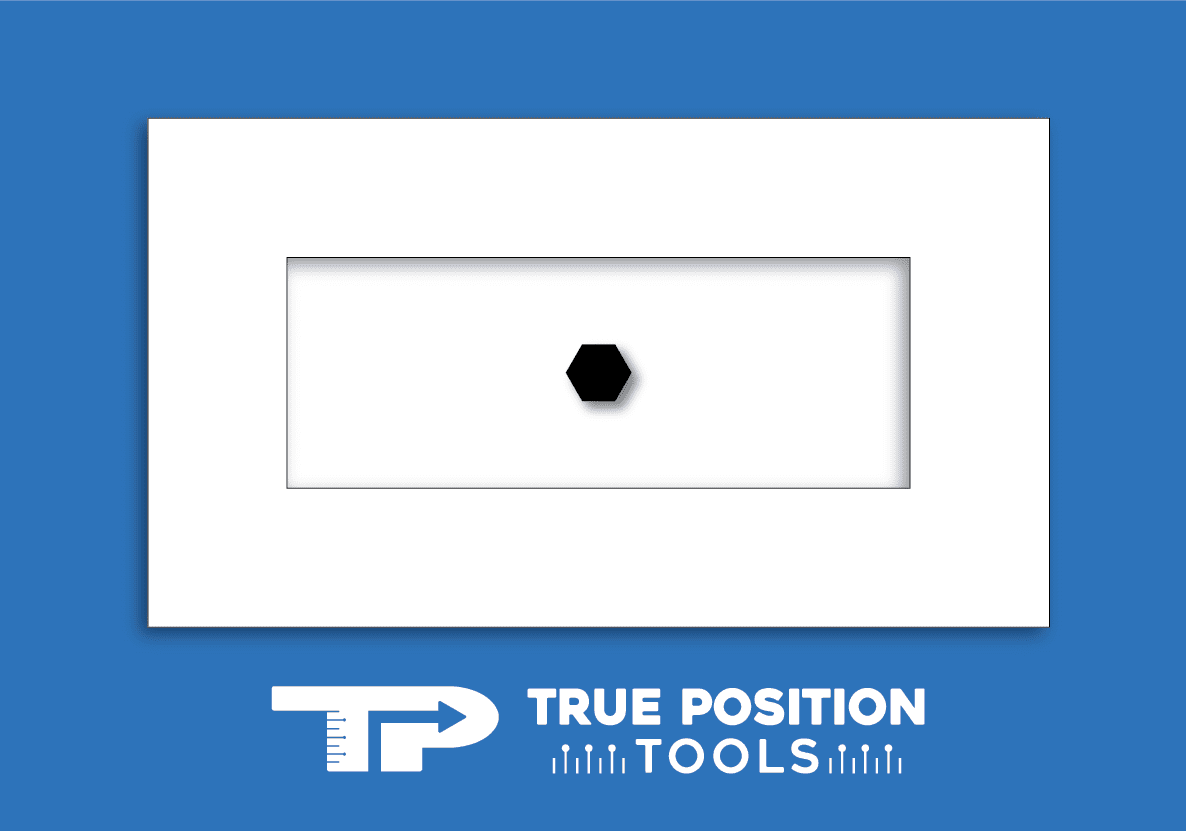

Centered on the Inset Panel: This is where you place the knob or pull handle on the center of the recessed drawer panel (the inset). This is the most common hardware placement on Shaker cabinets.
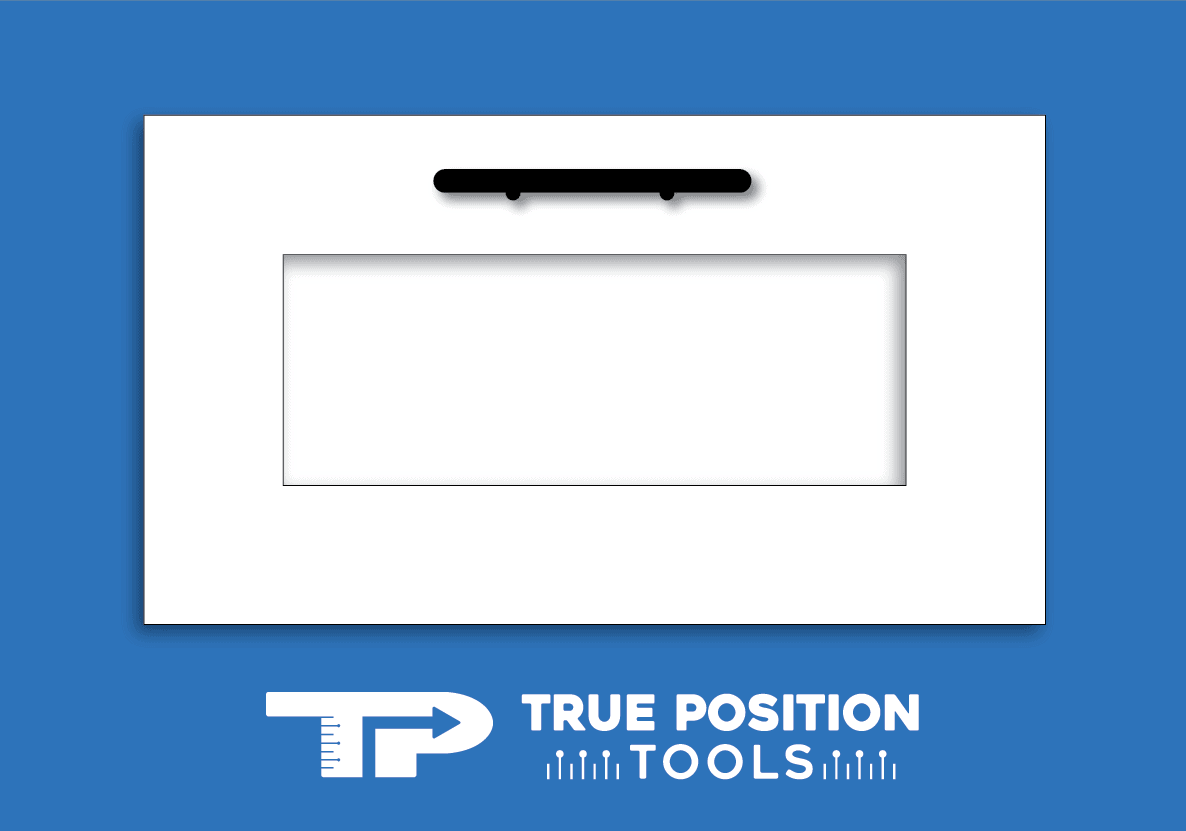
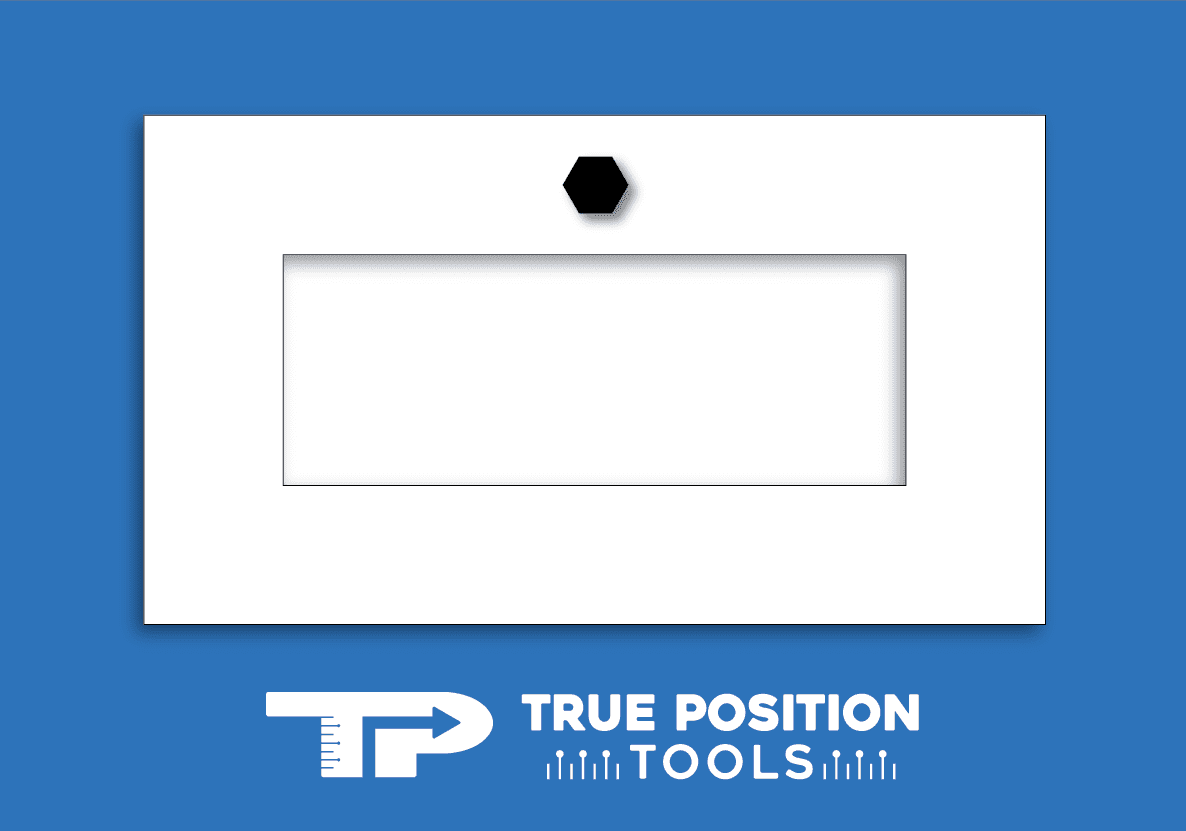
Center of the Top Rail: You can place the knob or pull handle on the center of the top rail portion.
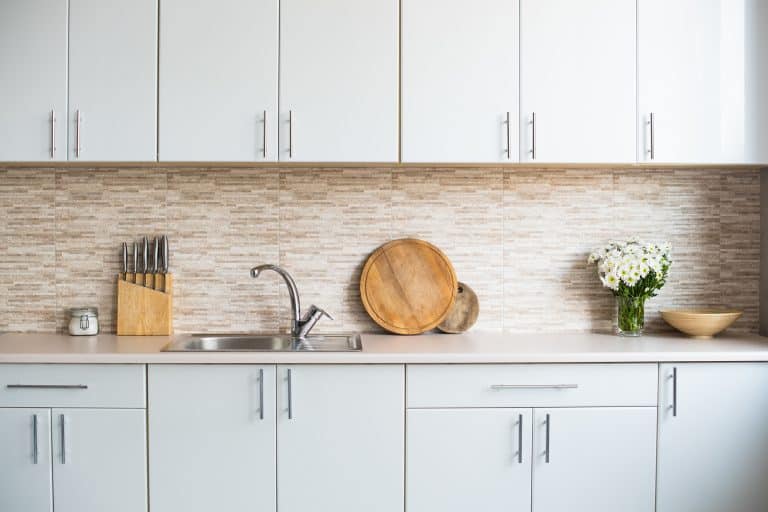
Slab Style Option: When your base cabinets are all slab style (a slab of wood or other material), you can place a knob or pull anywhere from the top ⅓ to ¼ of the door. You can also place the hardware in the center. Which option you choose is based on personal preference.
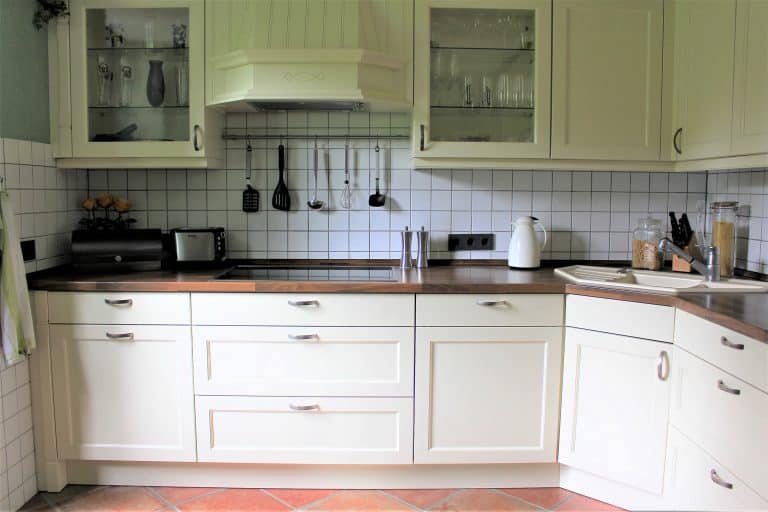
Mix of Shaker Cabinets and Slab Style Option: When you have a mix of Shaker cabinets and slab drawers in your base cabinets, we recommend placing the pulls and knobs on the top ¼ of the slab and on the top rail of the Shaker cabinets. This way, everything falls into perfect symmetry.
For Large or Heavy Base Cabinet Drawers: If your Shaker cabinet drawers are large, or if they are going to be holding heavy kitchen items, you have two options:
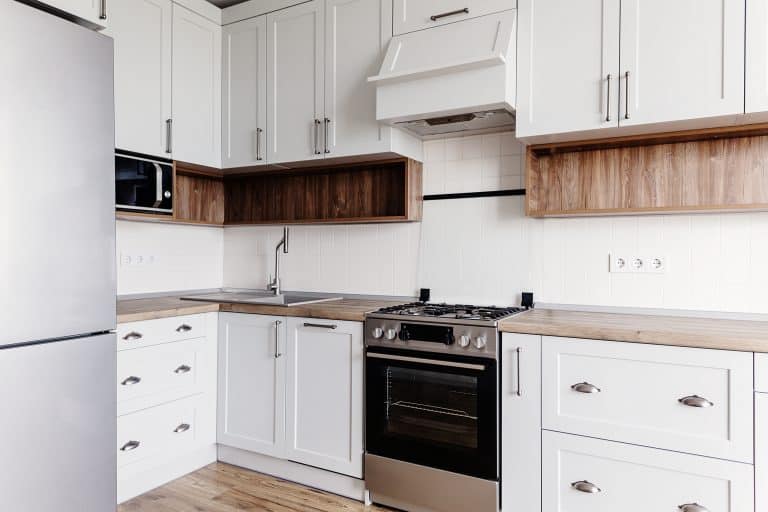
You can use two knobs or two pulls on the drawer. You’ll want to follow the rule of thirds, which means dividing the drawer into thirds and placing the hardware in the center of each left and right section.
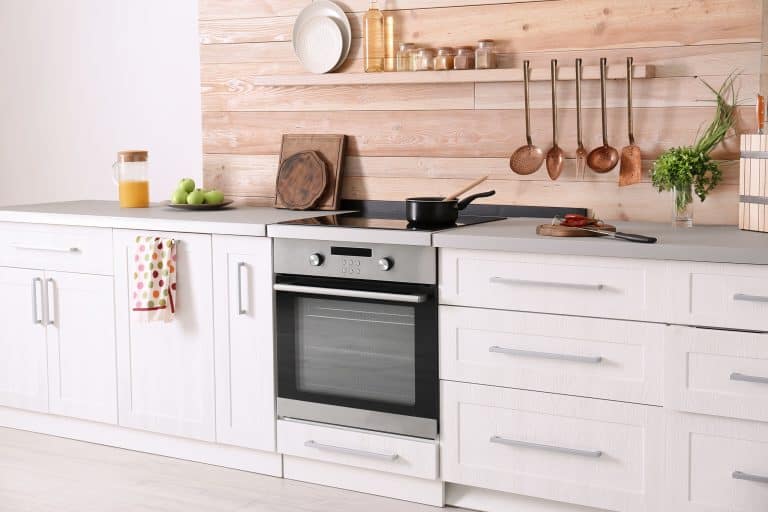
Or rather than installing two separate pull handles or knobs, you can use one oversized pull handle. The pull should be at least ⅓ of the cabinet width to ⅔ of the cabinet width or greater.
When it comes to drawer pull placement on Shaker style drawers (versus doors) keep in mind that people tend to only use one handle to open drawers, even when there are two available. It might be better to use an oversized handle, but this is based on personal preference.
Installing hardware on Shaker cabinets does not need to be difficult and time-consuming. Anyone can install cabinet hardware accurately and within seconds with the right high-quality tool. Our Cabinet Hardware Jigs are built specifically for hardware placement and our included Shaker Drawer Front Spacers (Patent Pending) give you the stability you need to drill into recessed panels.
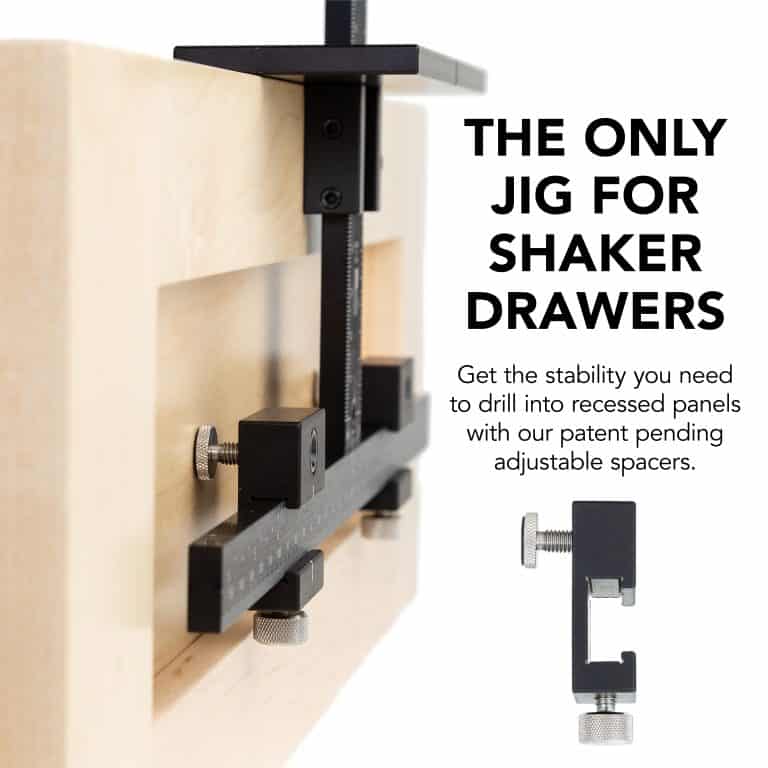
With Shaker doors, drilling is very straightforward since you’ll be drilling on the stile. So one of the biggest concerns with Shaker cabinet drawers is how to get the handles placed centered on the drawer inset panel. Our specialized jig is the only tool available that can accurately and quickly help you install handles on the inset panel of drawers.
The True Position Tools Cabinet Hardware Jig ORIGINAL is the best bang for your buck option in our lineup. Install knobs and handles in seconds with the most accurate jig on the market. Perfect results every time on any cabinet door or drawer front.
Using our new Shaker Drawer Spacers (TP-CHJ-SDS), installing hardware on Shaker Drawer fronts is accomplished in 3 easy steps:
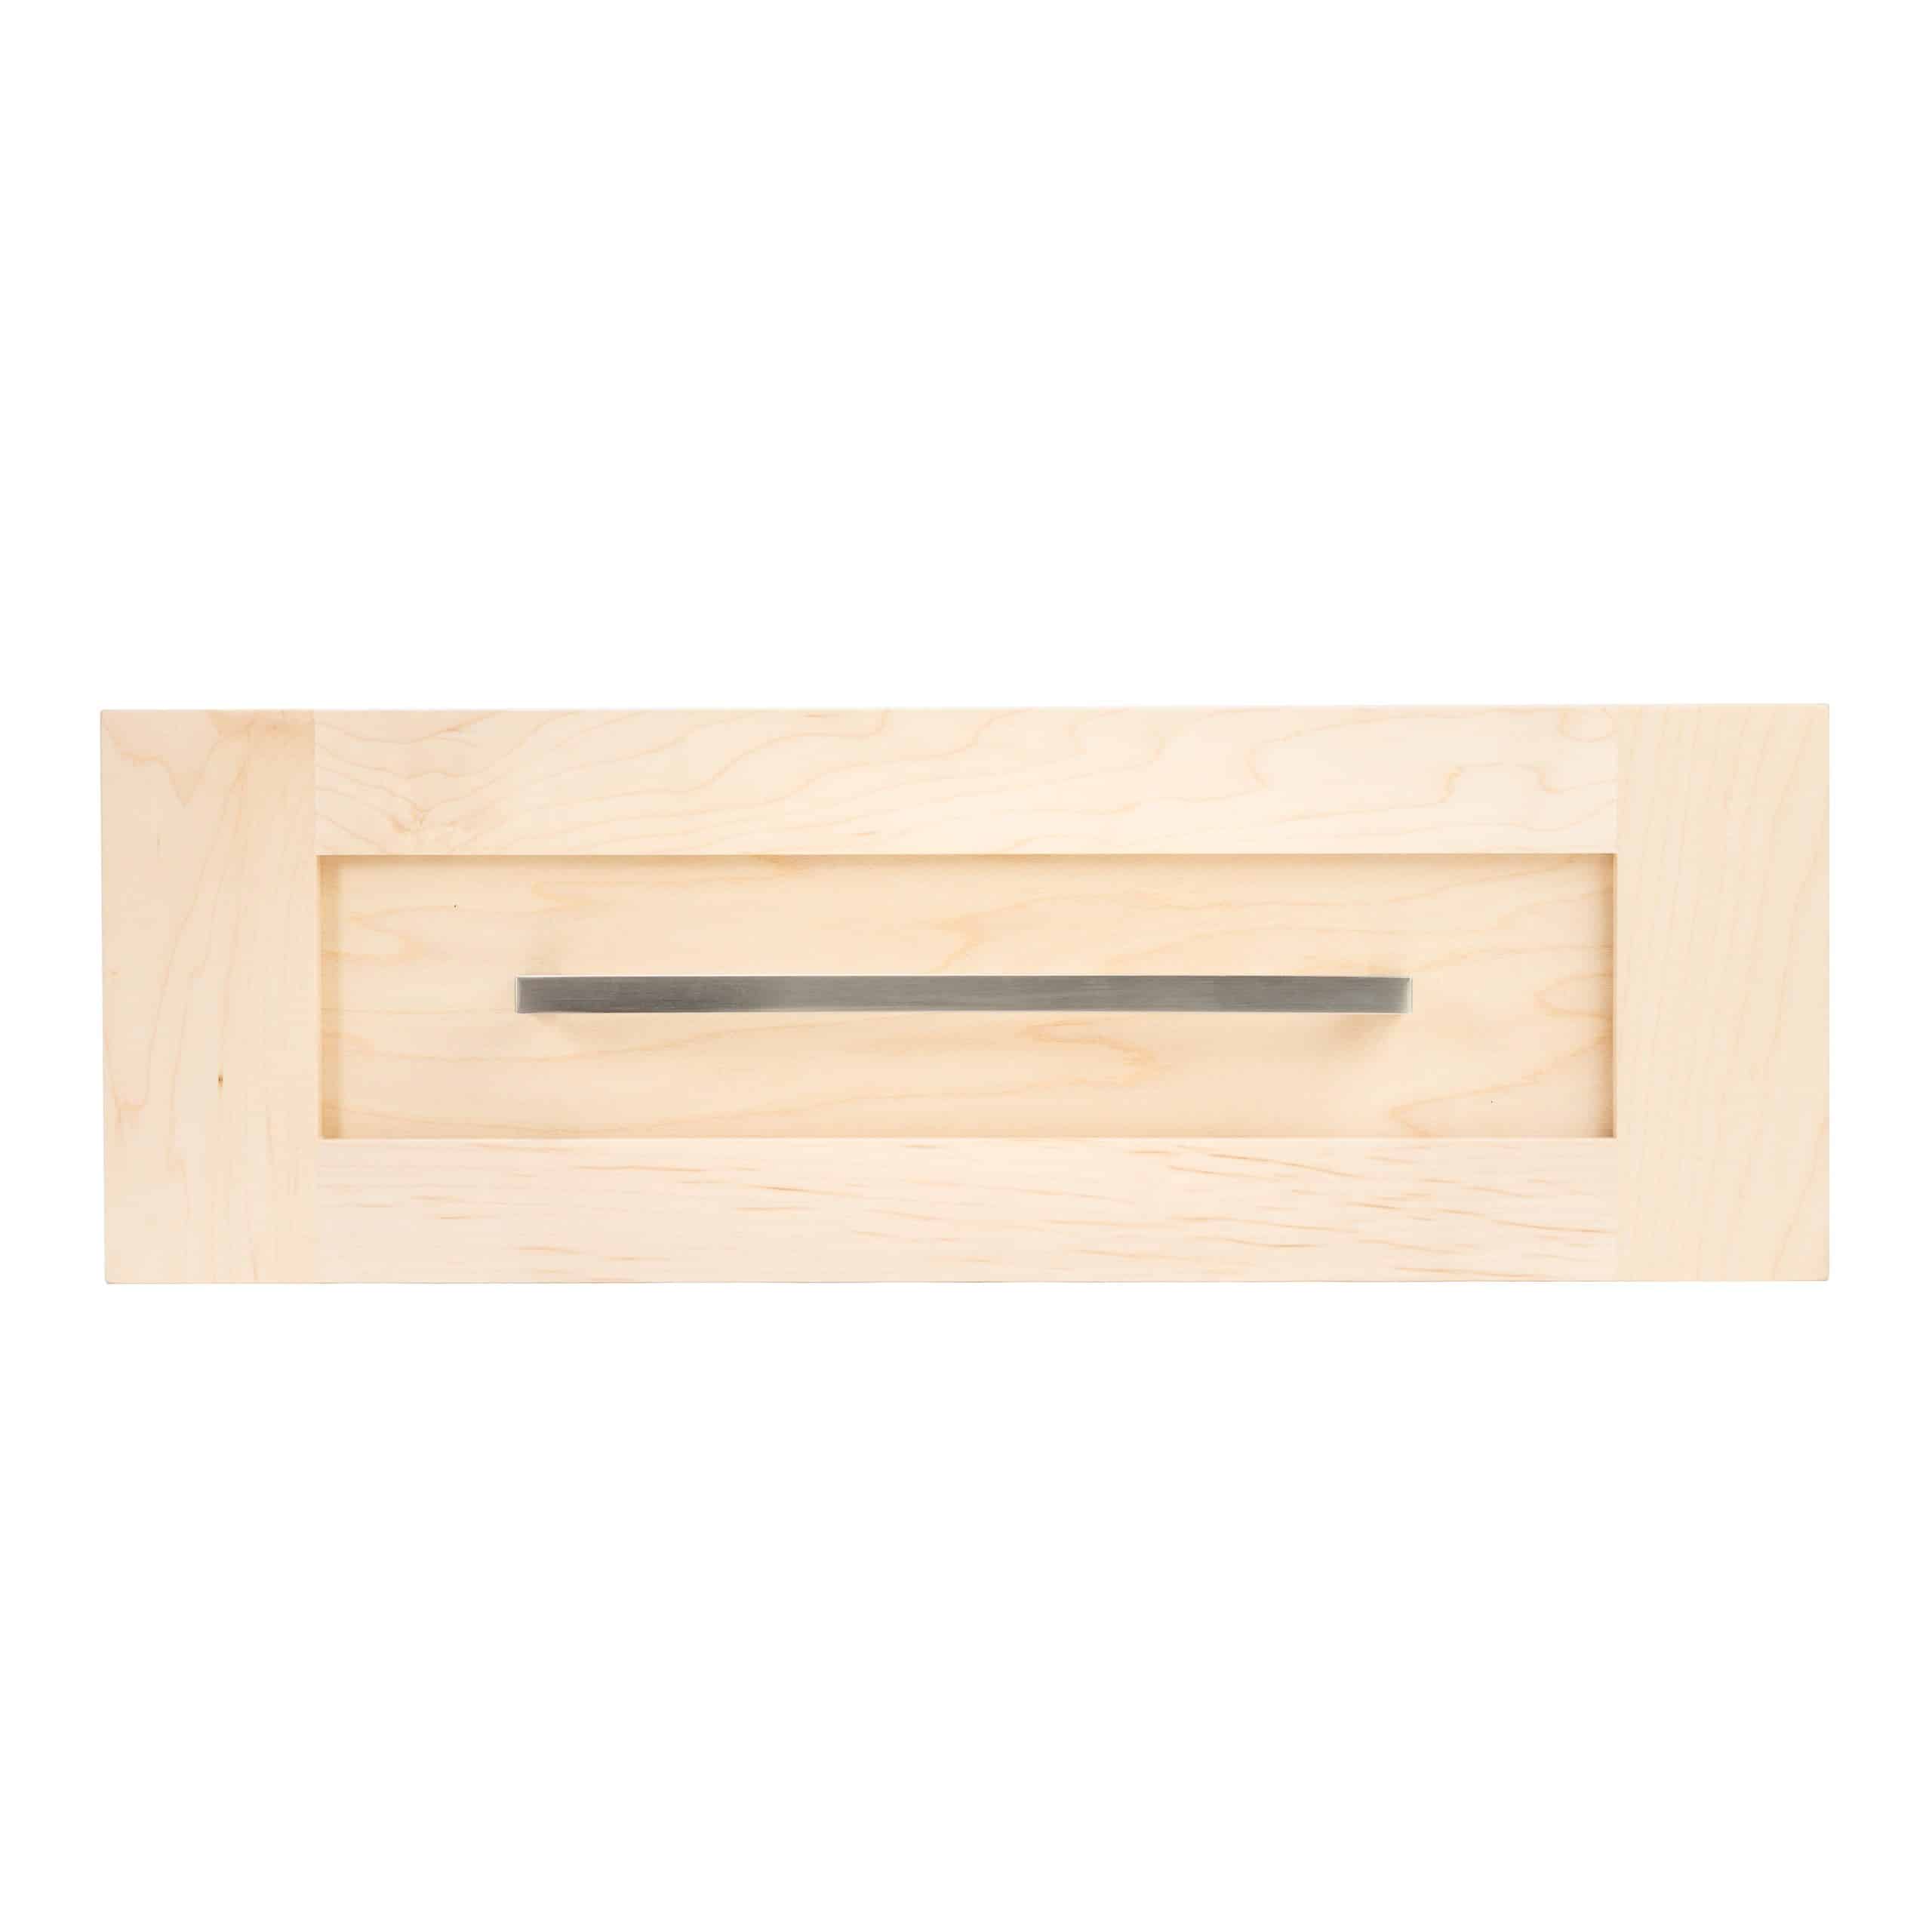
Now simply install your hardware!
Our Cabinet Hardware Jigs are made in the USA, with bushings backed by a Lifetime Warranty, and calibrated to a .005’’ square, making precision guaranteed.

Guide The Ultimate Cabinet Hardware Placement Guide Installing cabinet hardware can feel intimidating. Regardless of whether you are a DIYer or a professional woodworker, you
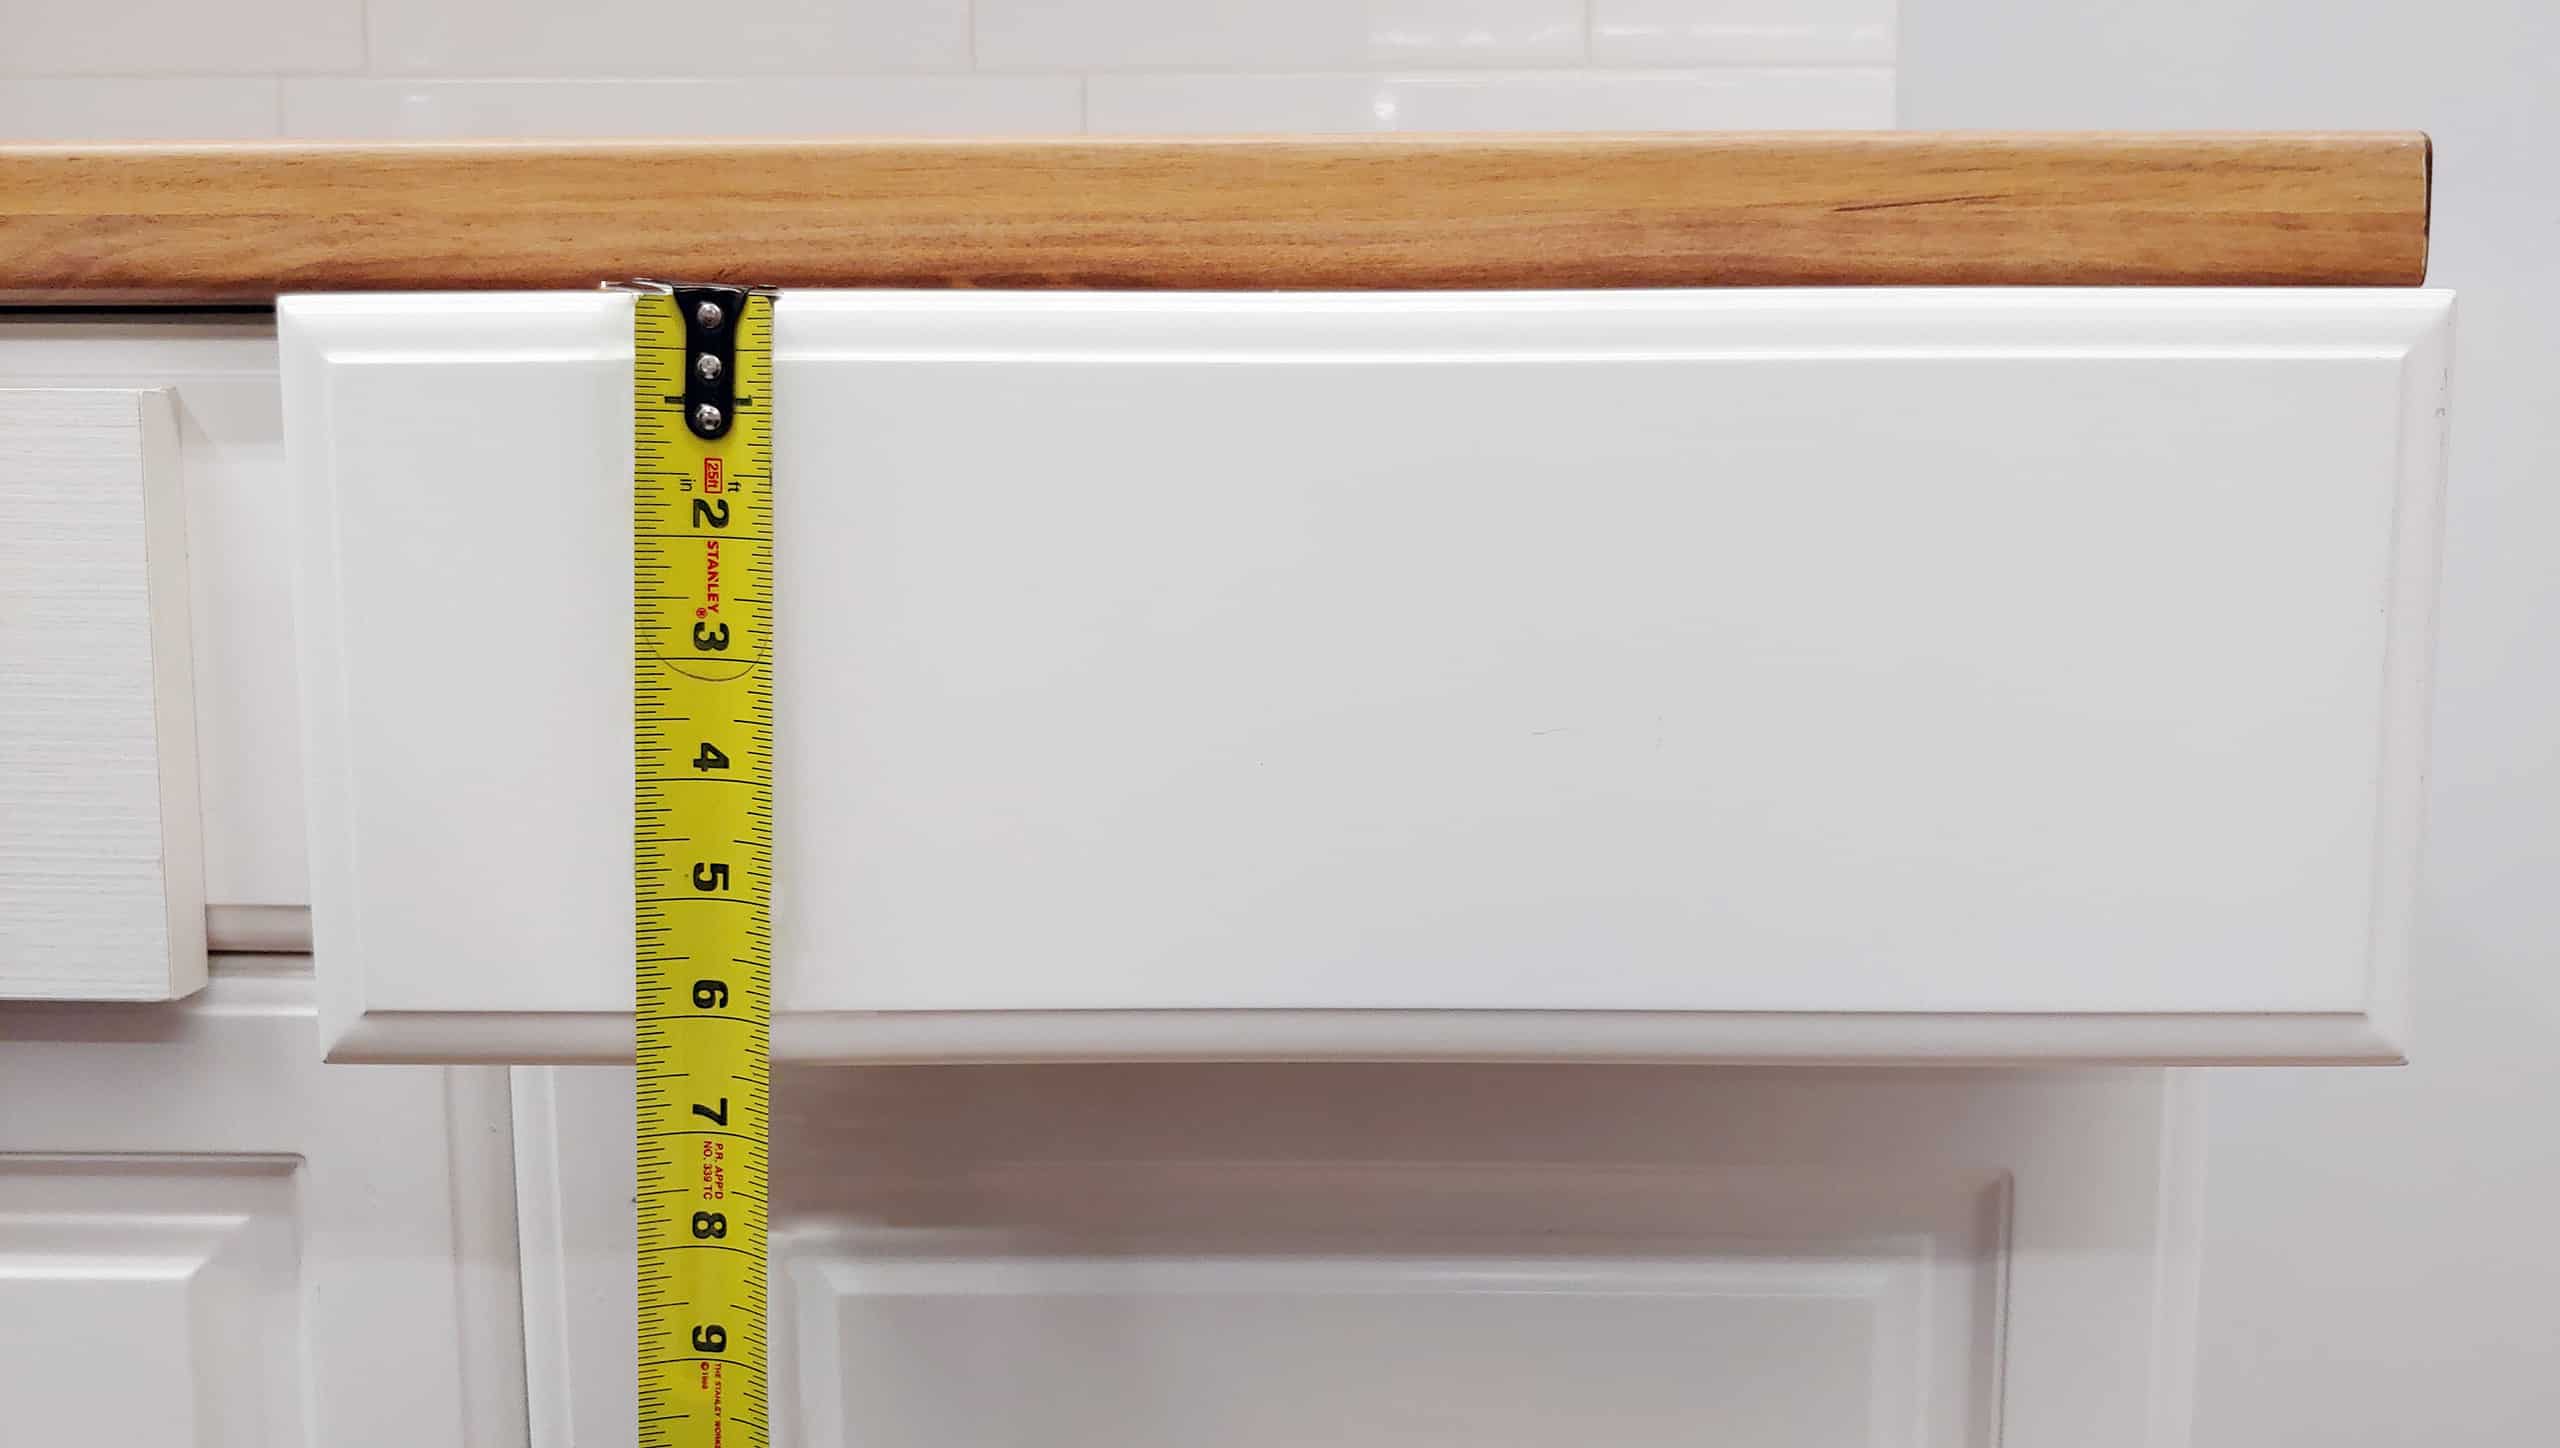
The Most Accurate Way to Install Cabinet Hardware Table of Contents An easy way to have a home reflect your personal style as a homeowner
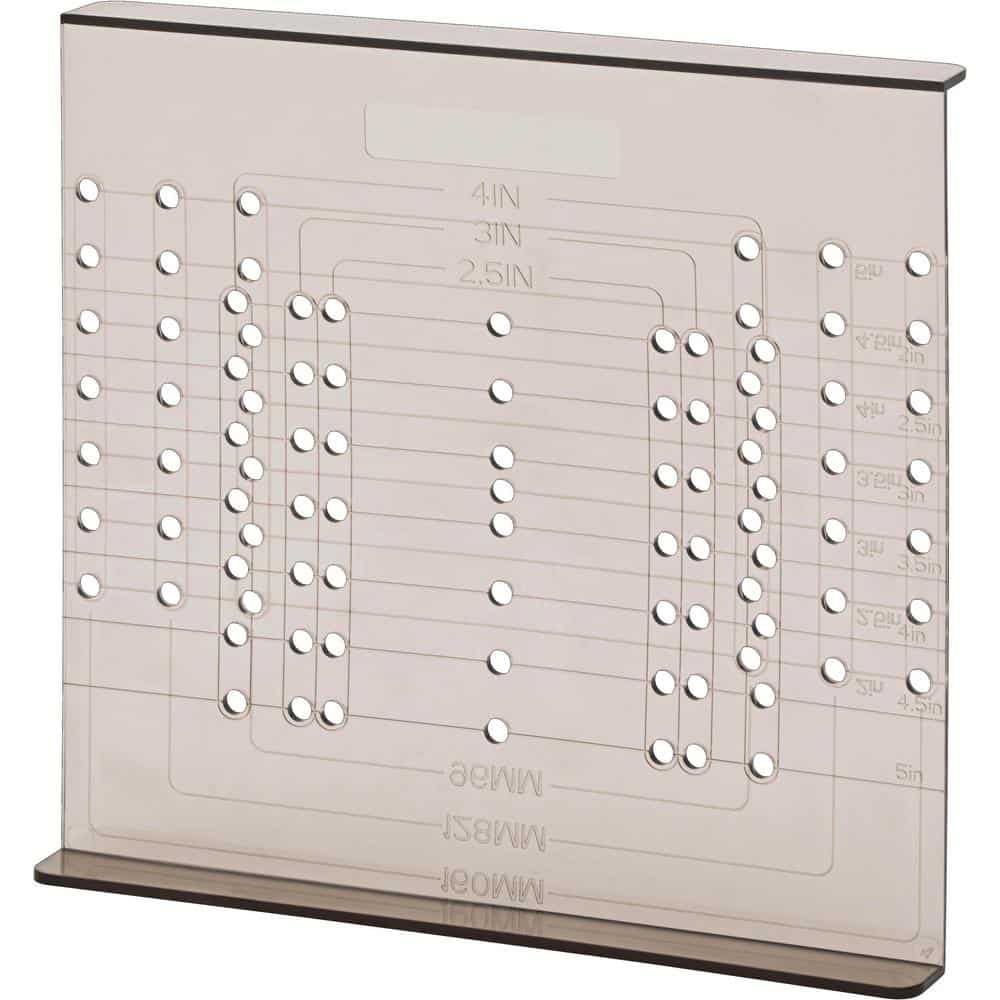
Cabinet Hardware Jigs vs. Templates – Which Is Best for Your Cabinet Business? There are many different variables to creating and running a successful cabinetry
How to Install Cabinet Door Handles Table of Contents Replacing or adding cabinet door handles is a great way to update a room. Modern, sleek
How to Install Handles and Knobs on Shaker Drawer Fronts Table of Contents Getting ready to install handles and knobs on your Shaker drawer fronts?
Frequently Asked Questions Here is a categorized list of the most frequently asked questions we receive. If you can’t find the answer you are looking
© 2024 True Position Tools. All Rights Reserved.
Looks like you haven't made a choice yet.