The Ultimate Cabinet Hardware Placement Guide
Guide The Ultimate Cabinet Hardware Placement Guide Installing cabinet hardware can feel intimidating. Regardless of whether you are a DIYer or a professional woodworker, you
True Position Tools’ founder, Tad Lostlen, was a professional cabinet maker before starting our company. While he created the Cabinet Hardware Jig primarily for the easy installation of cabinet knobs and handles, he also incorporated numerous features that make building cabinets faster and easier. These additional features are based on System 32, a.k.a. the 32 mm system, of cabinet and furniture design. Below, we provide a brief overview of the 32 mm system and how our Cabinet Hardware Jig customers can use our jig for other aspects of cabinet and furniture design and installation.
Spaceholder
The 32 mm system is a standardized system of measurements that can be used when building and designing both cabinets and furniture. Using the 32 mm system, cabinet pieces (front and side panels, etc.) and components are designed in multiples of 32 mm, meaning their width, depth, and height are all divisible by 32 mm. Additionally, the center-to-center distance for holes in cabinet hardware such as hinge plates, drawer slides, and shelf pins are also 32 mm.
The 32 mm system was initially created in Europe but has become popular around the globe because it’s so versatile and efficient. In fact, though many do not realize it, the 32 mm system is now standard for most hardware that is sold today. Leading companies like Blum, Richelieu, Amerock and even IKEA sell products that utilize the 32 mm system of design.
The True Position Tools Cabinet Hardware Jig ORIGINAL is the best bang for your buck option in our lineup. Install knobs and handles in seconds with the most accurate jig on the market. Perfect results every time on any cabinet door or drawer front.
The system is incredibly simple and efficient because it allows for interchangeable parts between different manufacturers and removes a lot of the confusion associated with measuring and placing cabinet and furniture components. The 32 mm center-to-center distance is used in things like cam fittings, connecting screws, connecting angles, roller runners, the Quadro runner system, and even wardrobe tube bearings. Getting to know and understand the system will make designing and building cabinet systems fast and easy.
Our Cabinet Hardware Jig was strategically designed to support the 32 mm system of cabinet making, even beyond knob and handle installation. For instance, when you place the jig’s Drill Guides side-by-side, the holes are a perfect 32 mm apart (center-to-center), which can be used to easily drill holes for the hardware mentioned above, including standard hinge plates, shelf pins, and drawer slides. No measuring required.
Additionally, our Cabinet Hardware Jig can be used to create a 37 mm setback, also the industry standard for shelf pins, hinge plates, and drawer slide placement in the 32 mm system. Just set the Large Stop to 37 mm and press it against the cabinet front edge at your desired location. Alternatively, when the top plate of the Large Stop rests directly on the Drill Guide or Extension Bar, the distance to the center bushing is also an automatic 37 mm. This dramatically limits the time and tedious measurements associated with cabinet component installation.
space holder
Follow the steps below to install hinge plates using the Cabinet Hardware Jig – Original.
Follow the steps below to drill shelf pins using the Cabinet Hardware Jig – Original.

Guide The Ultimate Cabinet Hardware Placement Guide Installing cabinet hardware can feel intimidating. Regardless of whether you are a DIYer or a professional woodworker, you
Shaker Cabinets: Your Hardware Placement Guide Table of Contents Hardware cabinet placement is a critical part of bringing the aesthetics of a room together. But
The Most Accurate Way to Install Cabinet Hardware Table of Contents An easy way to have a home reflect your personal style as a homeowner
Cabinet Hardware Jigs vs. Templates – Which Is Best for Your Cabinet Business? There are many different variables to creating and running a successful cabinetry
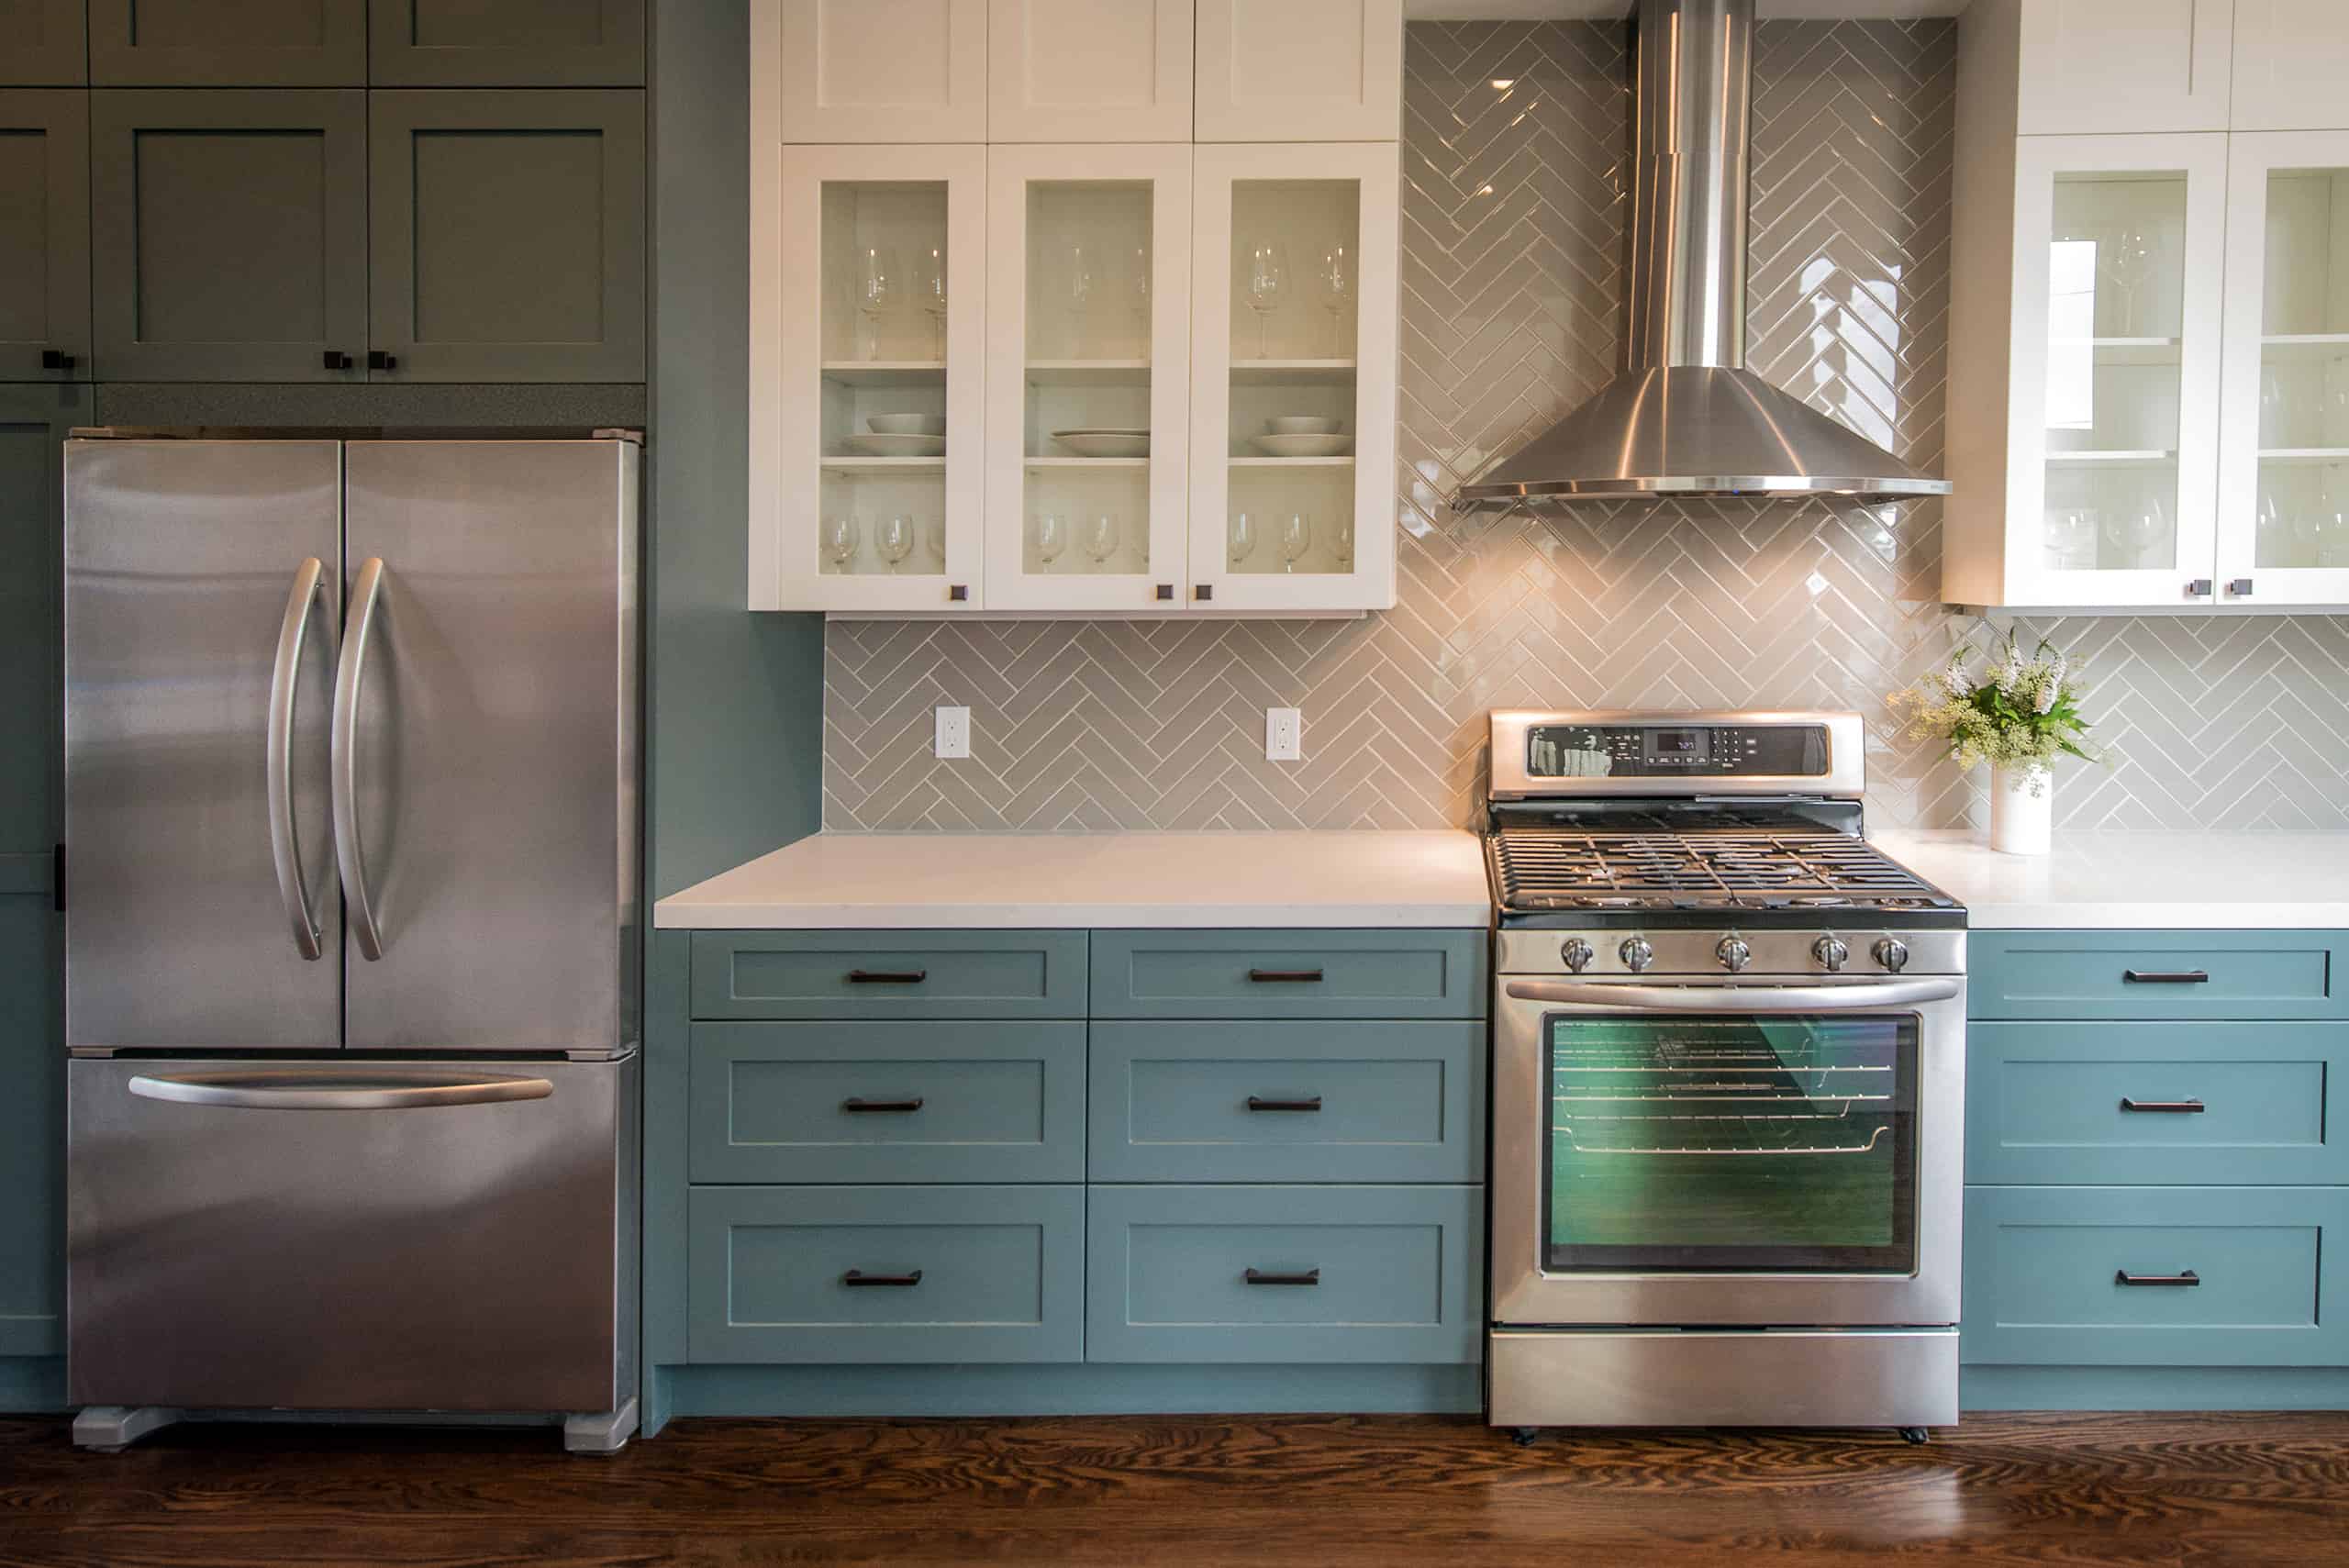
How to Install Handles and Knobs on Shaker Drawer Fronts Table of Contents Getting ready to install handles and knobs on your Shaker drawer fronts?
Frequently Asked Questions Here is a categorized list of the most frequently asked questions we receive. If you can’t find the answer you are looking
© 2024 True Position Tools. All Rights Reserved.
Looks like you haven't made a choice yet.