The Ultimate Cabinet Hardware Placement Guide
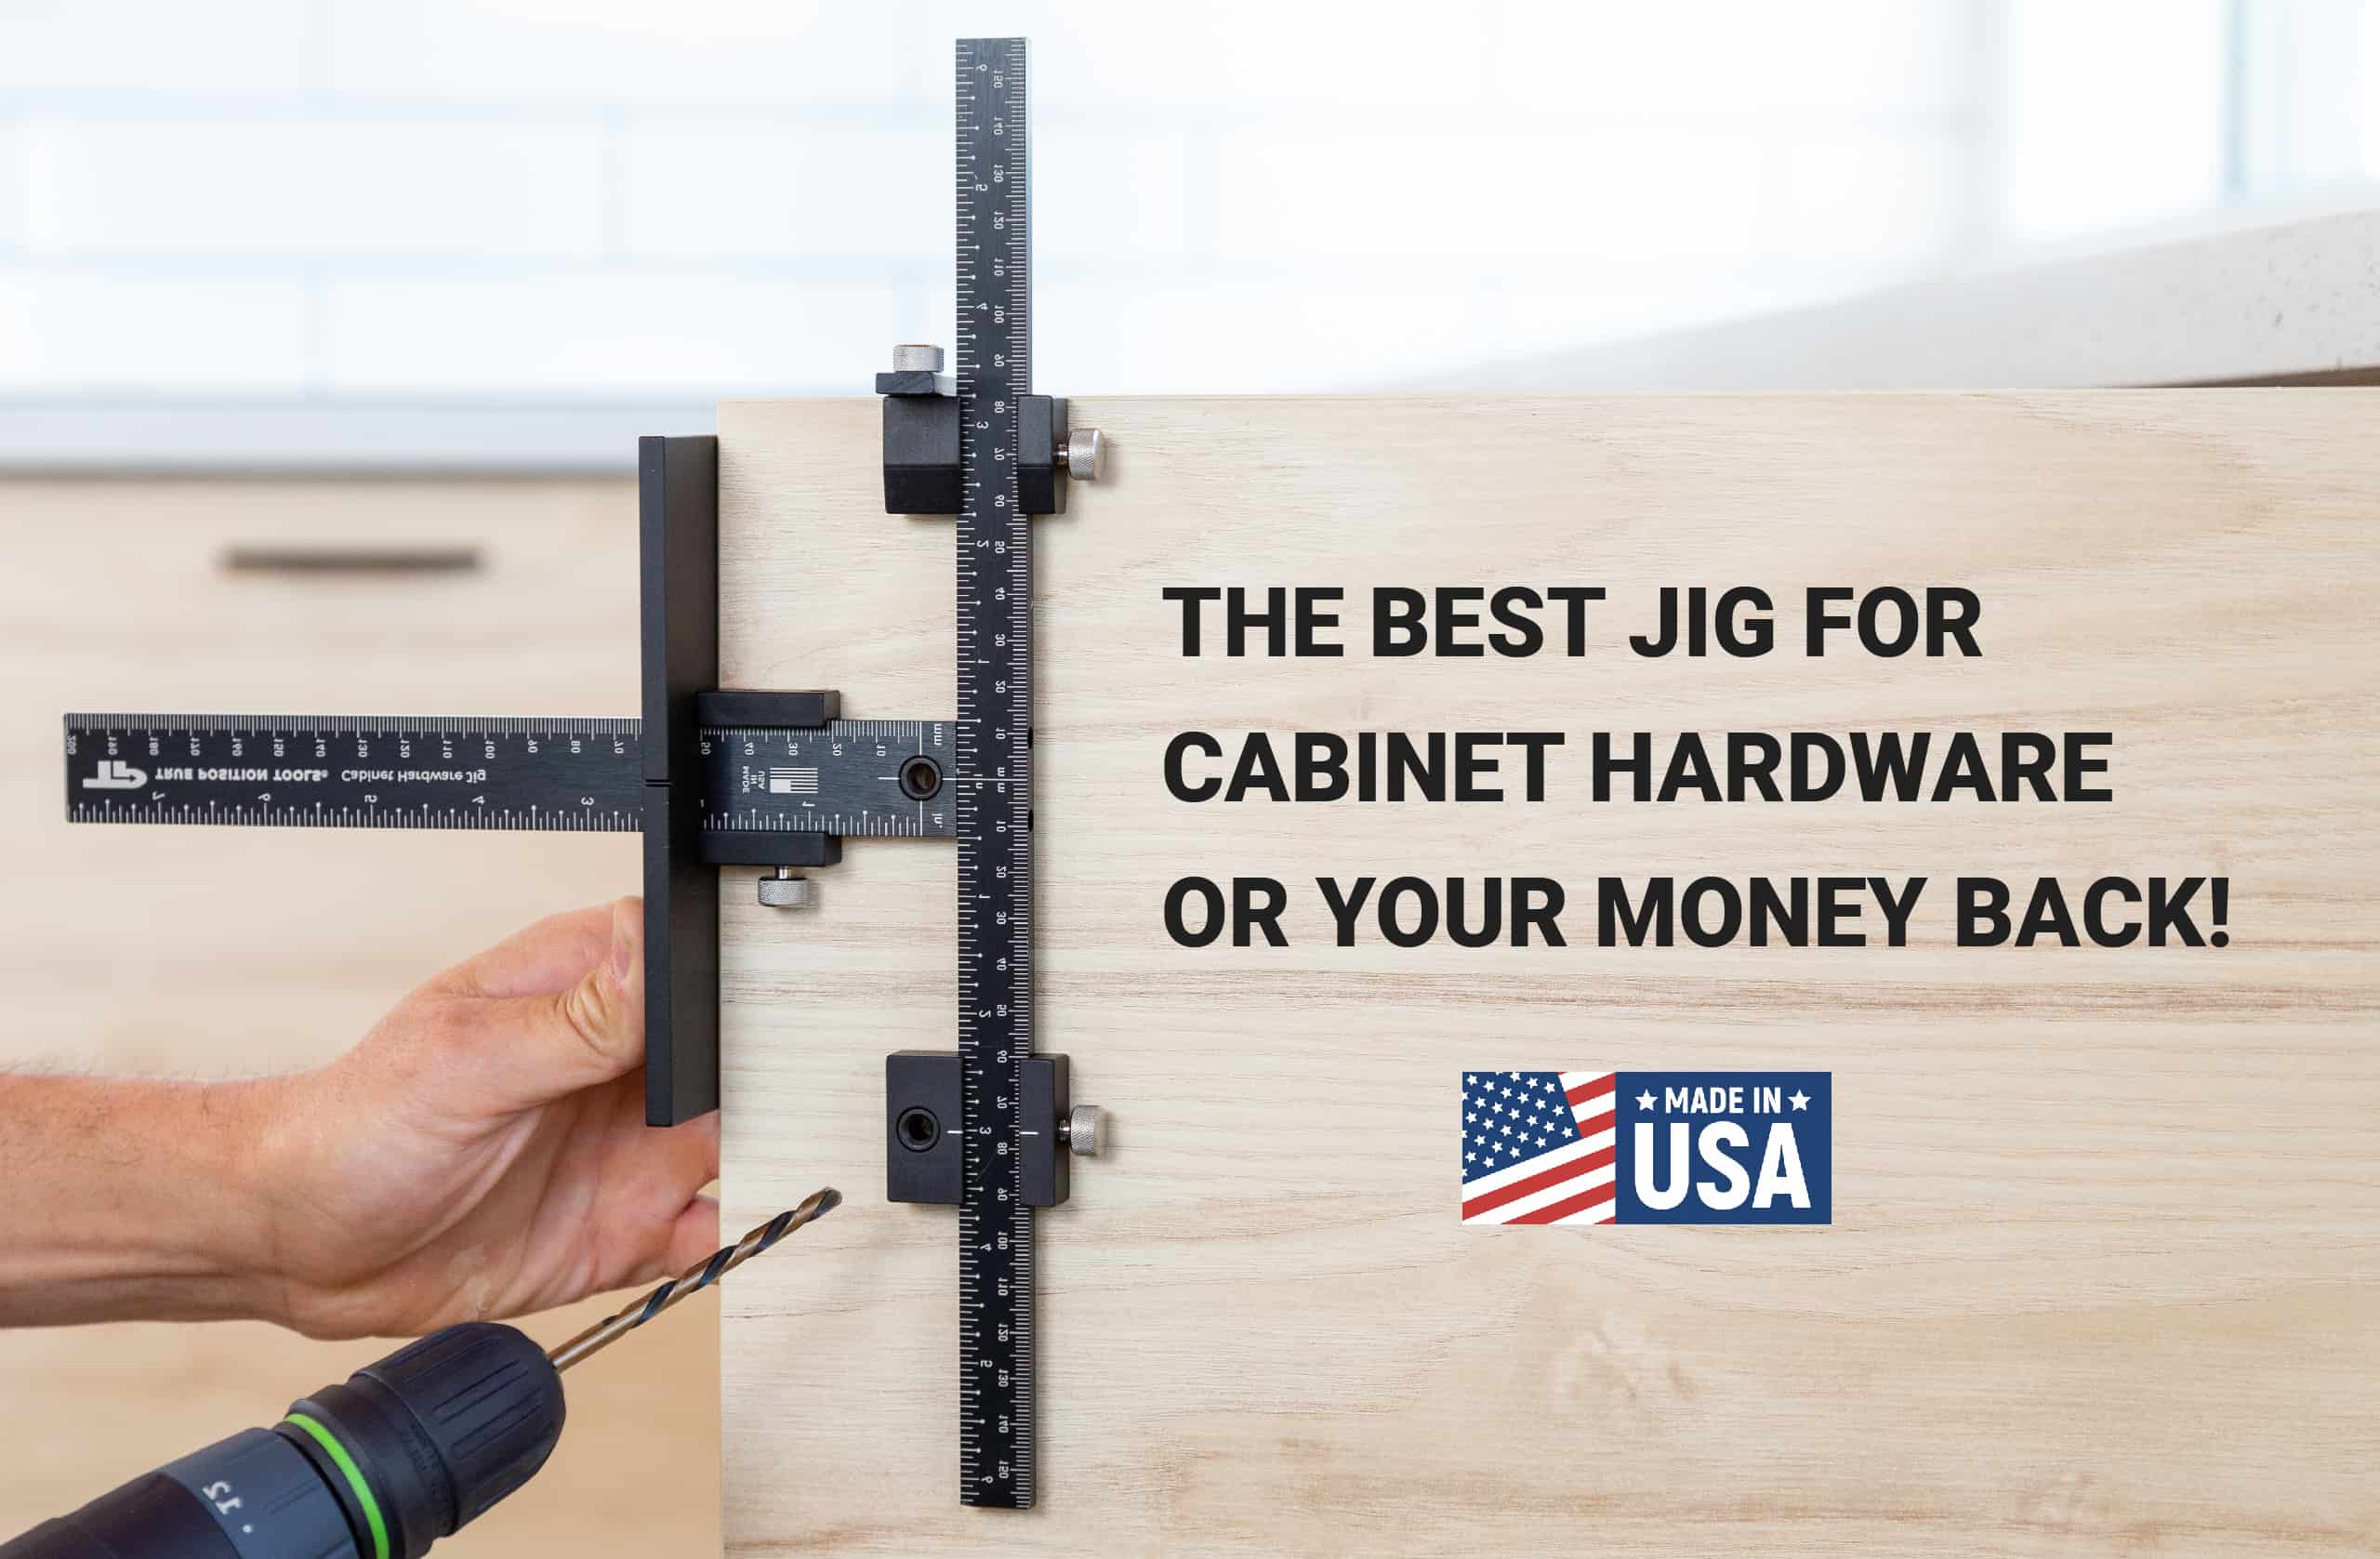
Guide The Ultimate Cabinet Hardware Placement Guide Installing cabinet hardware can seem daunting, but with the right information, it’s simple to achieve professional results. Cabinetry

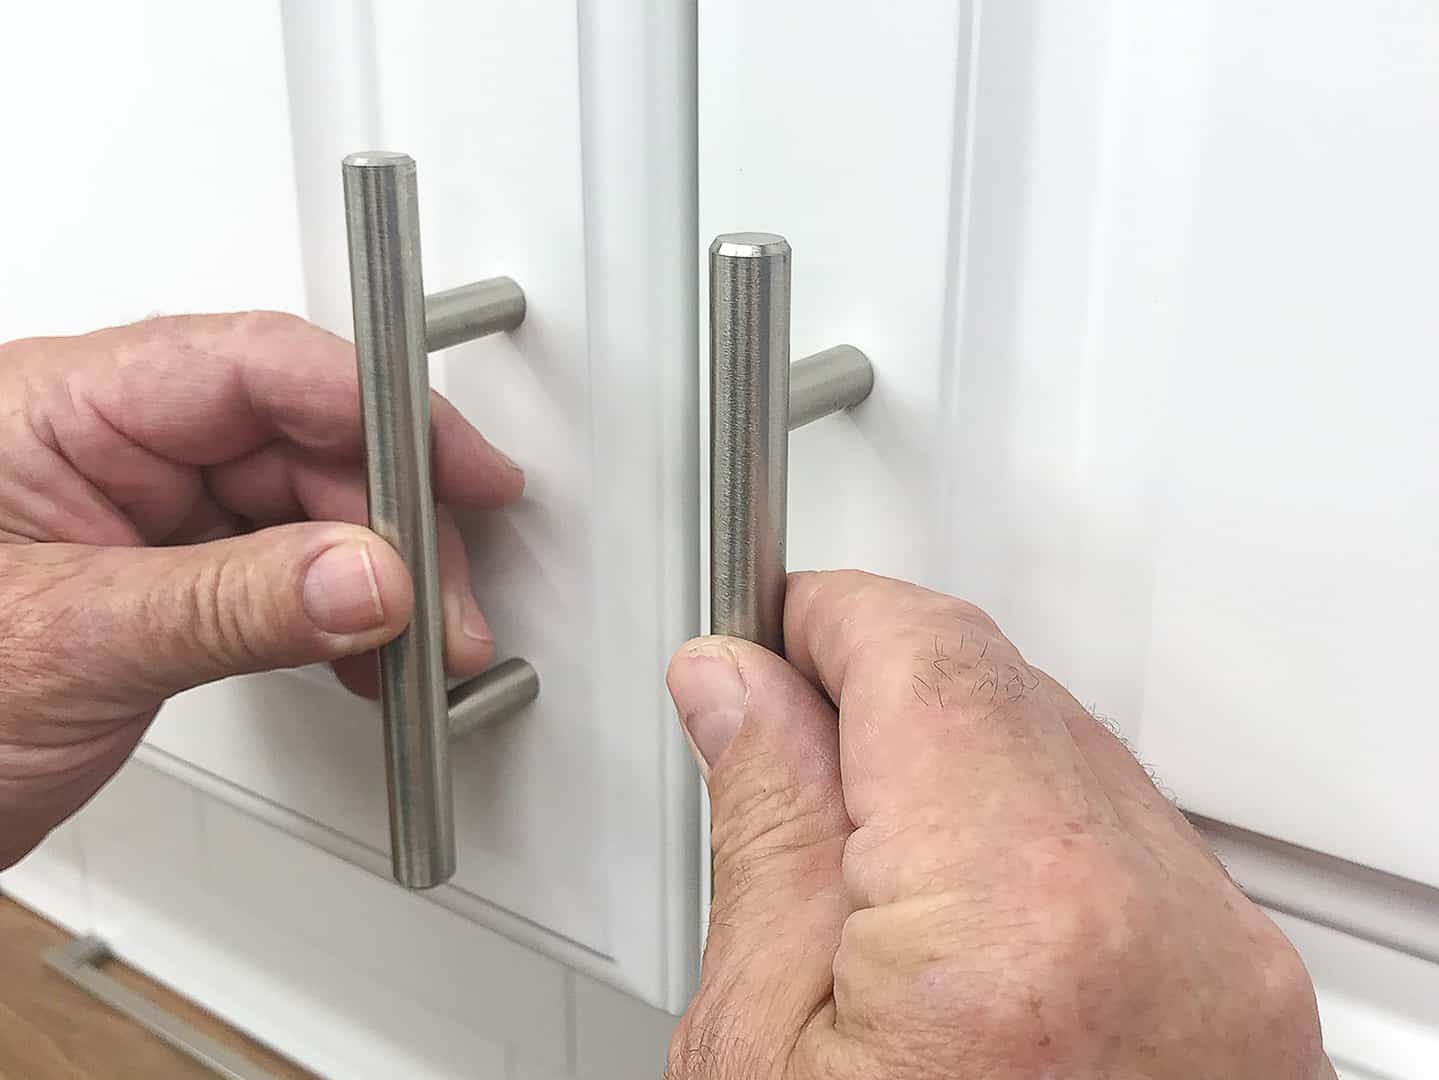

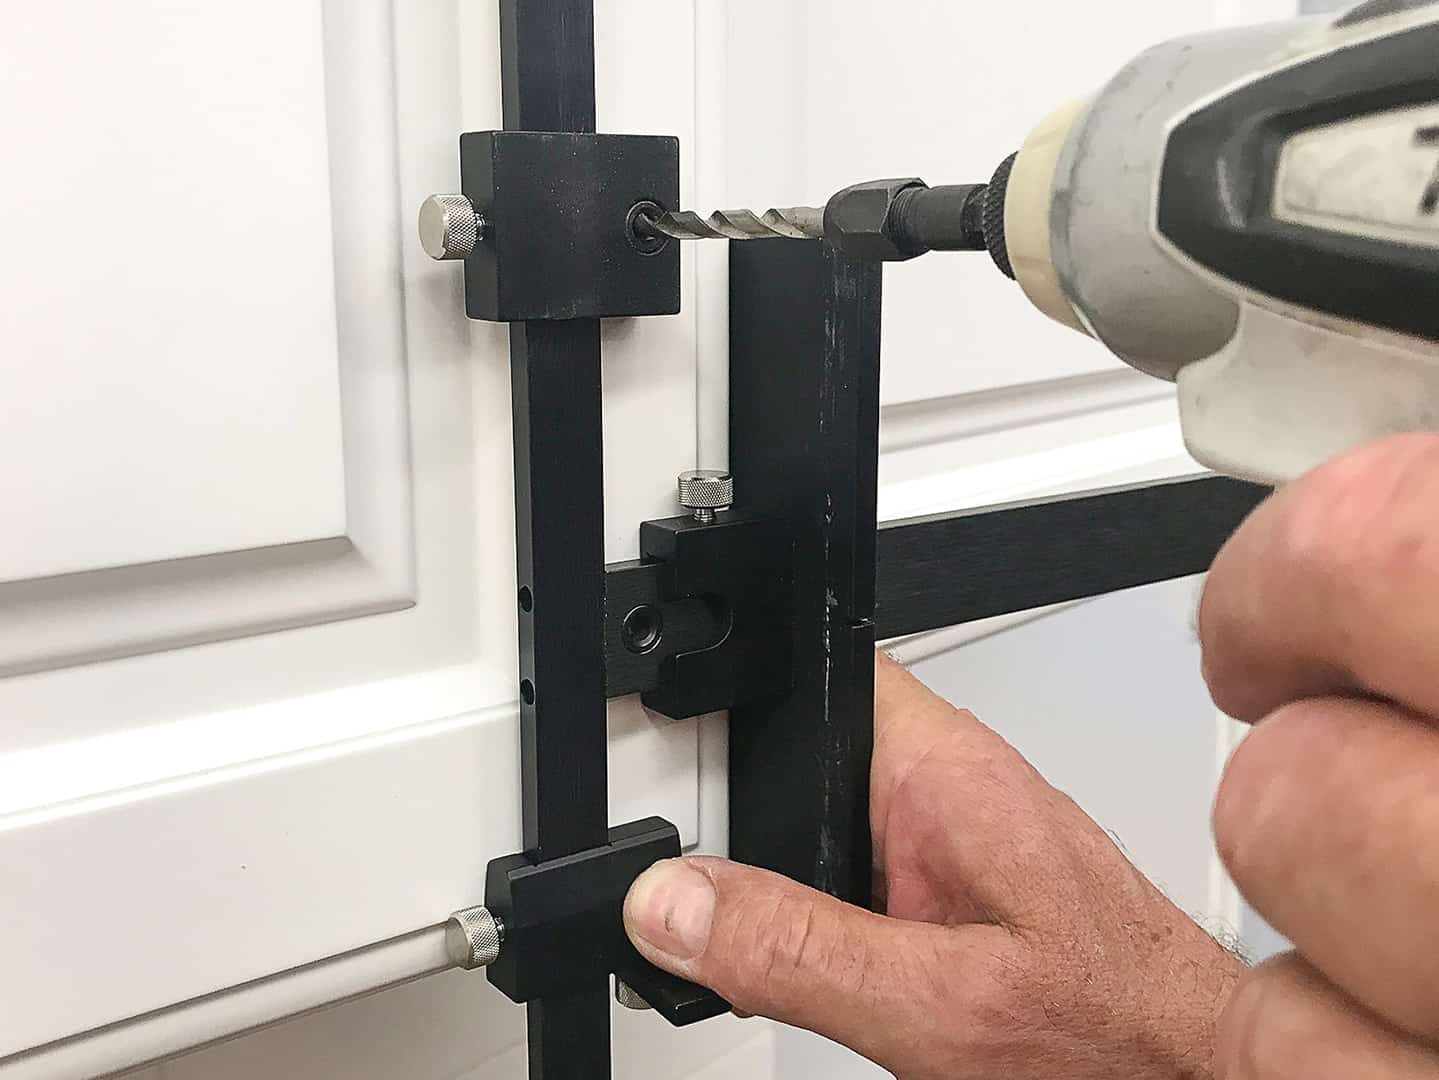


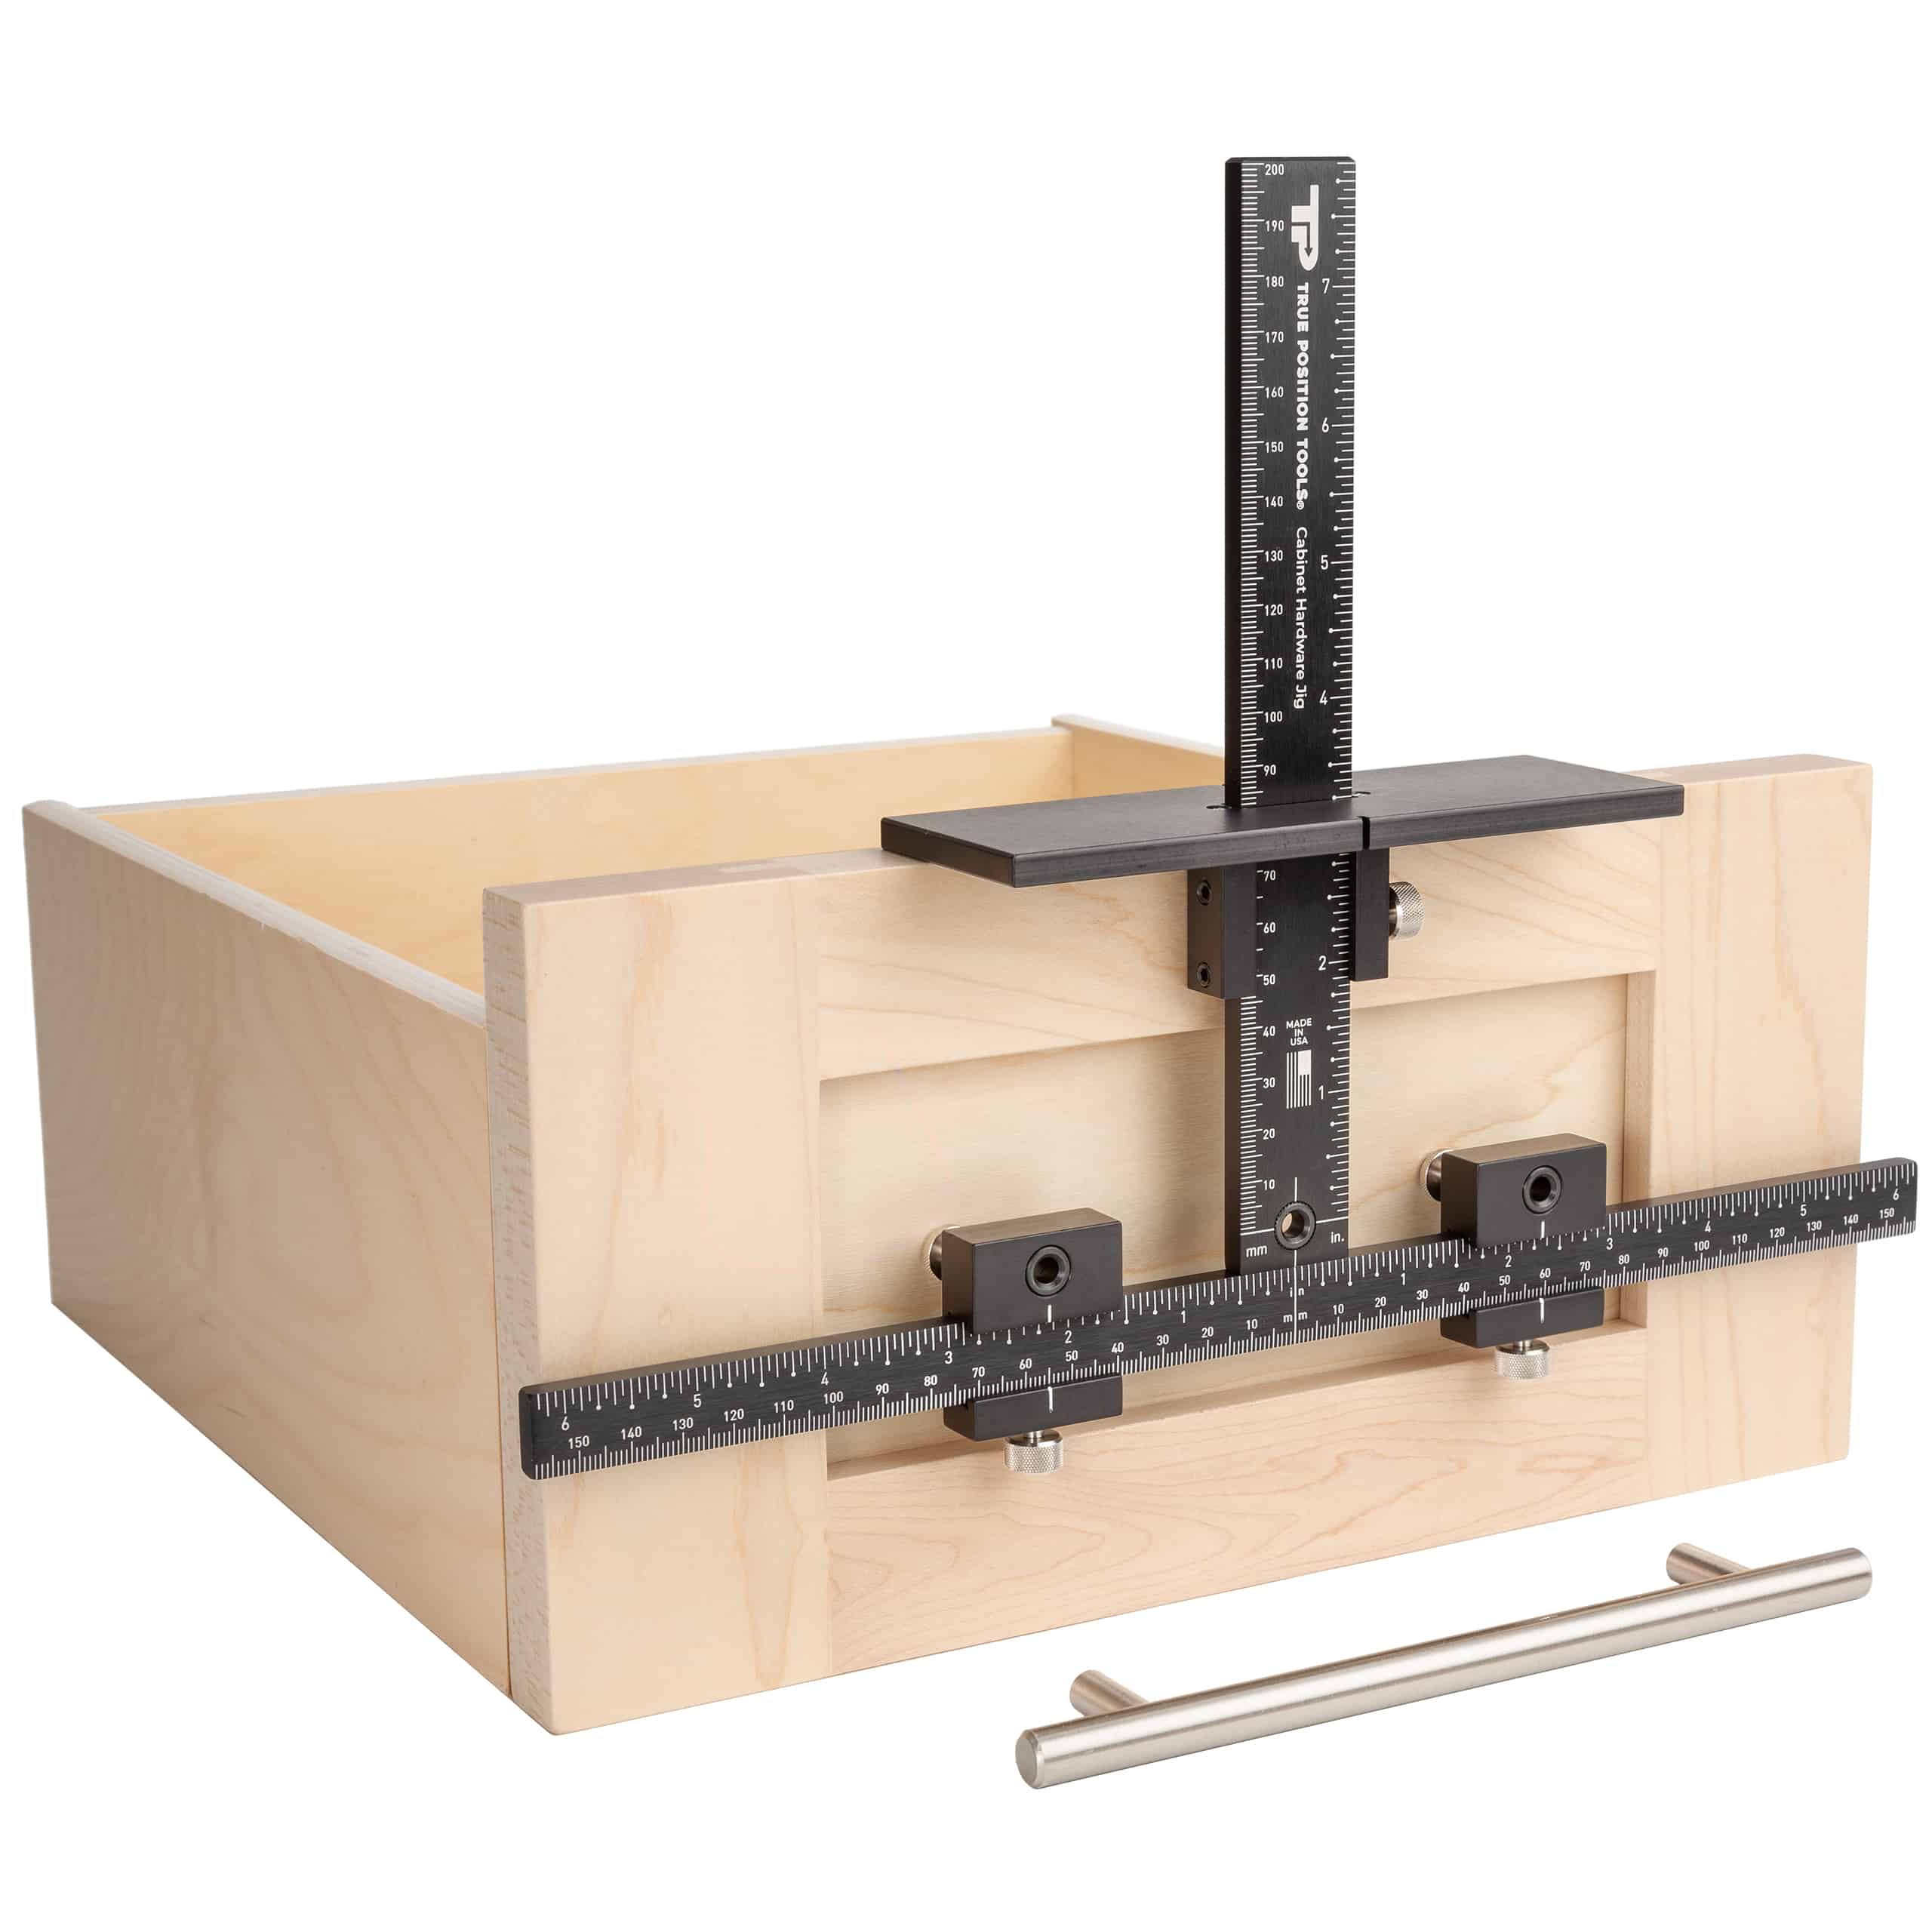
Guide The Ultimate Cabinet Hardware Placement Guide Installing cabinet hardware can seem daunting, but with the right information, it’s simple to achieve professional results. Cabinetry
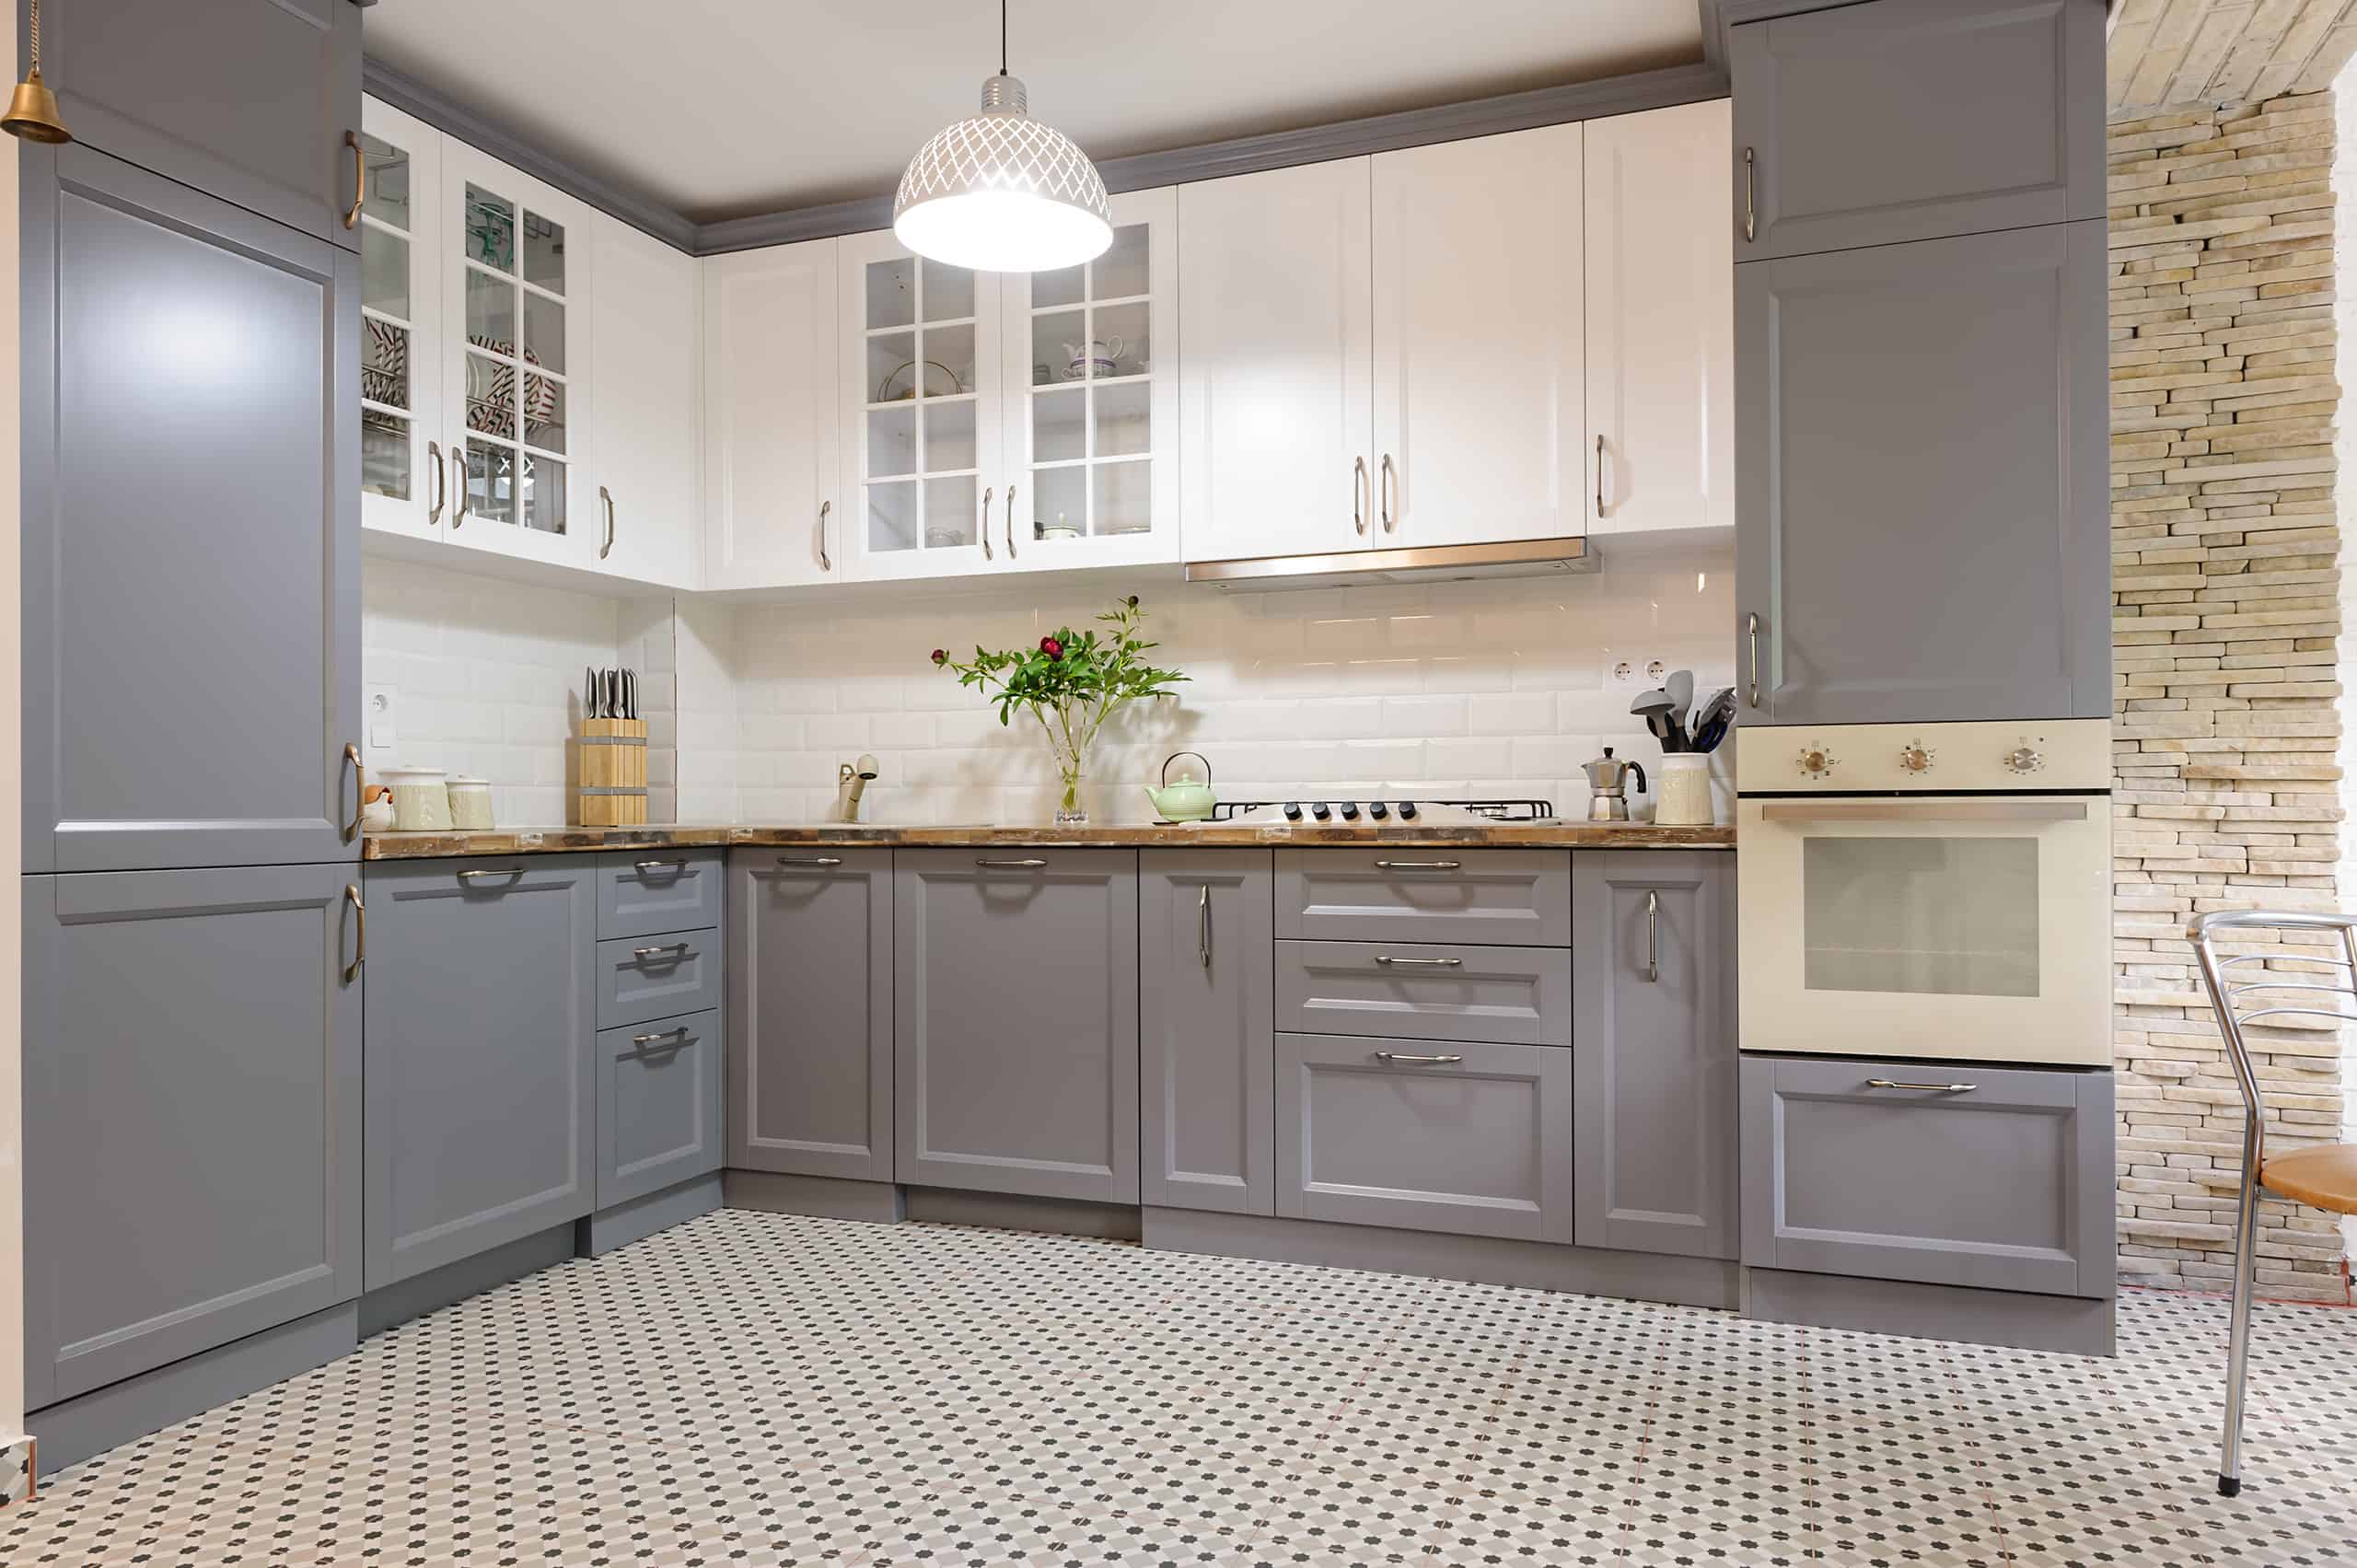
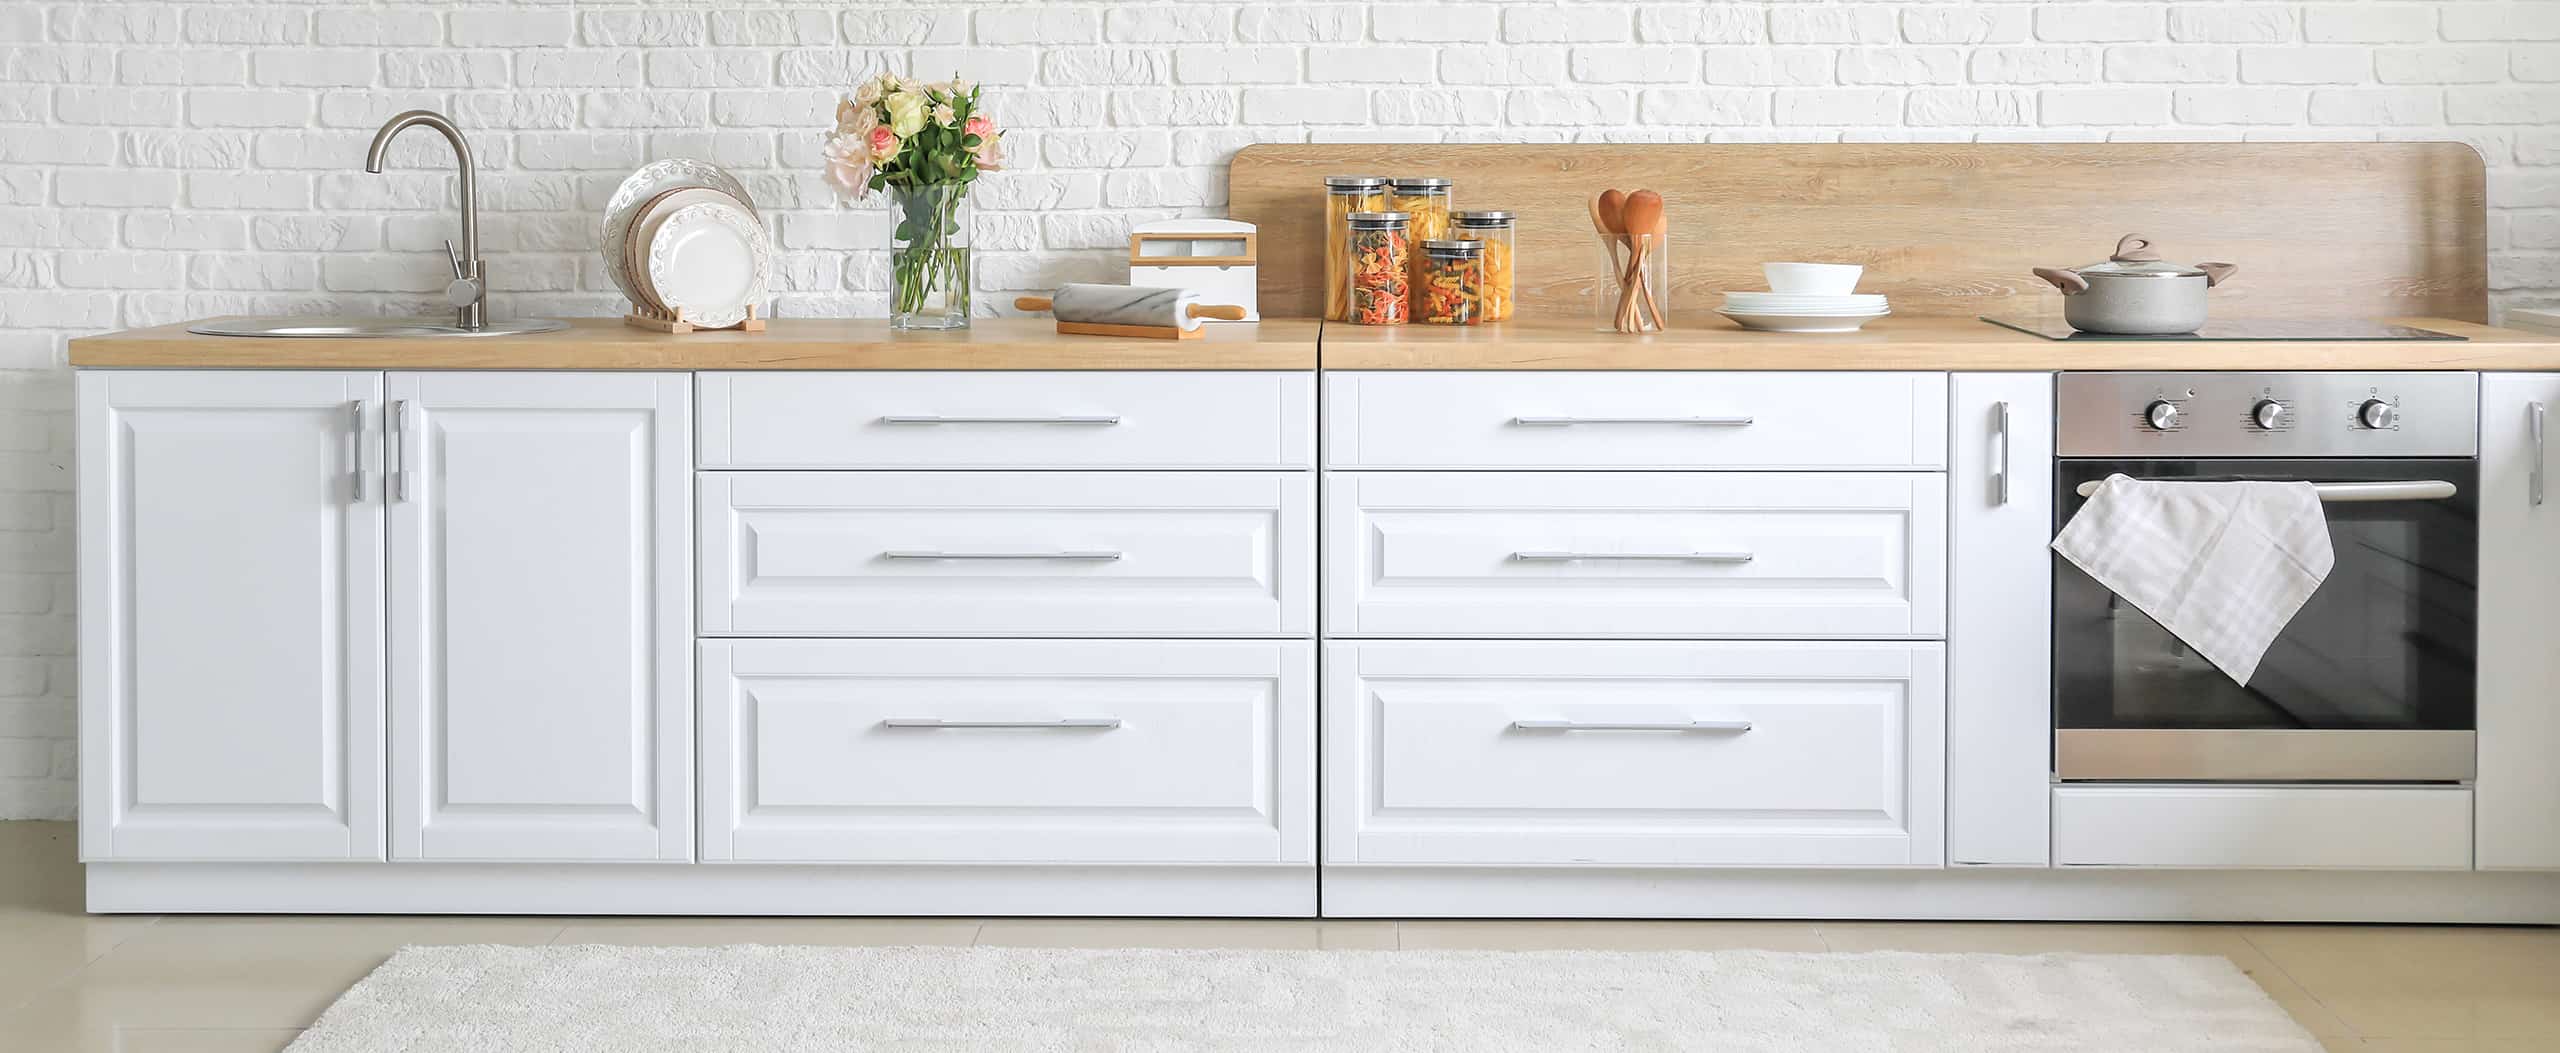
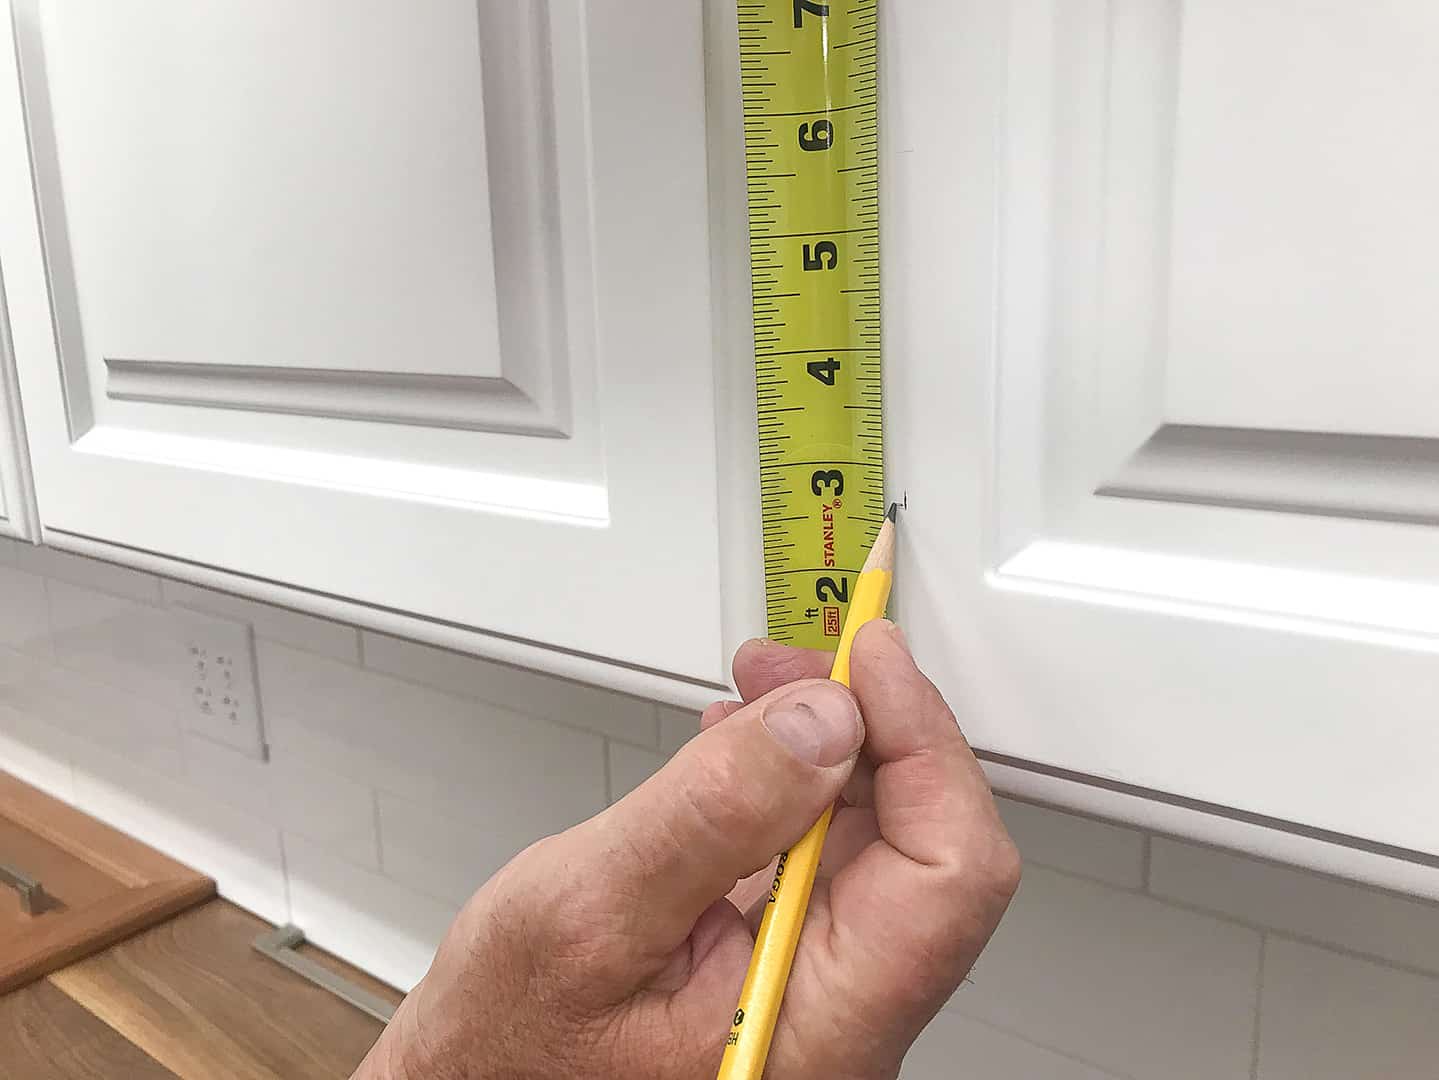
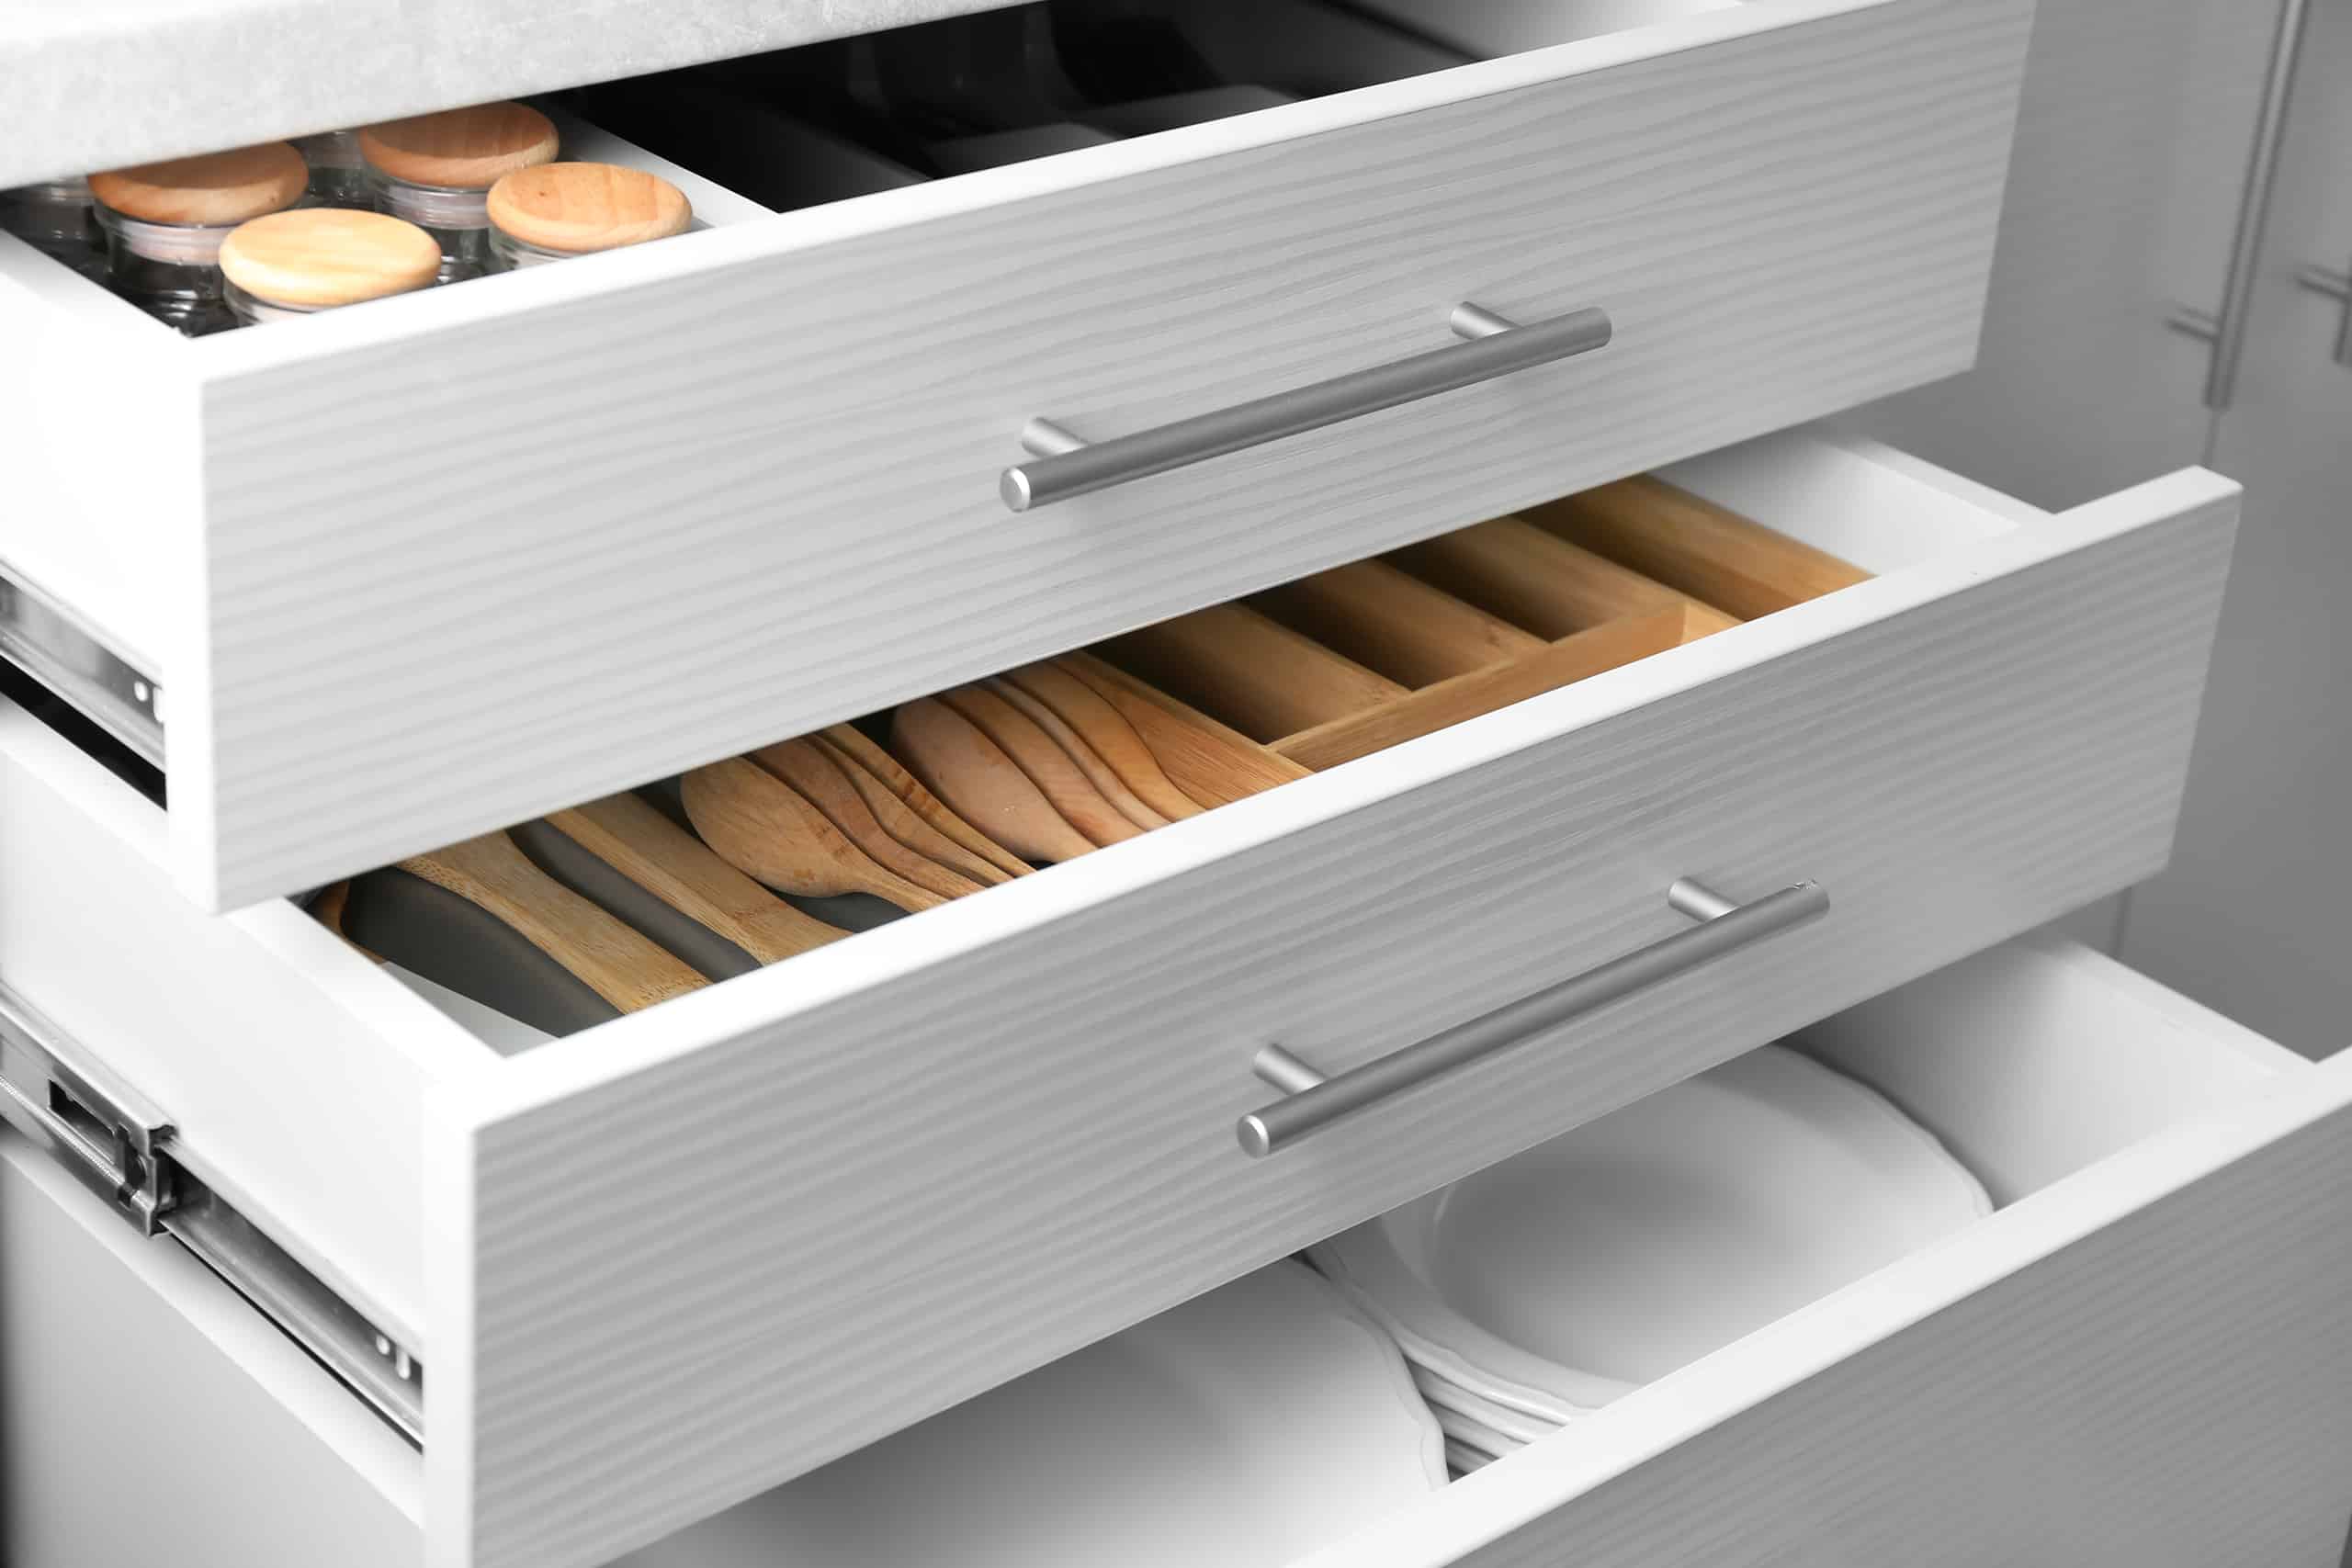
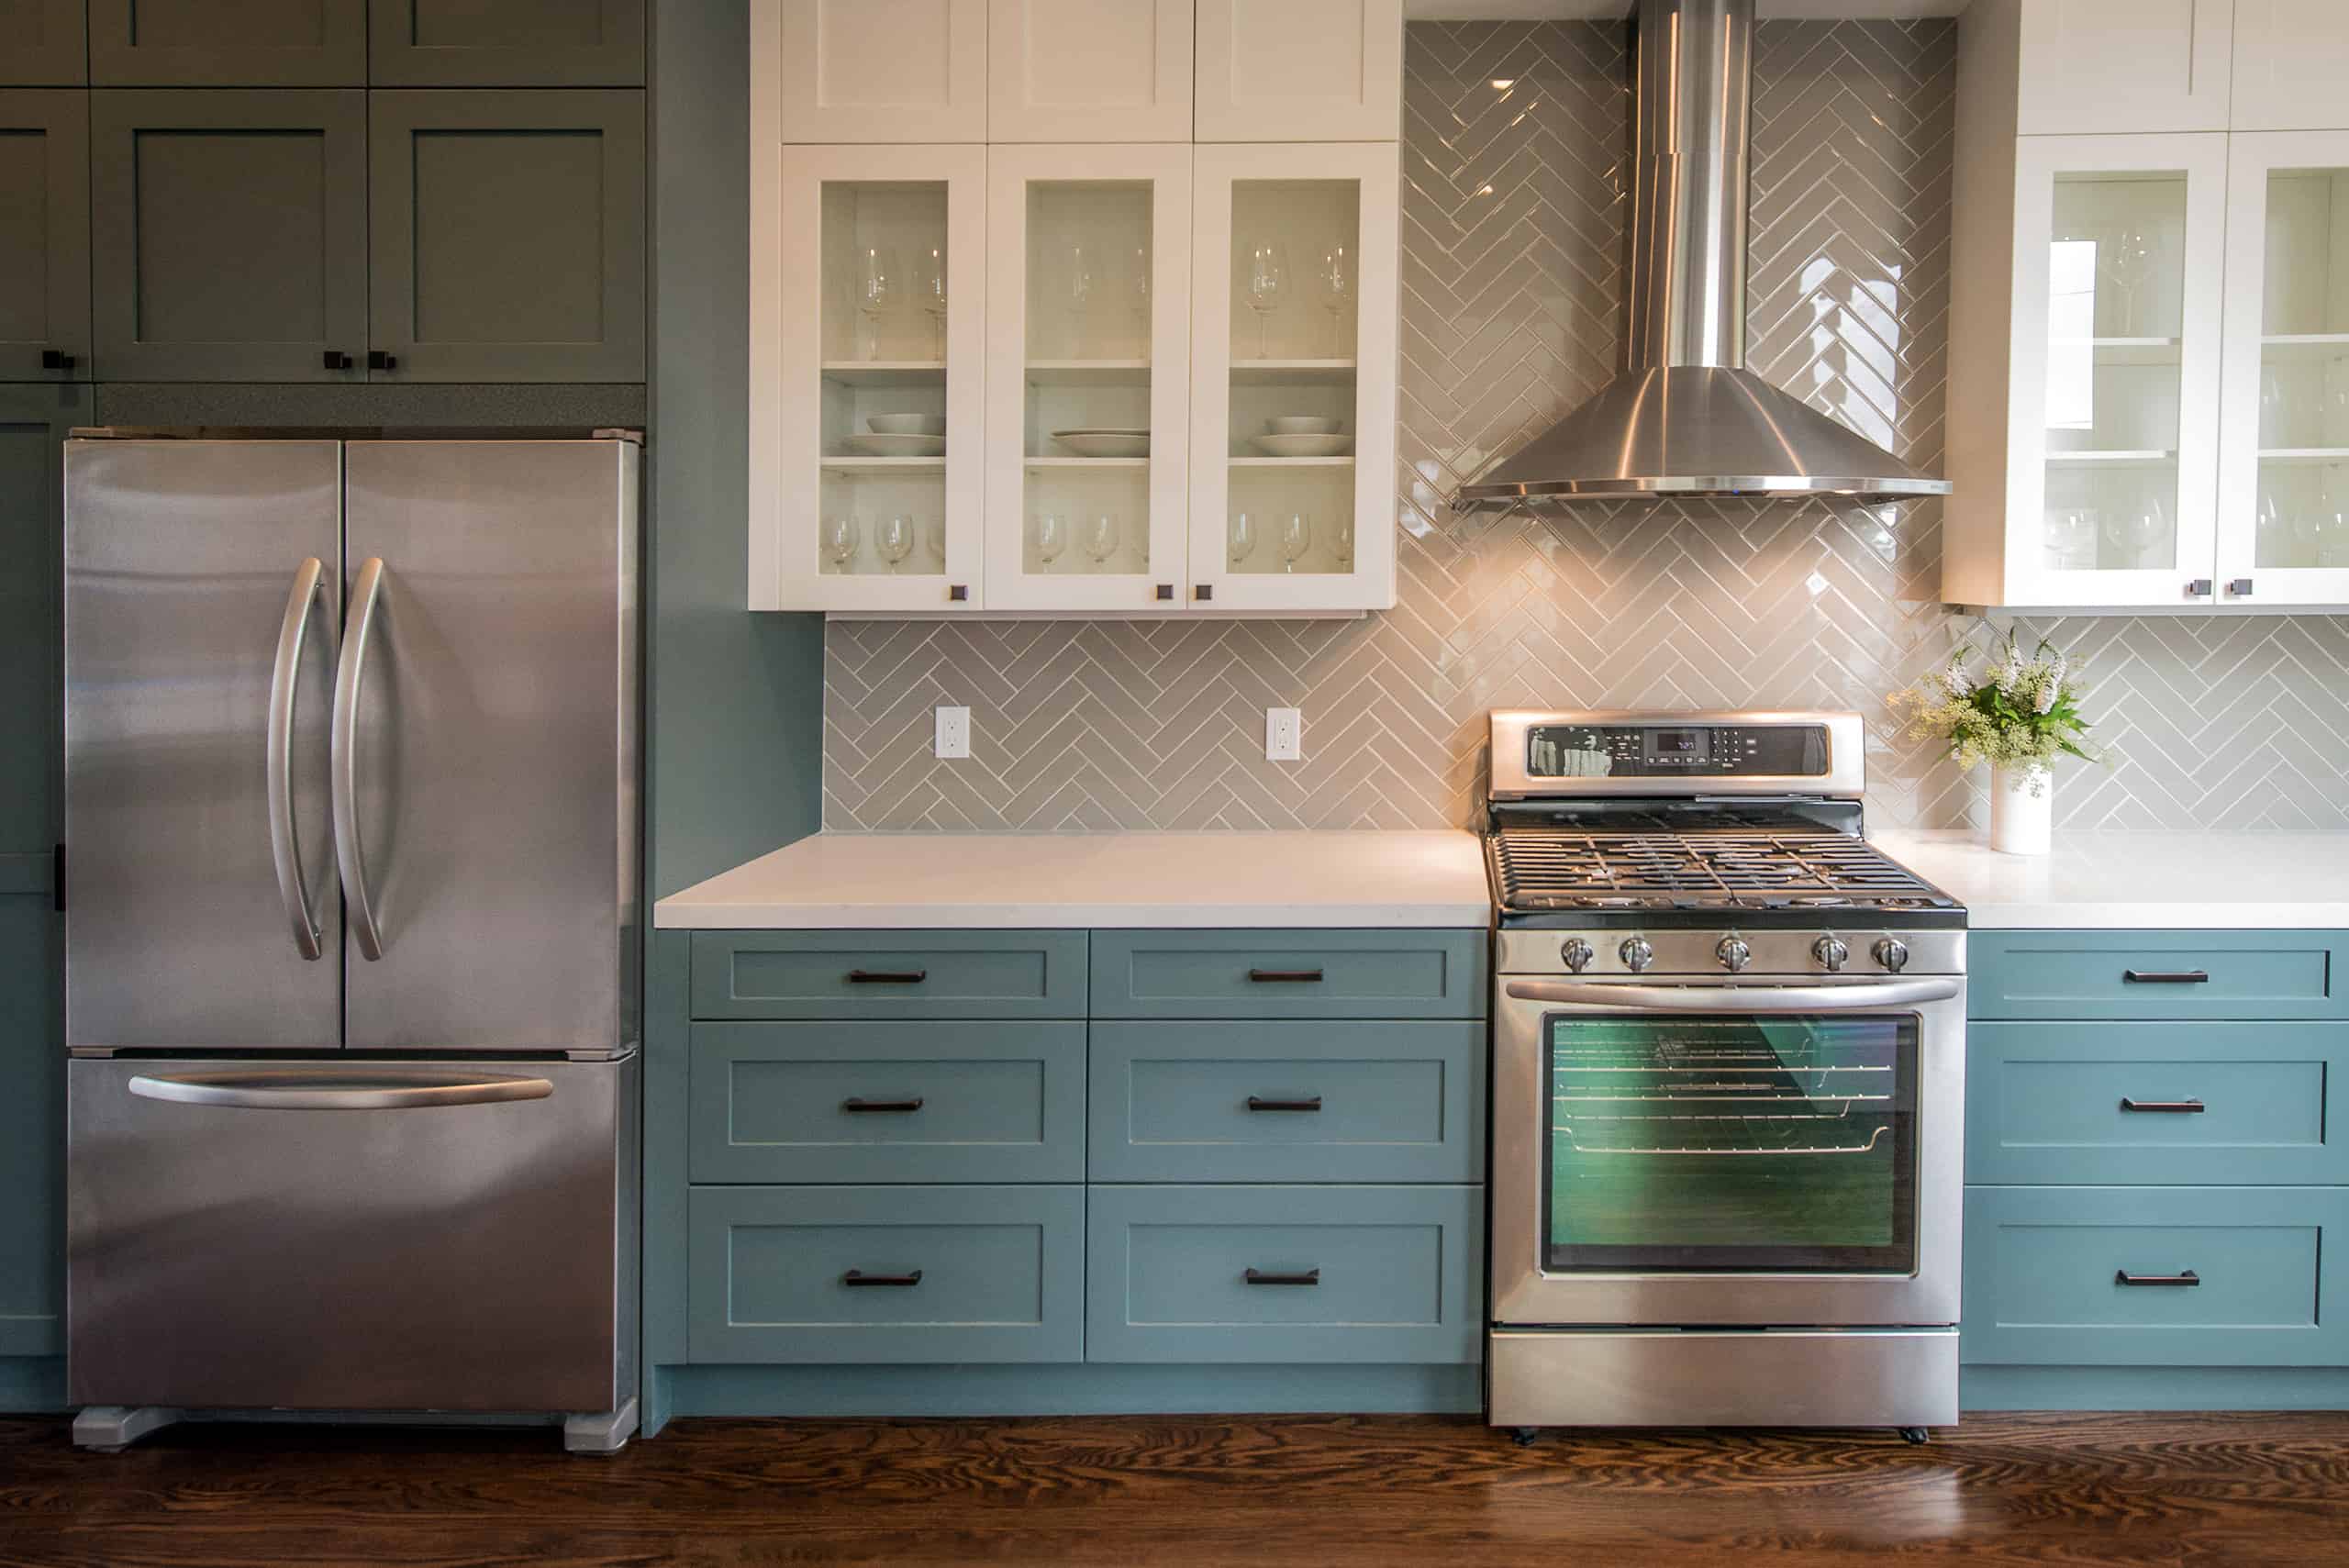
Shaker Cabinets: Your Hardware Placement Guide Table of Contents Hardware cabinet placement is a critical part of bringing the aesthetics of a room together. But
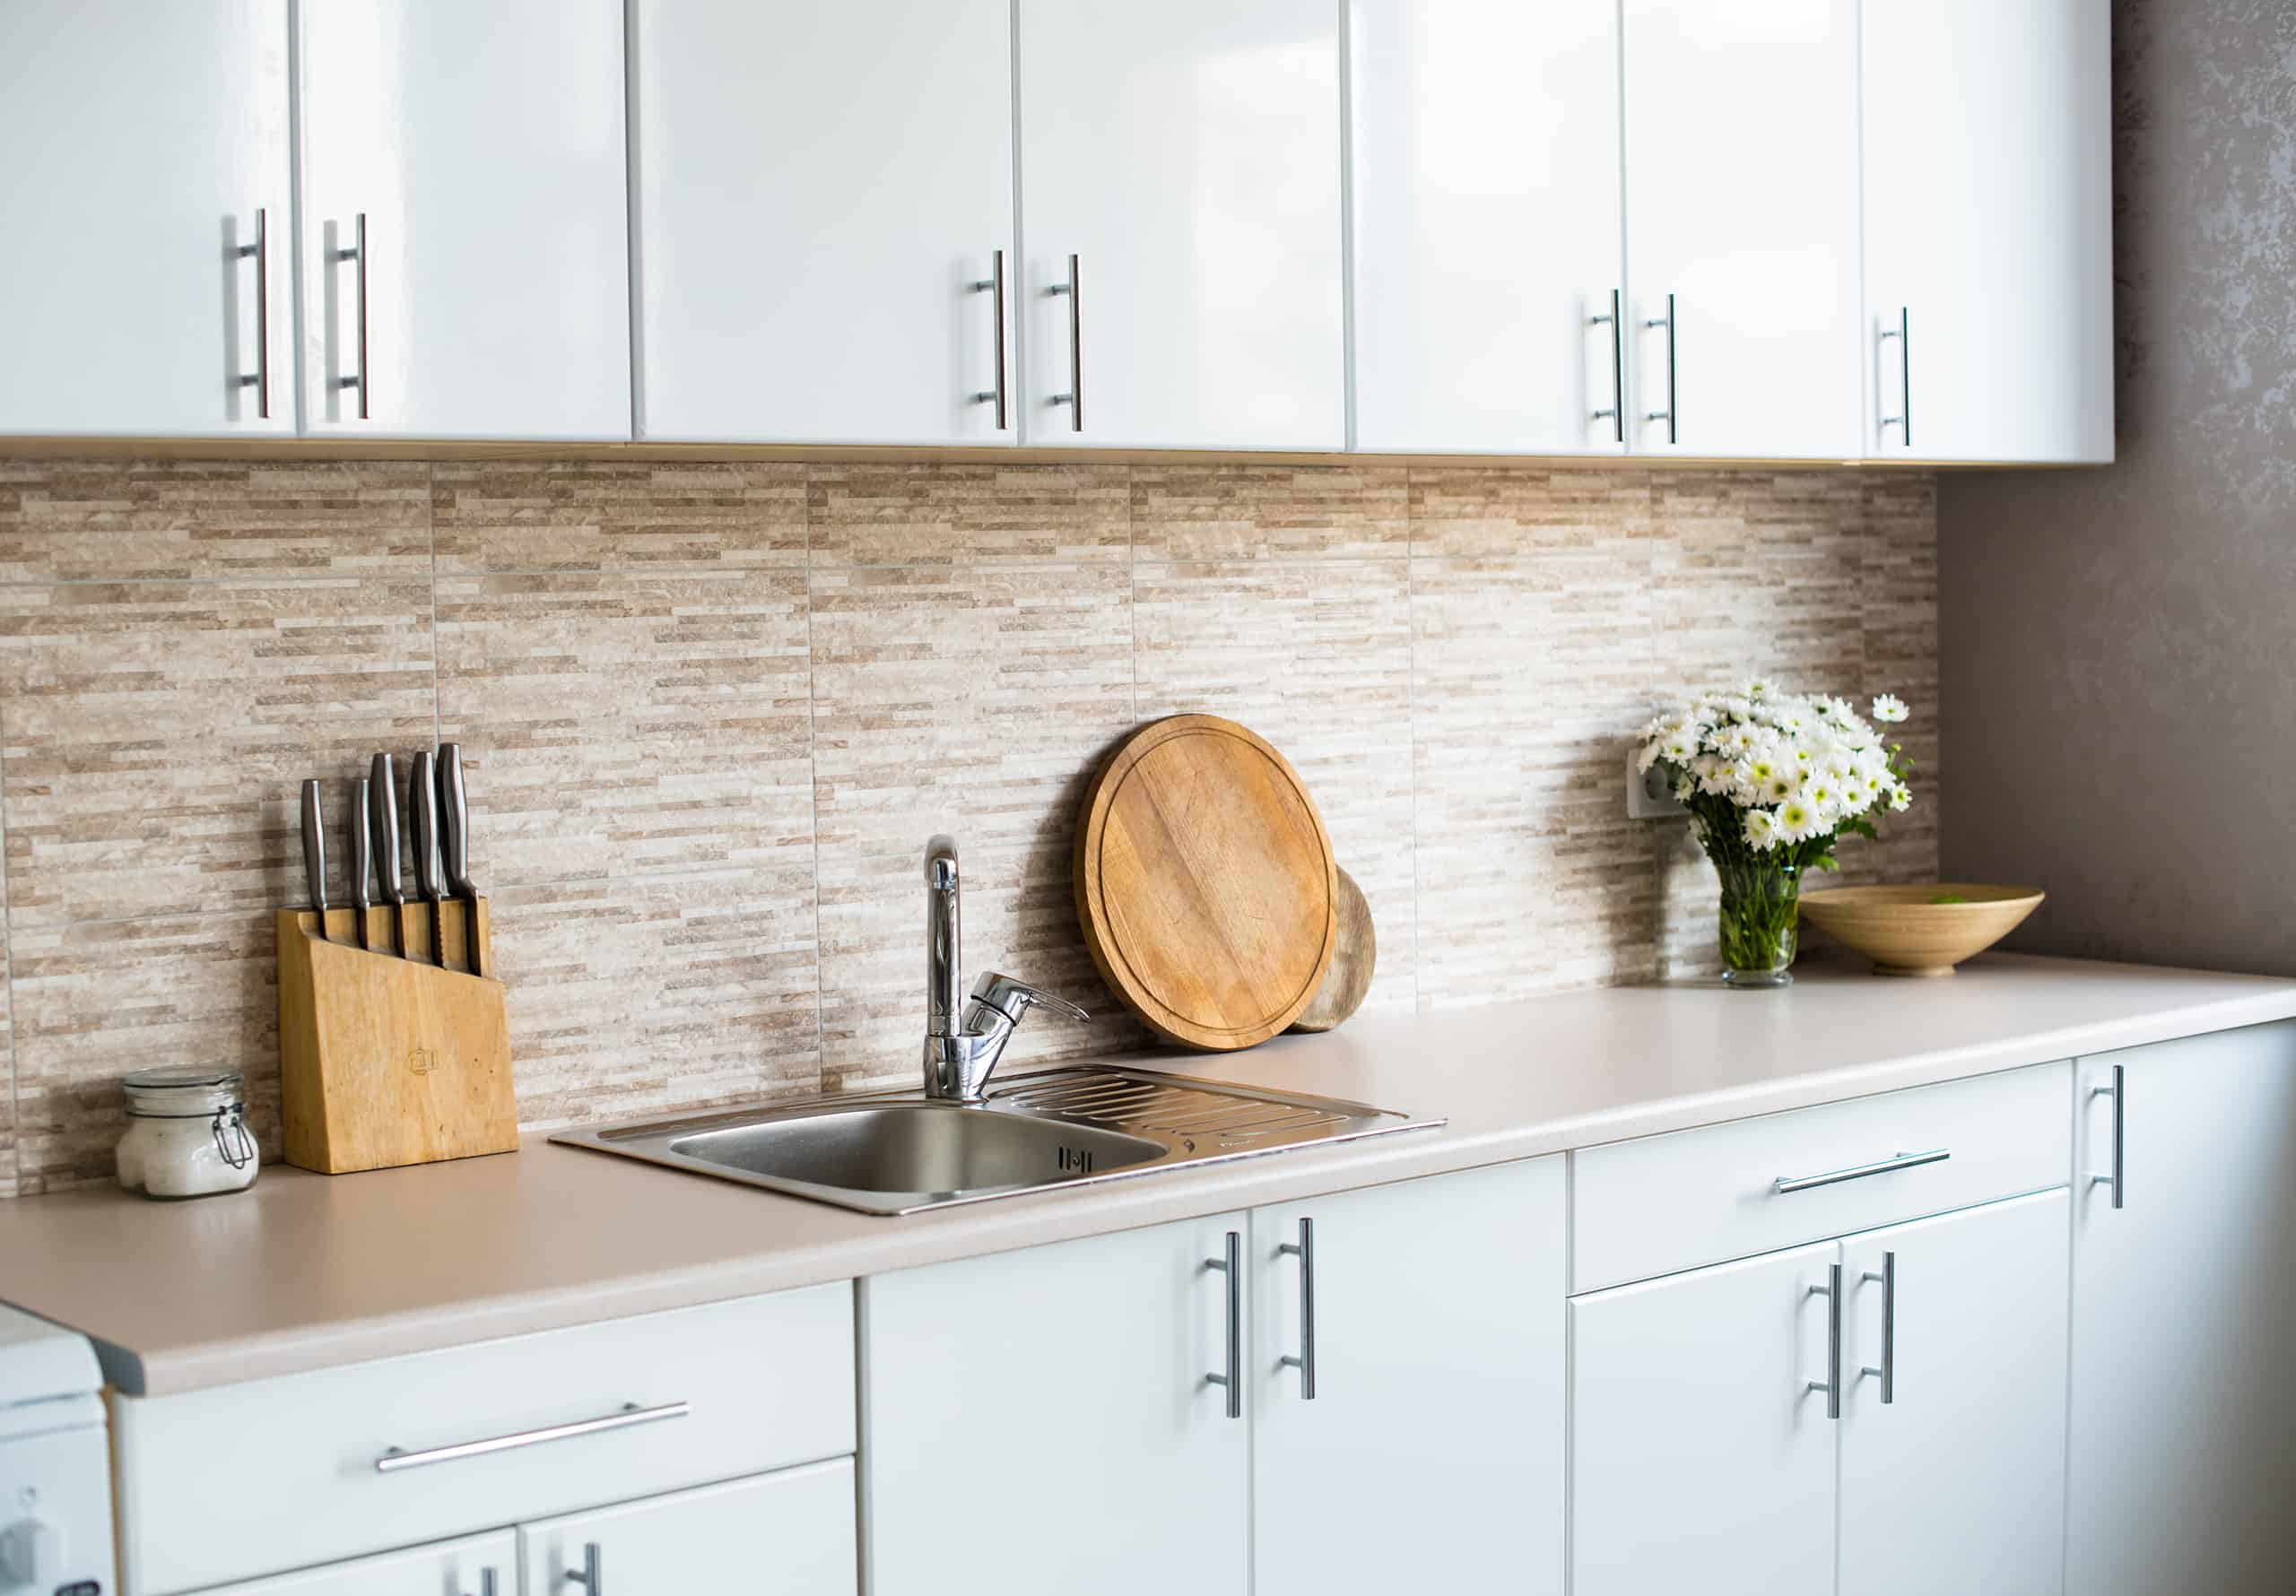
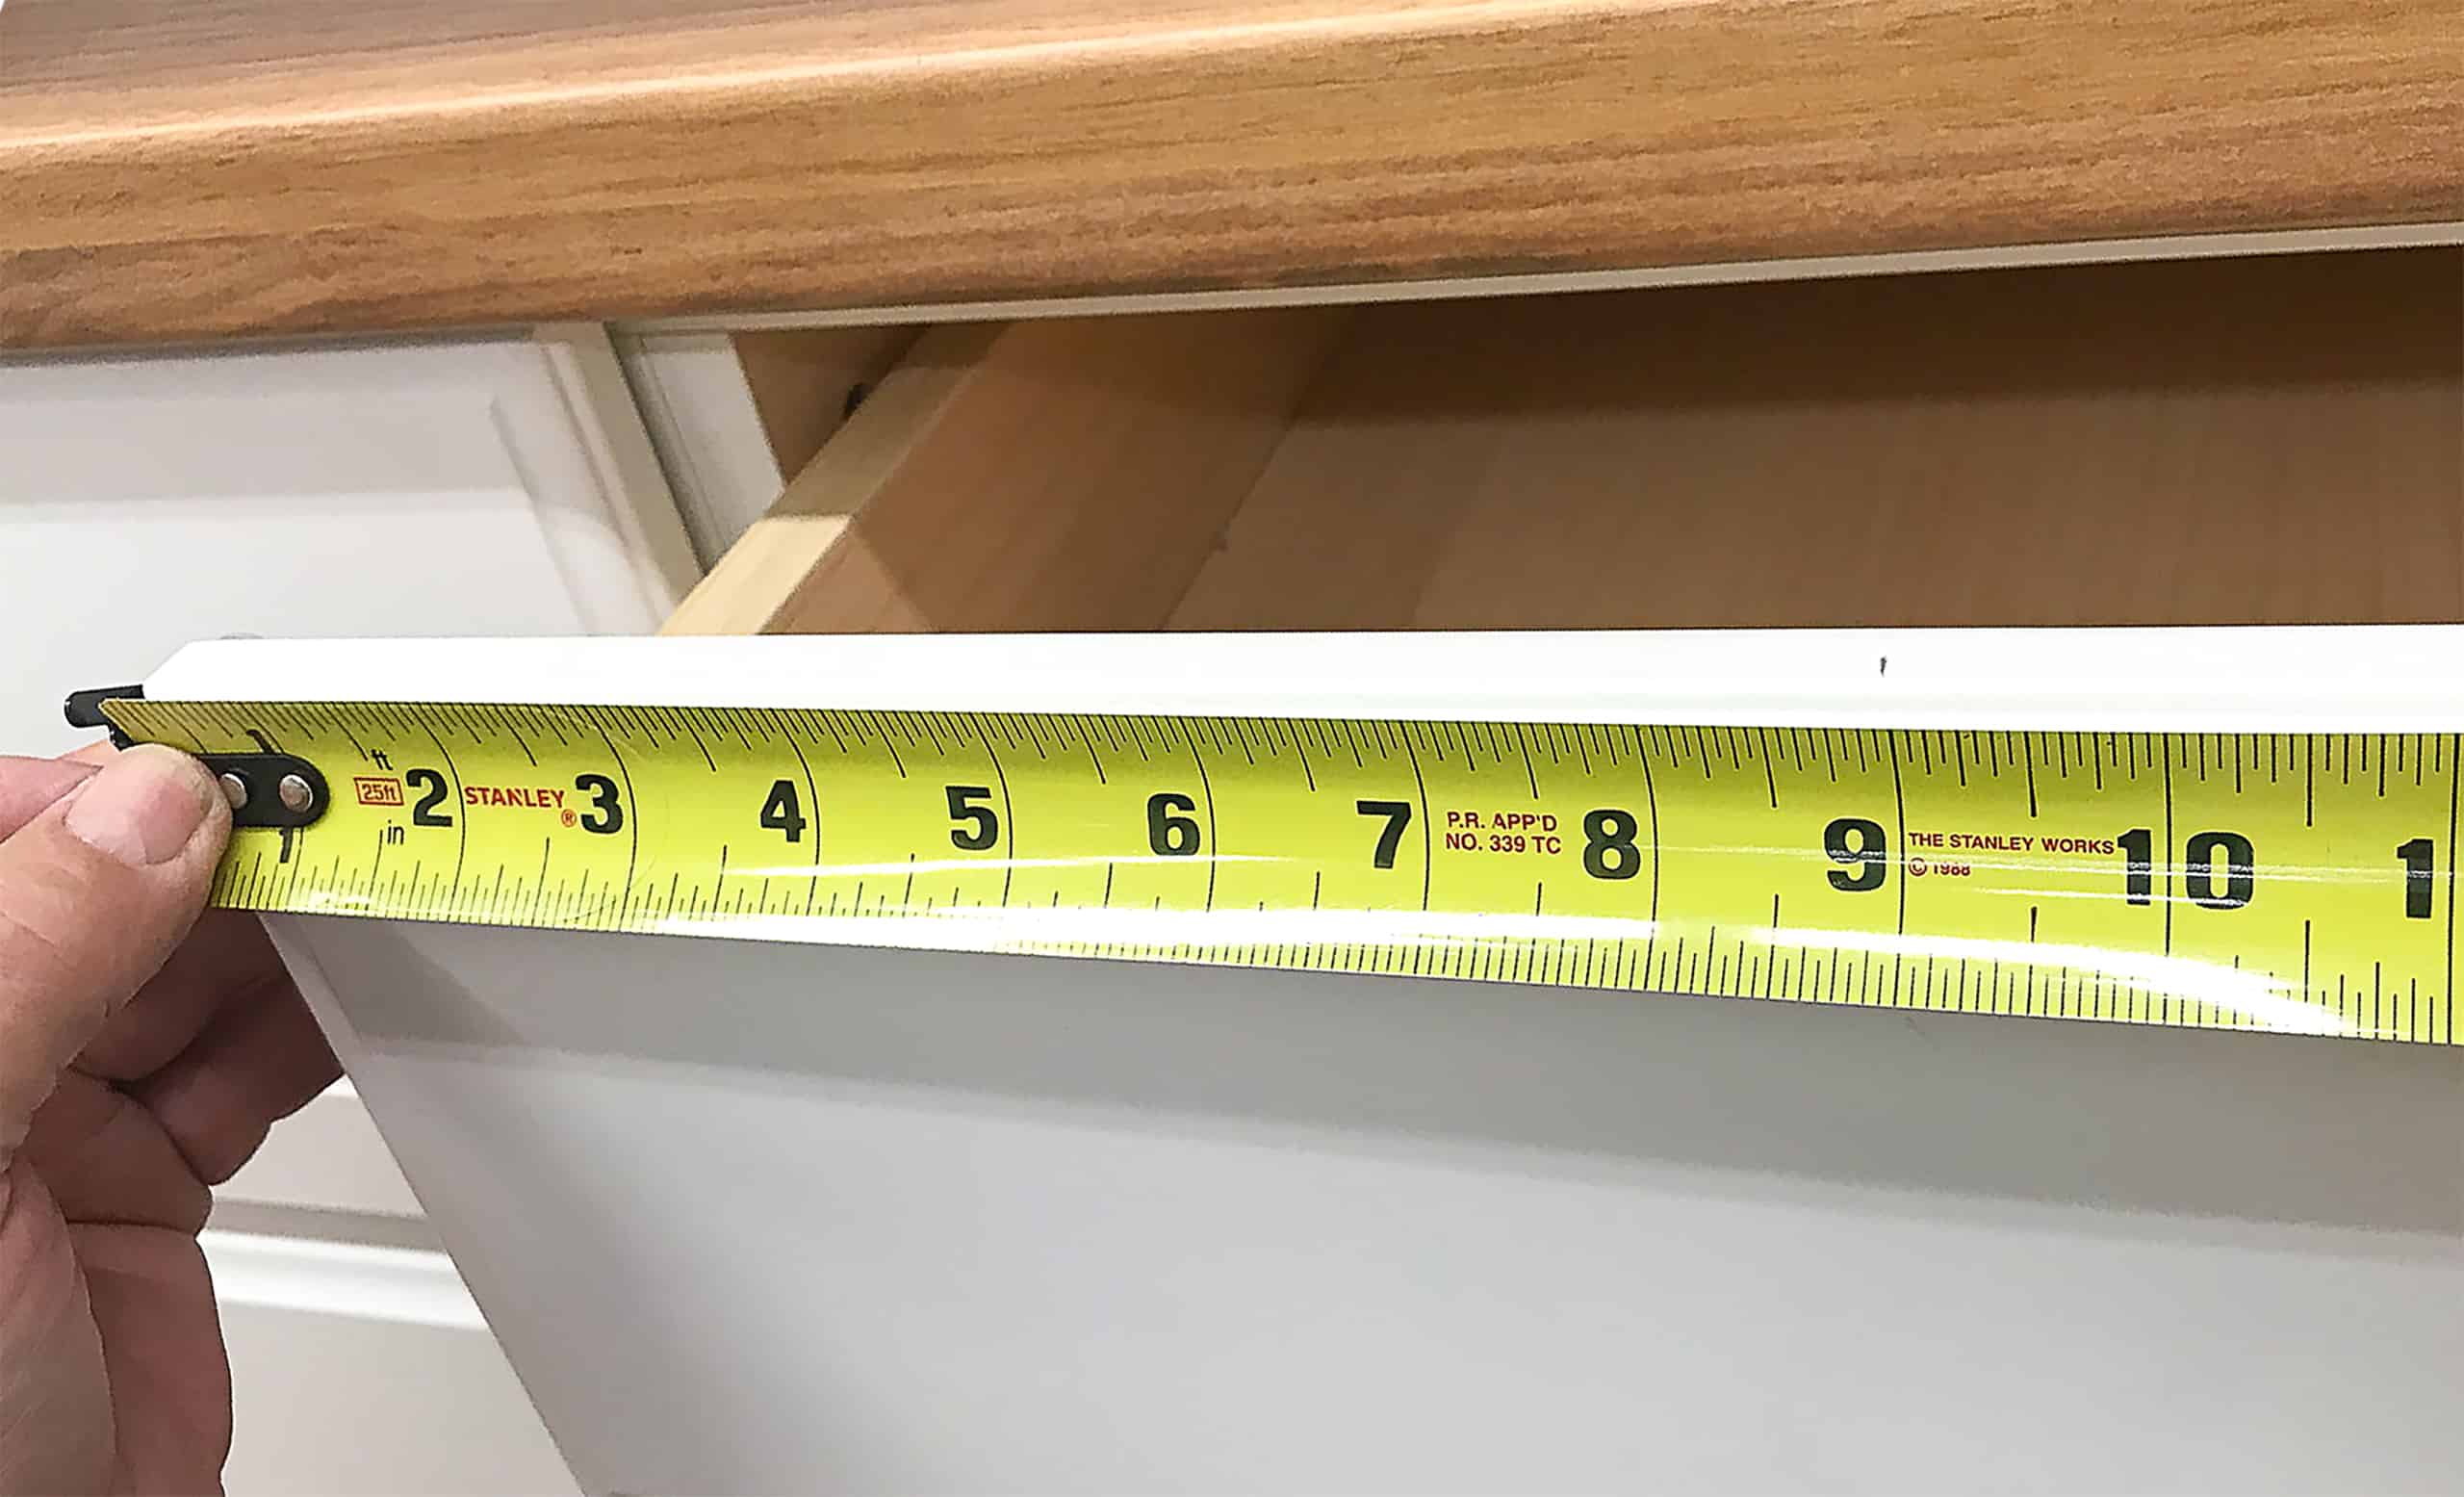
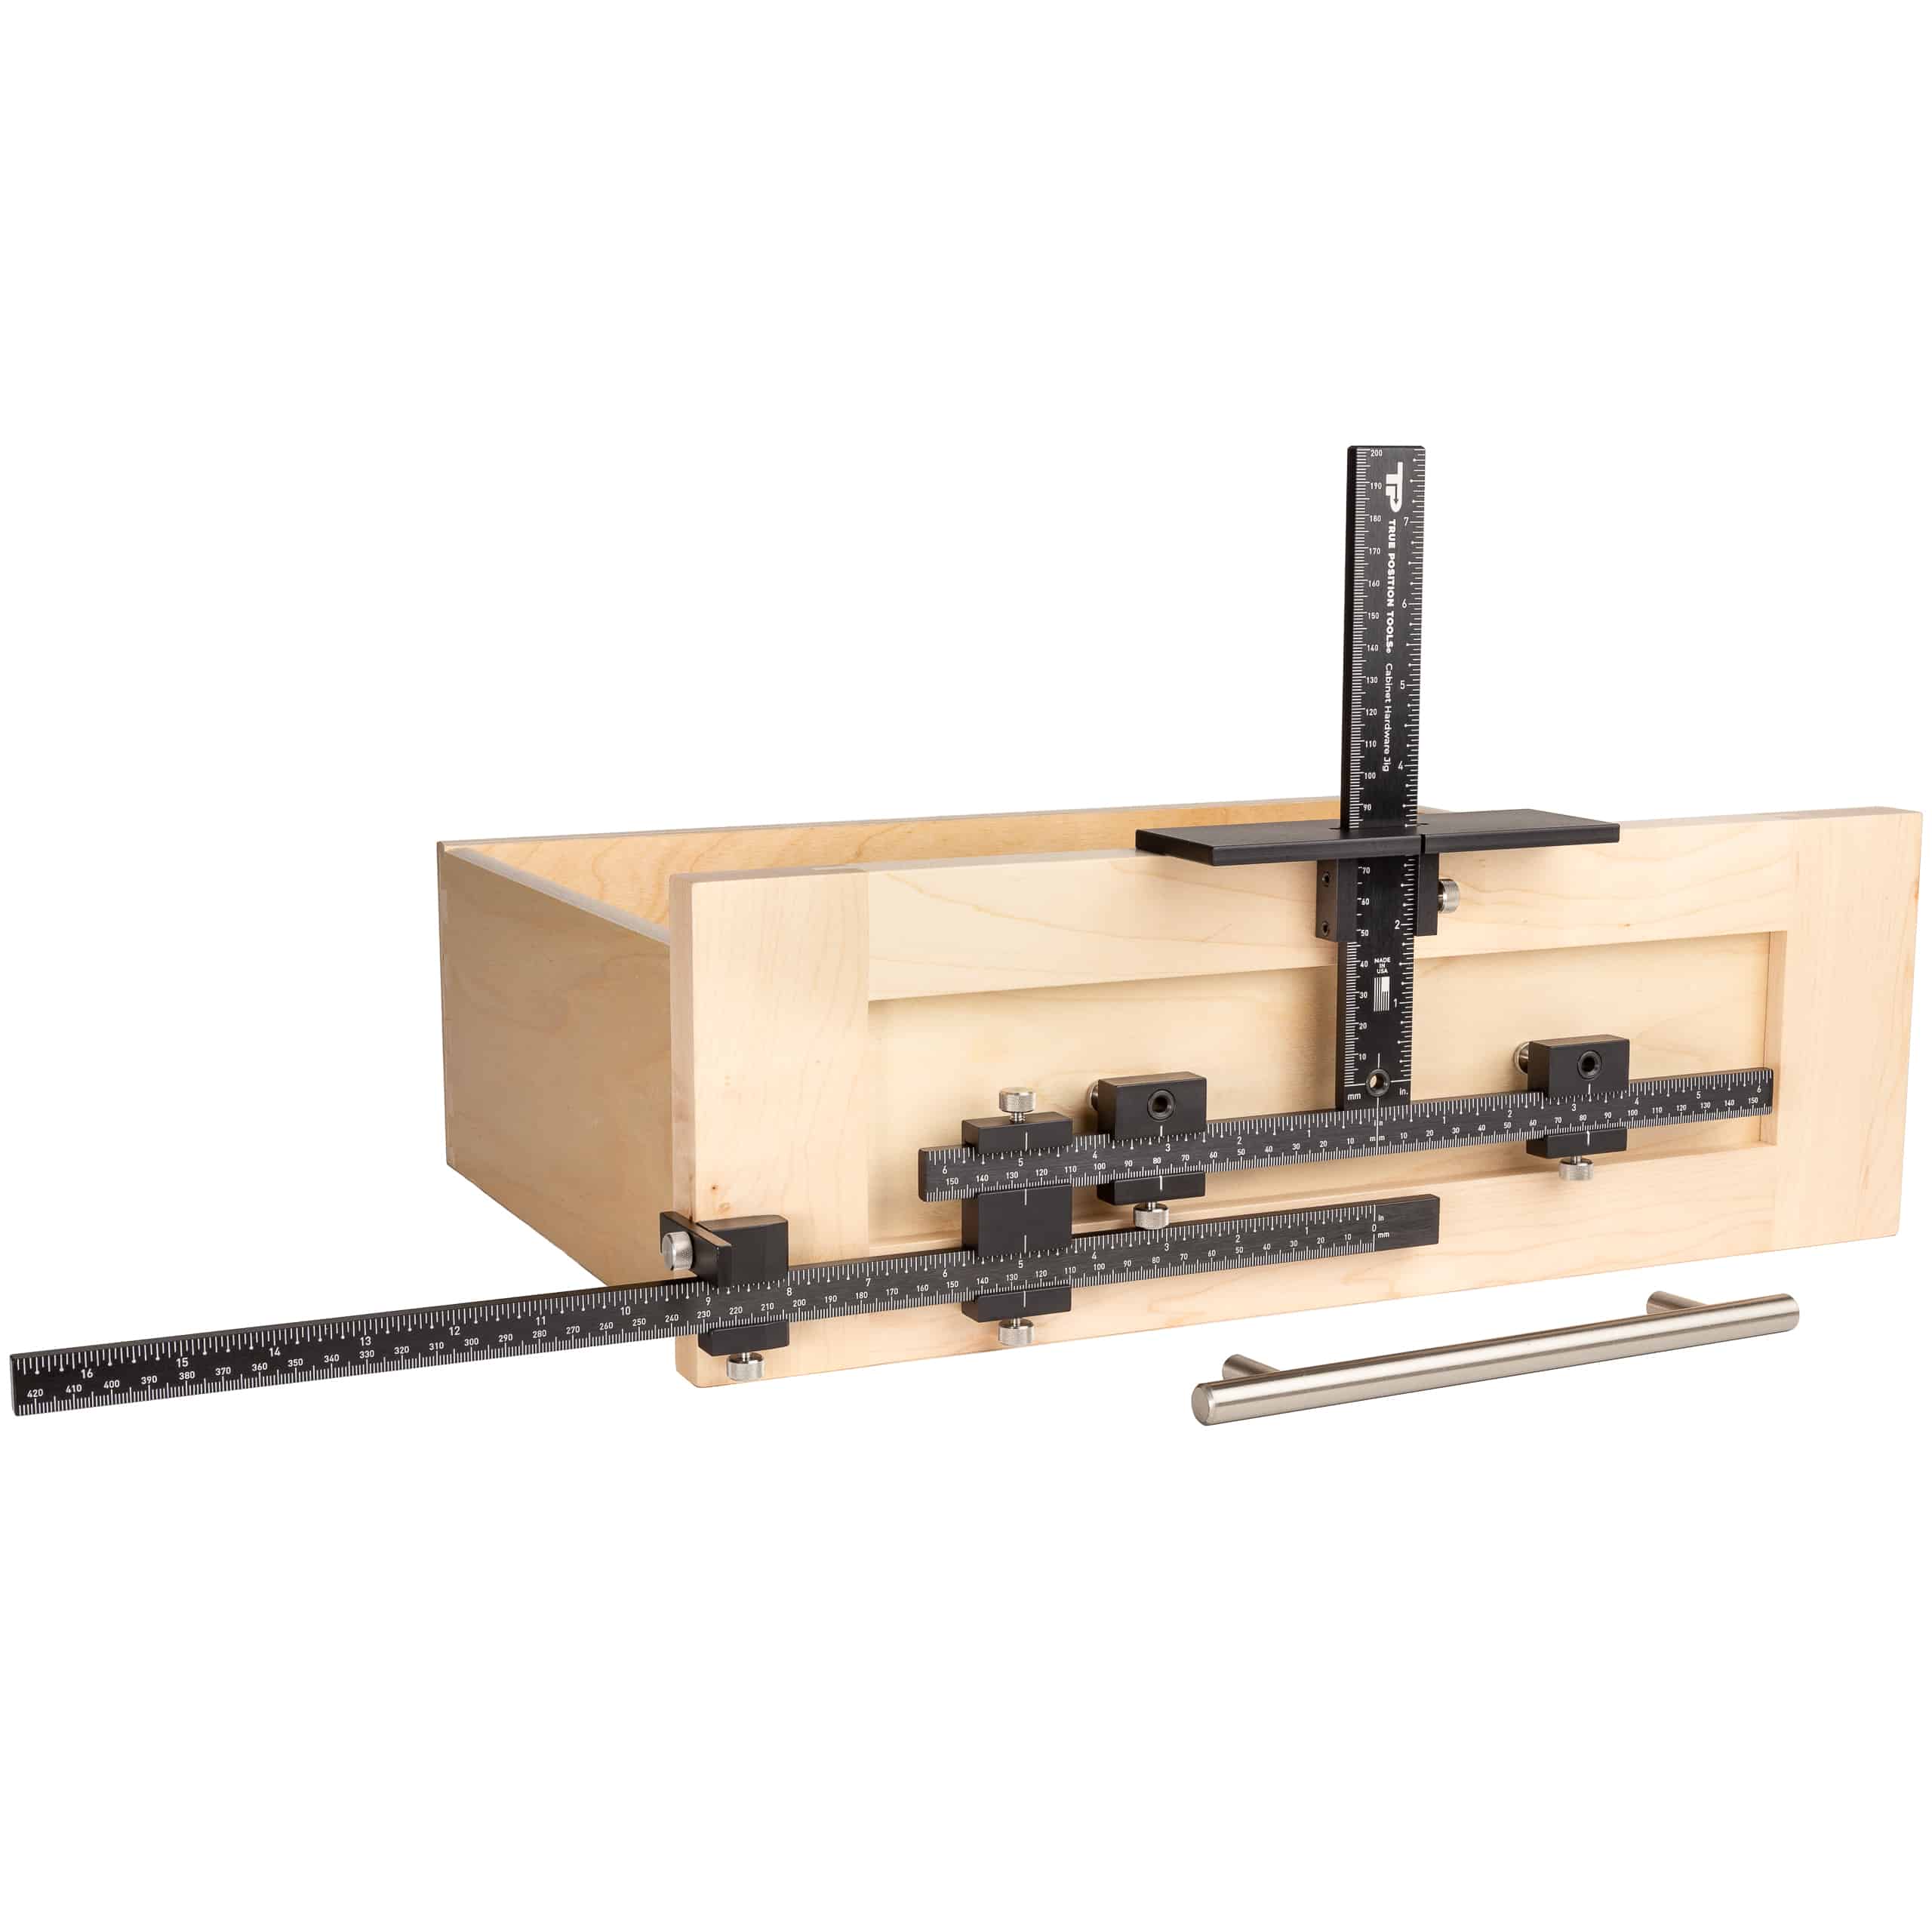
The Most Accurate Way to Install Cabinet Hardware Table of Contents An easy way to have a home reflect your personal style as a homeowner
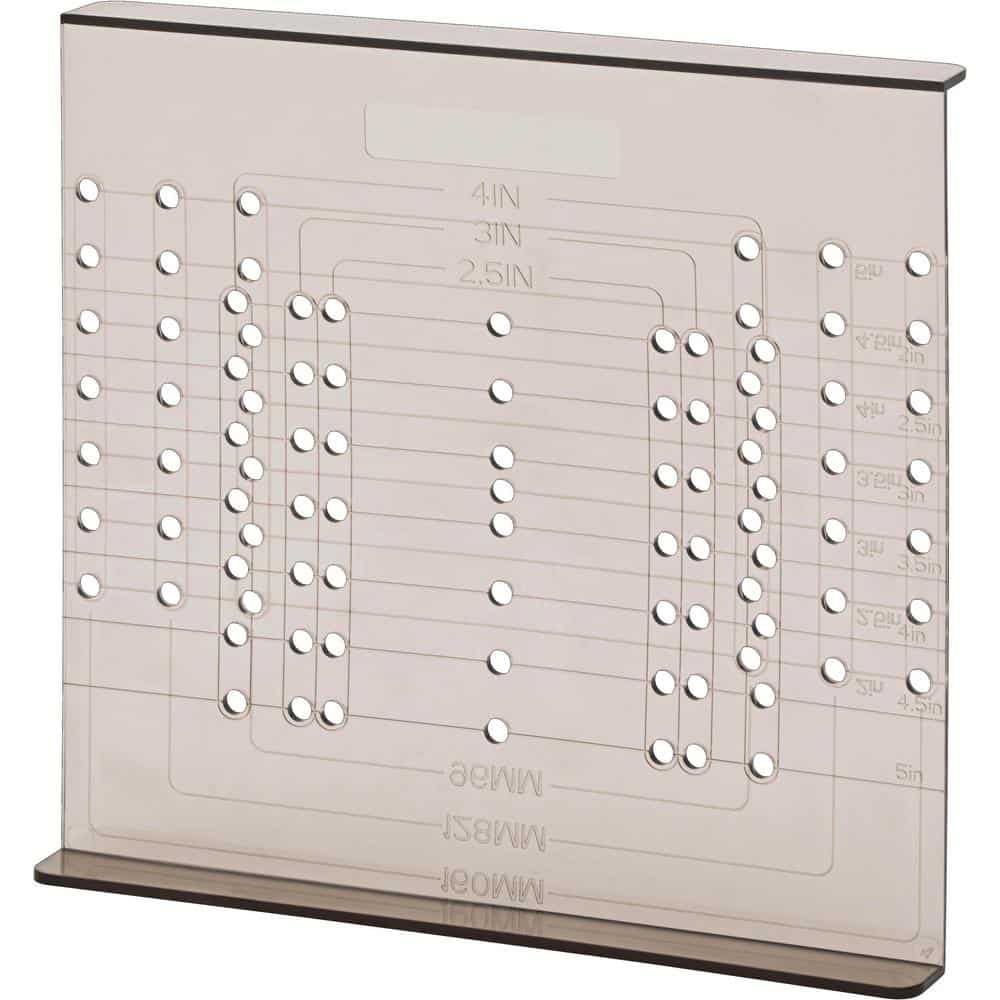
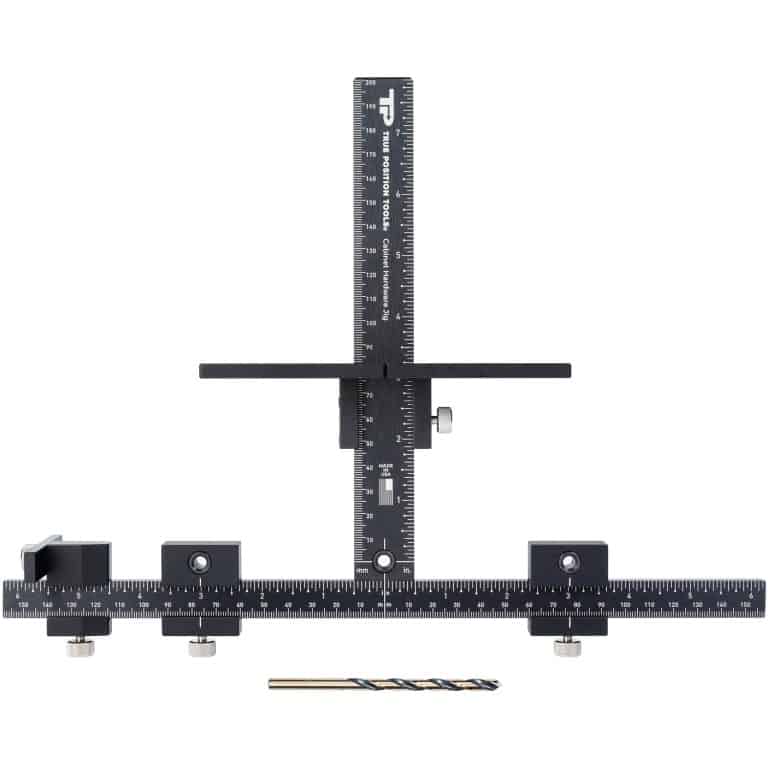
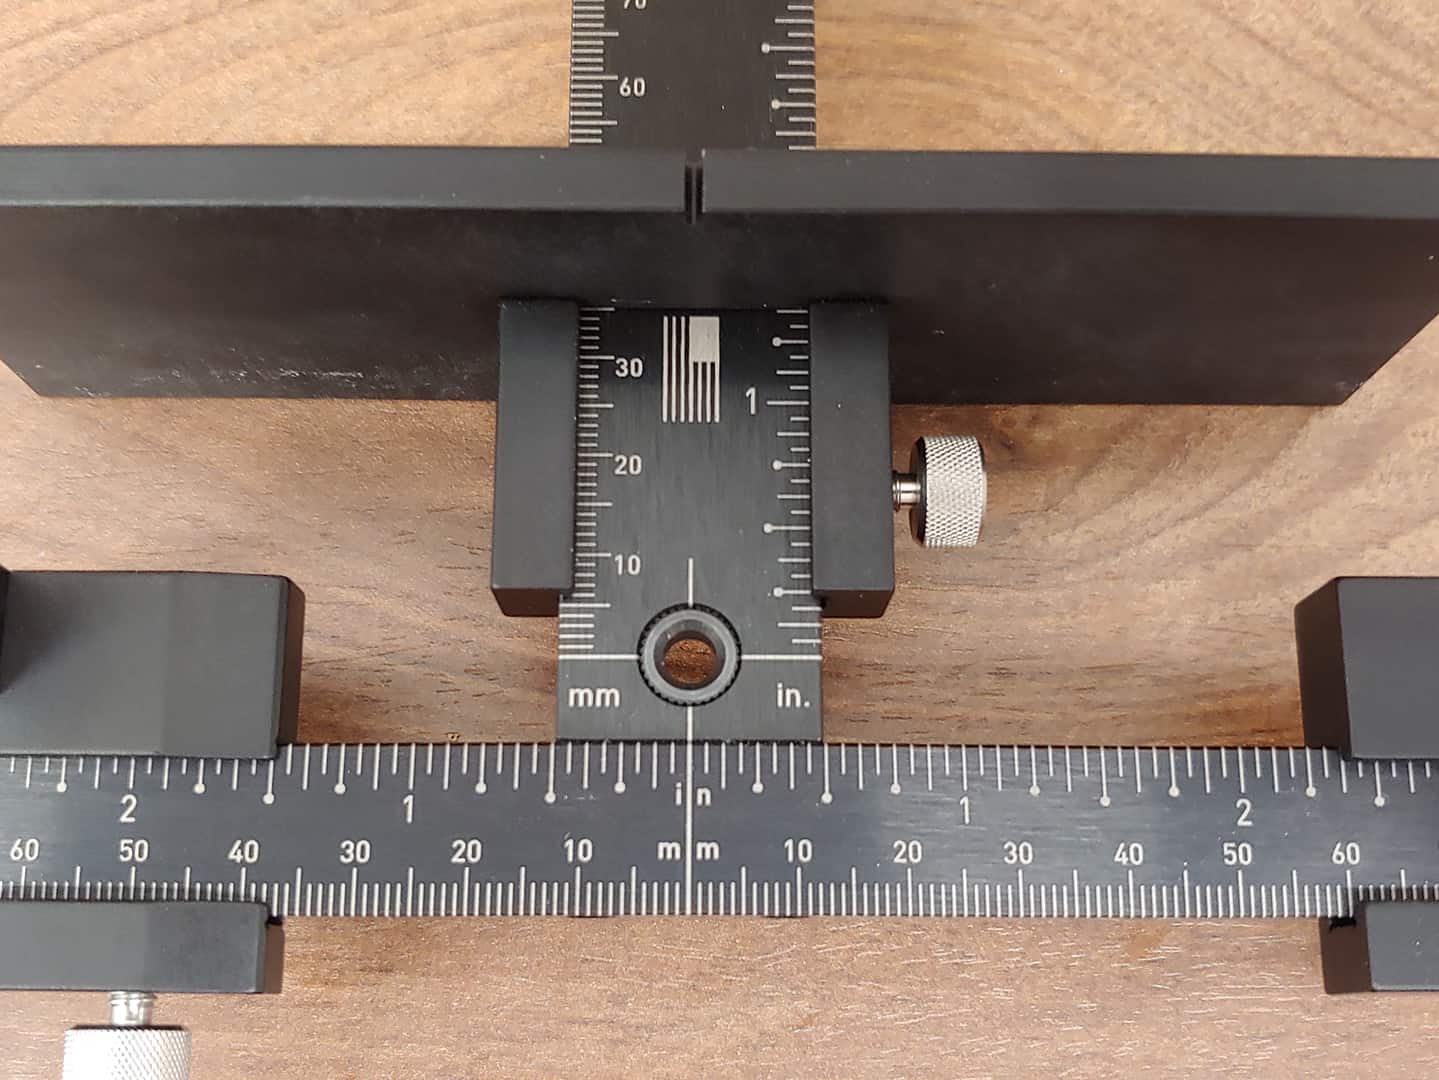
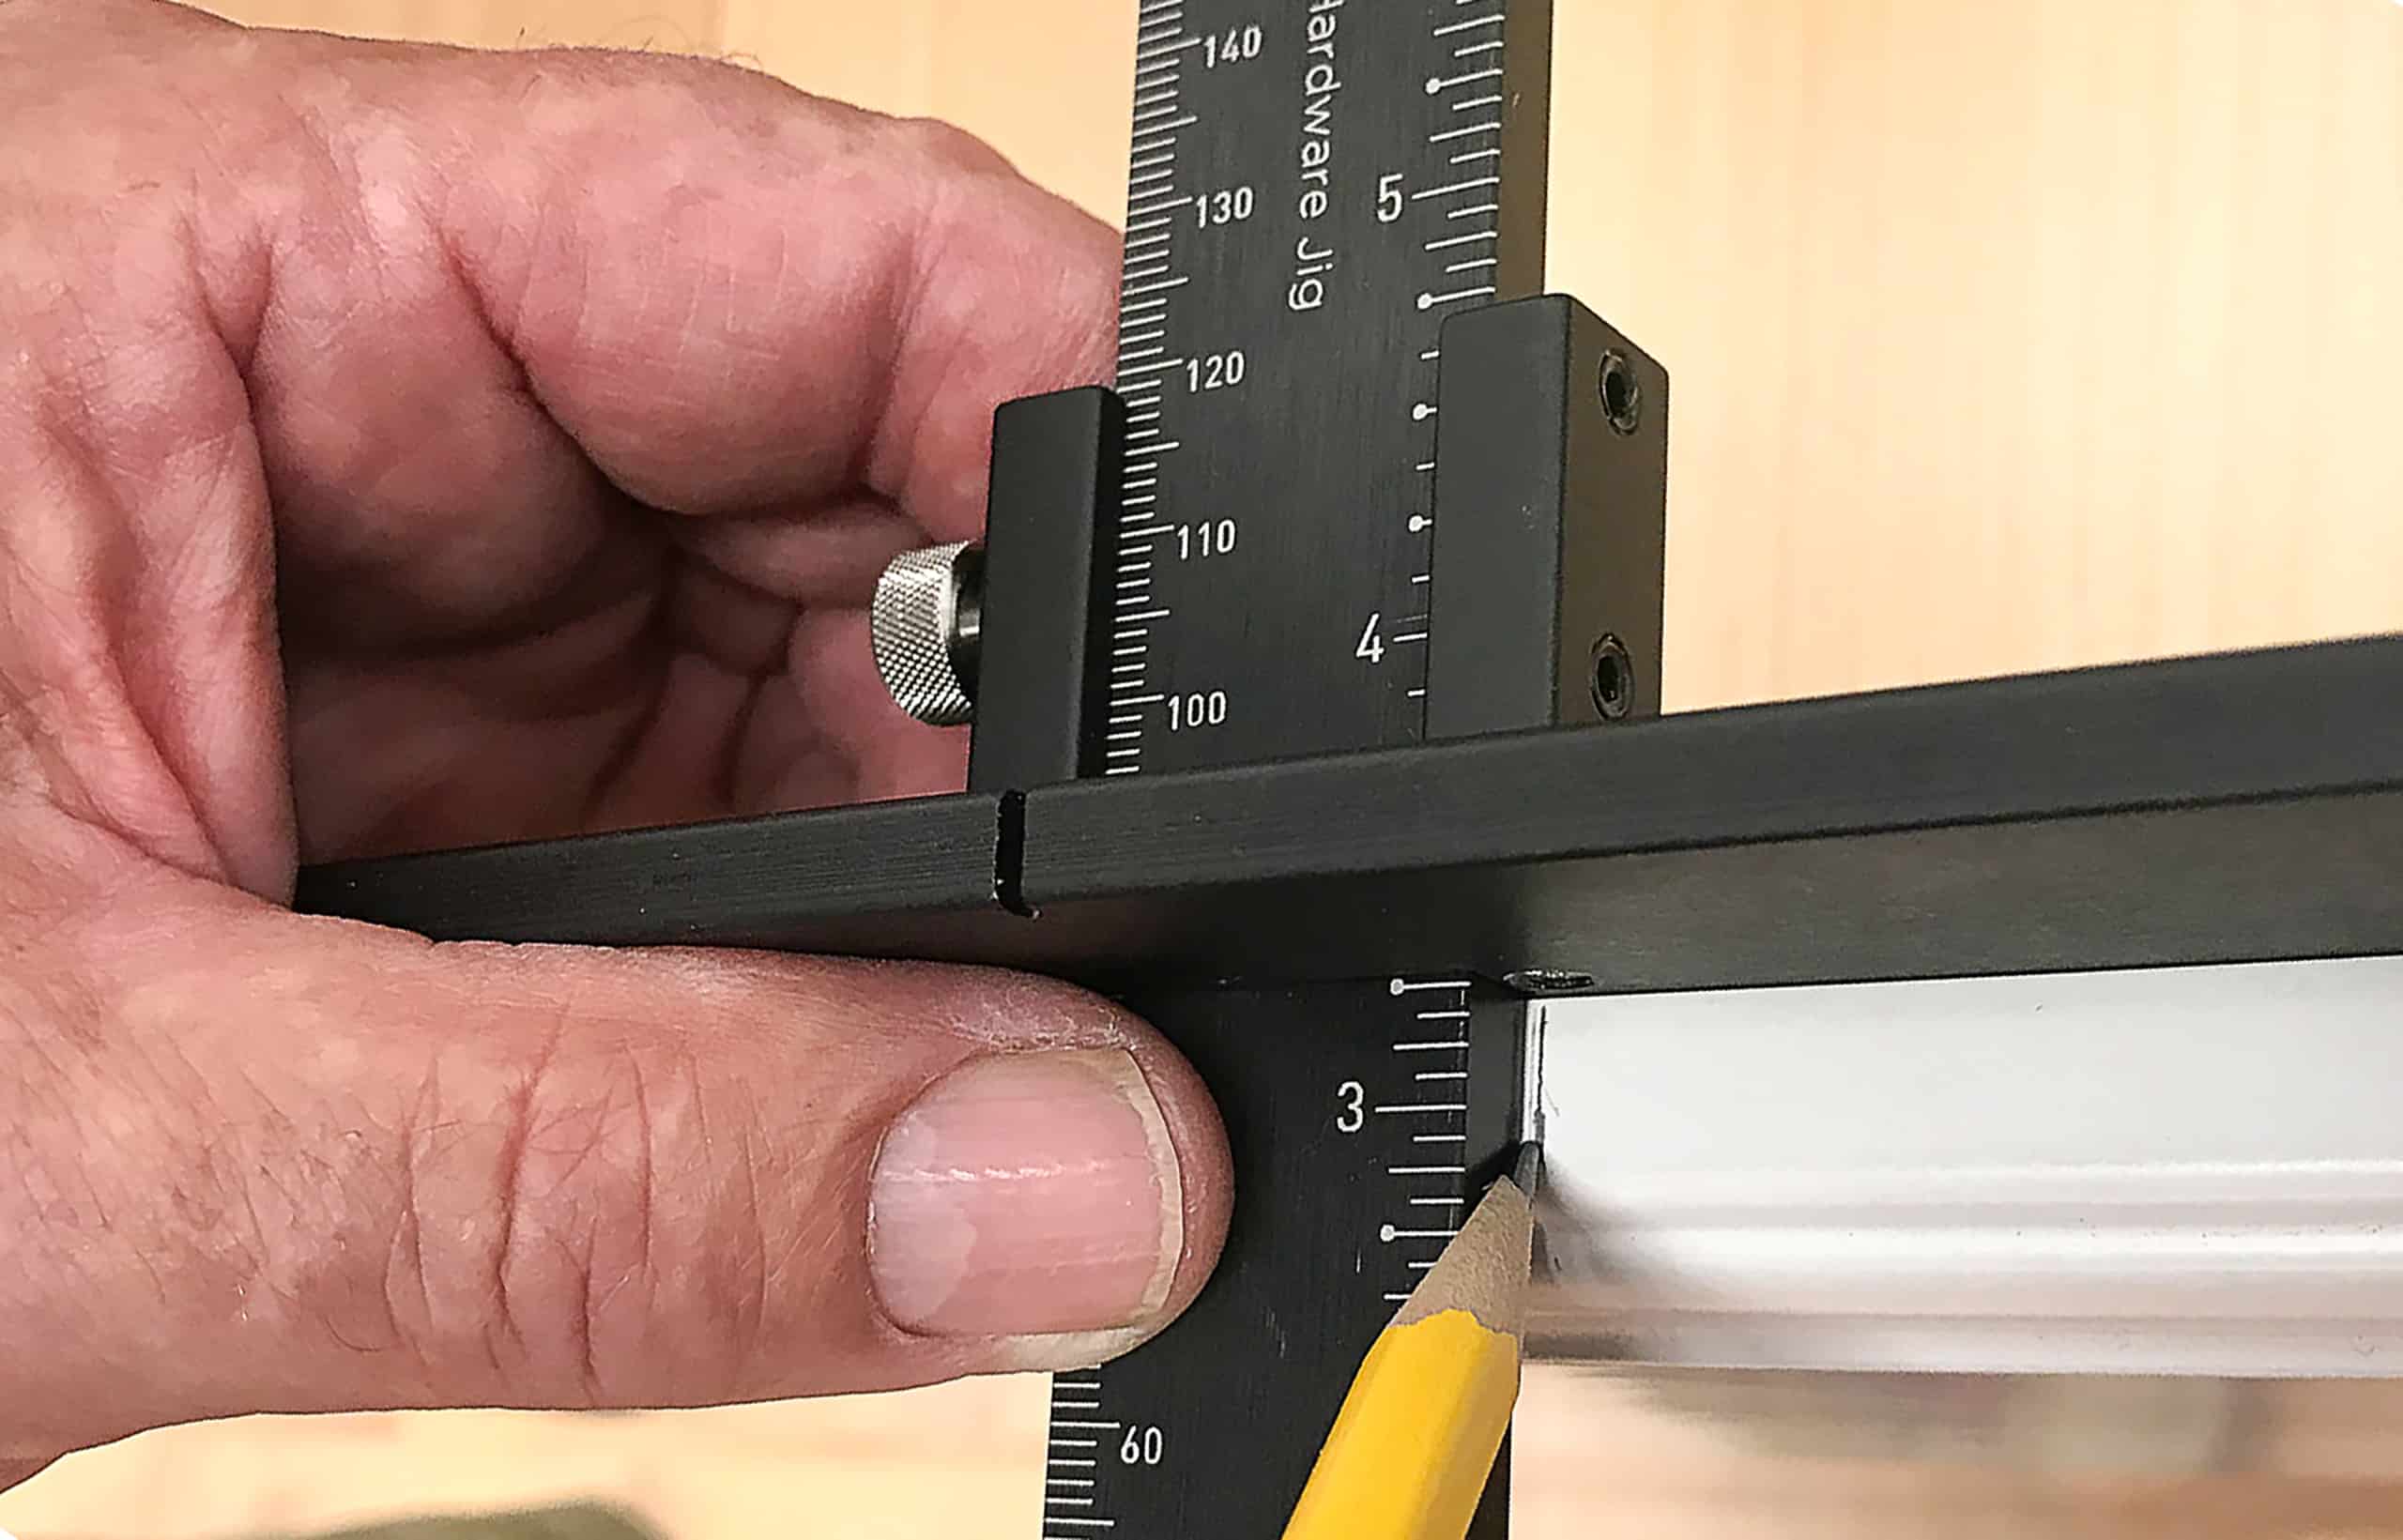
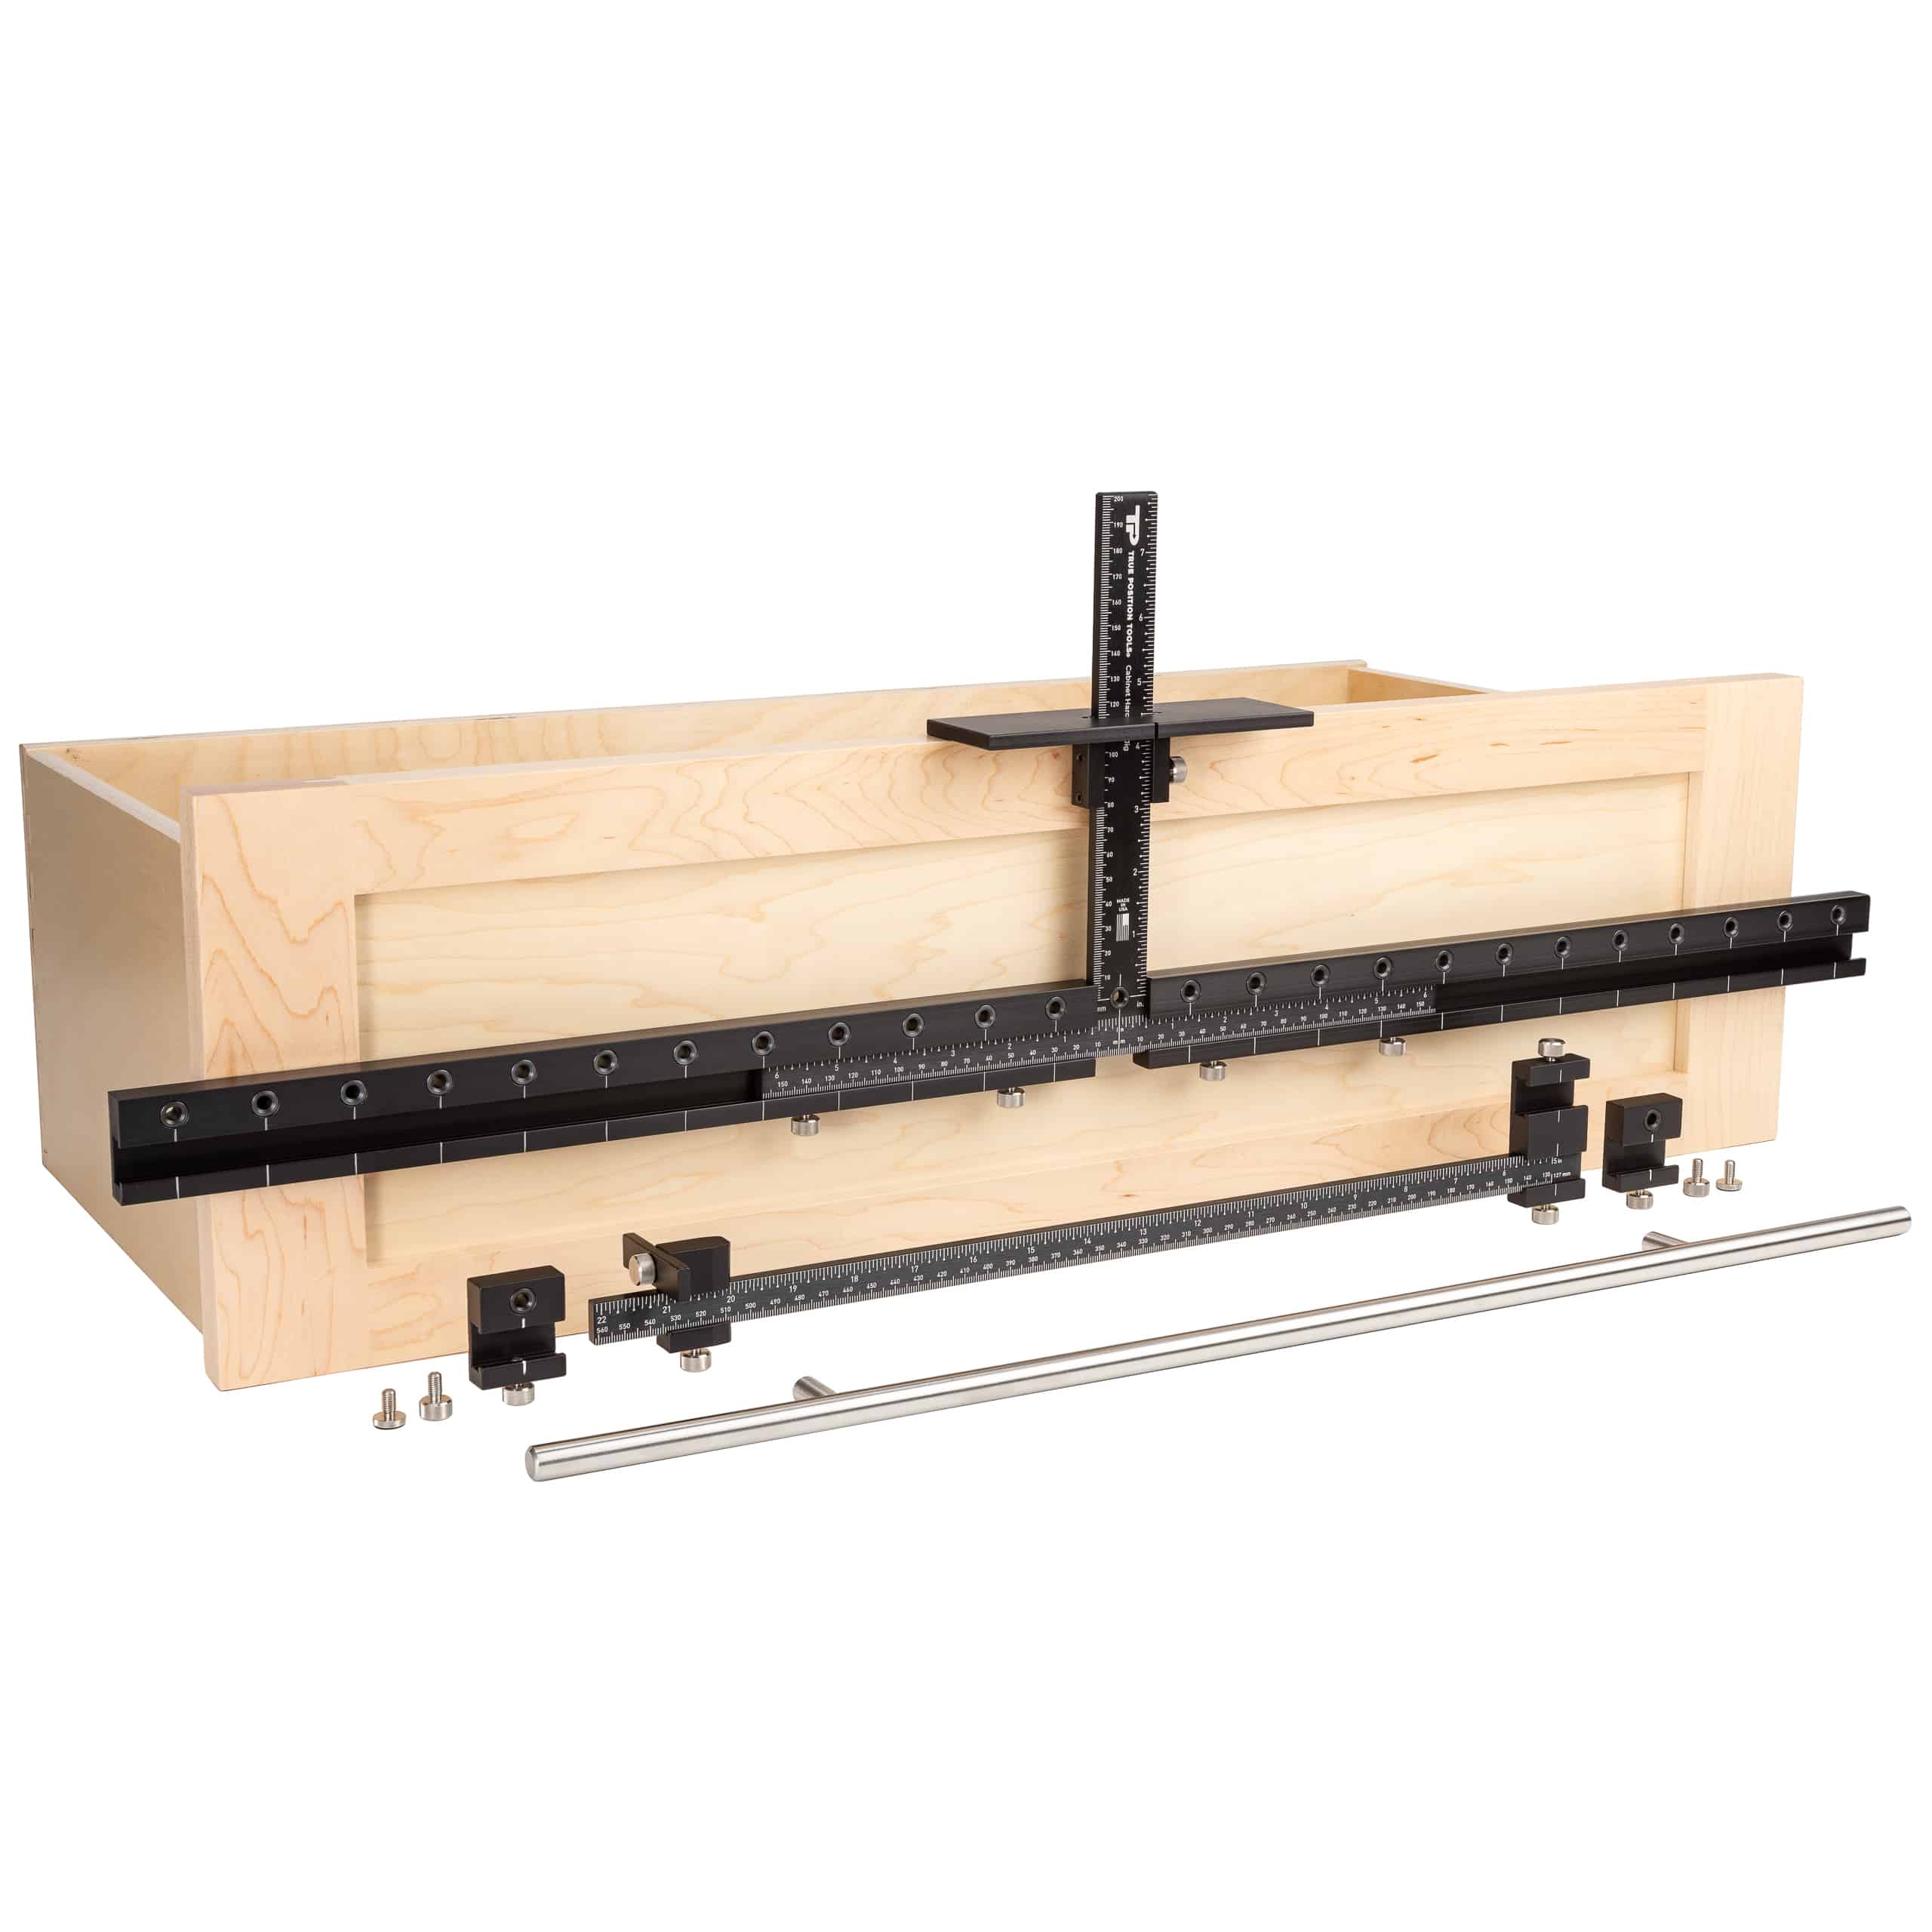
Cabinet Hardware Jigs vs. Templates – Which Is Best for Your Cabinet Business? There are many different variables to creating and running a successful cabinetry
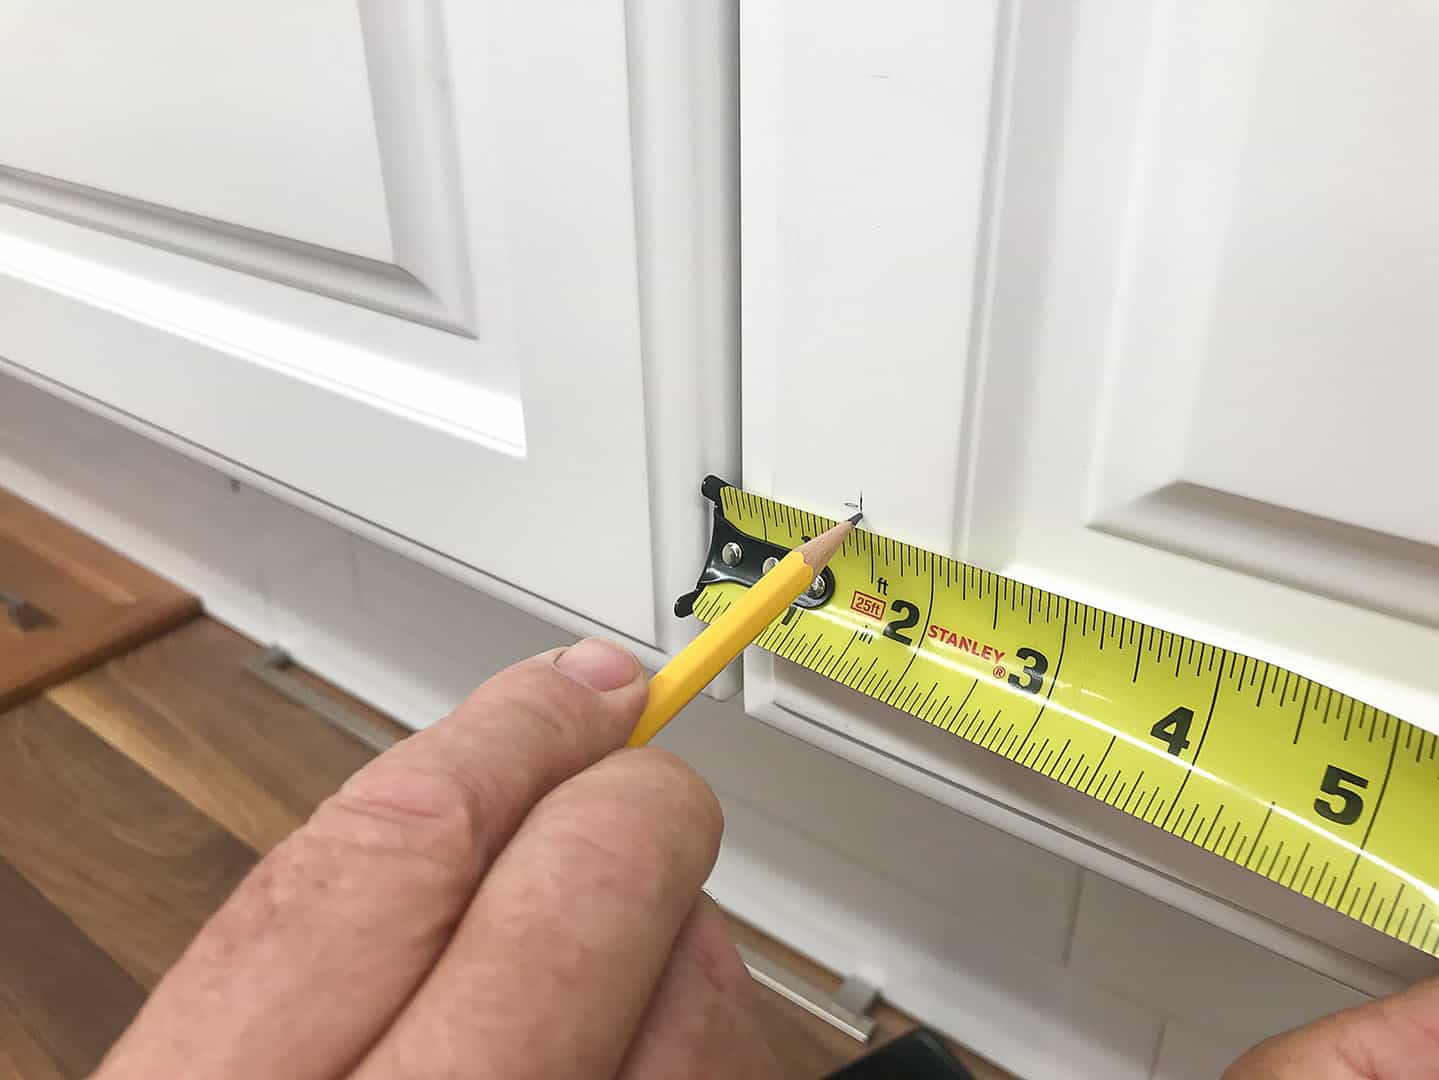
How to Install Handles and Knobs on Shaker Drawer Fronts Table of Contents Getting ready to install handles and knobs on your Shaker drawer fronts?
Frequently Asked Questions Here is a categorized list of the most frequently asked questions we receive. If you can’t find the answer you are looking